Once you install and activate the ATUM Multi-Inventory add-on, there are two ways to enable it. Either enable the multi-inventory for all products or specific products only.
ENABLE MULTI-INVENTORY FOR ALL PRODUCTS
-
On the WordPress admin panel, go to ATUM Inventory > Settings > Multi-Inventory.
-
Enable the setting "Enable Multi-Inventory for all products".

- Click Save Changes.
ENABLE MULTI-INVENTORY FOR A SPECIFIC PRODUCT ONLY
-
On the WordPress admin panel, go to Products > All Products chose one product already created, and click-open it for editing, or press Add New to create a new one.
-
On the product's page navigate to the Product data section and click the tab called ATUM Inventory.
-
Within the Multi-Inventory Settings select "Yes" to enable.
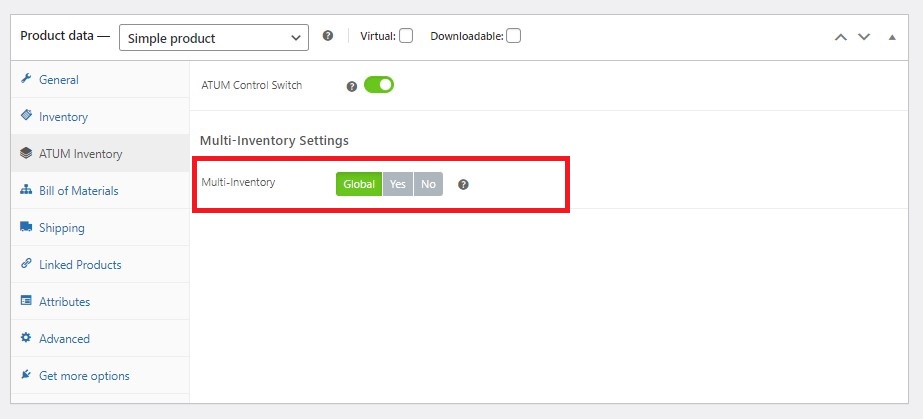
- To confirm the change click Update the product at the top right.
ENABLE MULTI-INVENTORY FOR A VARIABLE PRODUCT
-
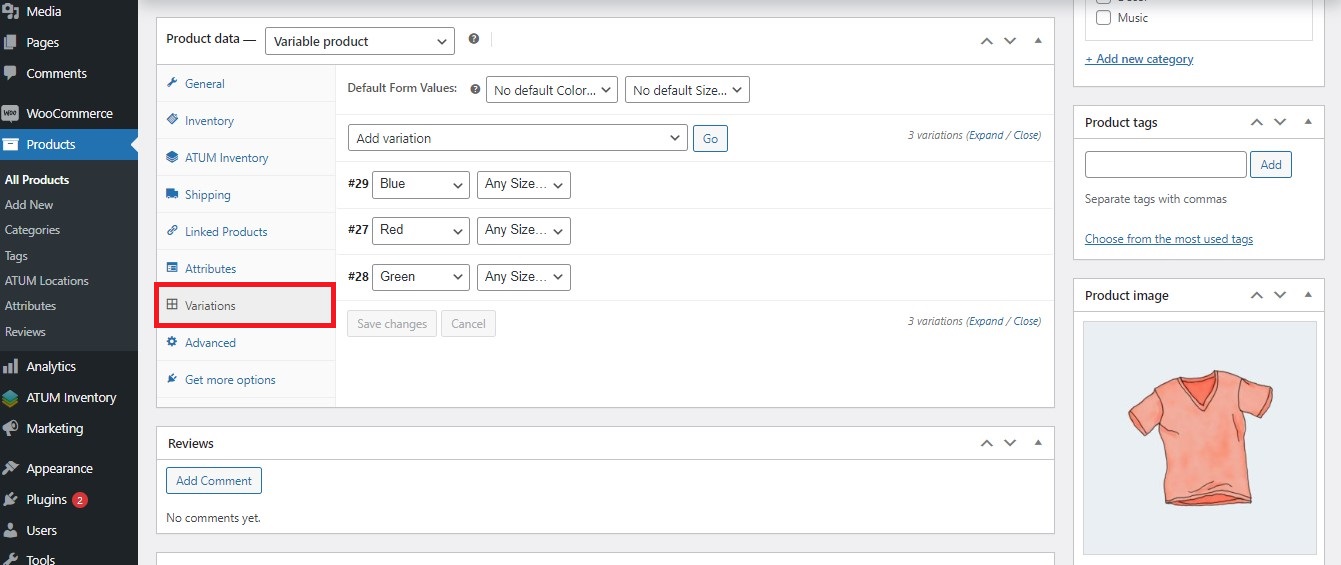
On the WordPress admin panel, go to Products > All Products chose one variable product already created, and click-open it for editing, or press Add New to create a new one.
-
On the product's page navigate to the Product data section and click the tab called Variations.
-
Open the Variation you want to enable for Multi-Inventory or create a new one first following the WooCommerce documentation.
-
Scroll down to the Multi-Inventory Settings and select "Yes" to enable.
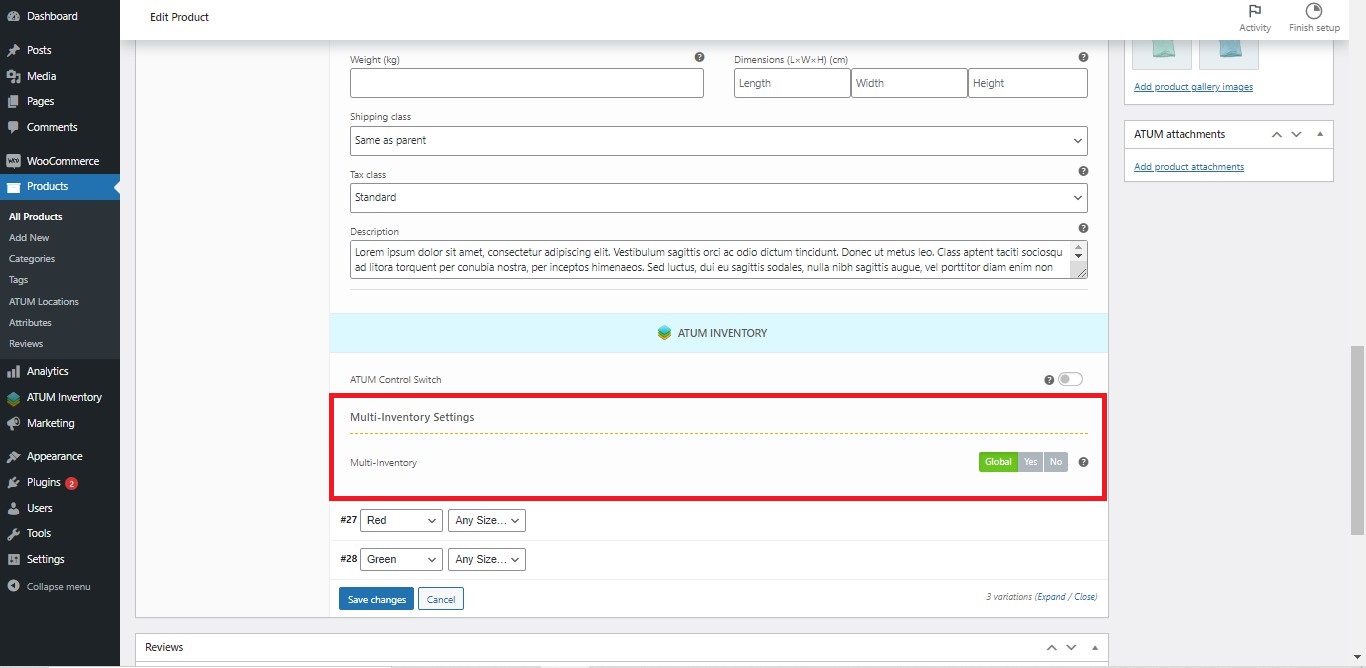
- Click the Save Changes button at the bottom.
- To confirm the change click Update the product at the top right.