Should you ever want to, it’s easy to uninstall ATUM’s Action Logs premium add-on.
Removing all ATUM Action Logs data from your WordPress site (optional)
In some cases, ATUM settings and data are saved in different places in WordPress. If you plan to reinstall ATUM Action Logs later and want to keep your ATUM Logs data intact when uninstalling, skip this section and continue with the uninstall process in the next section.
To ensure that all ATUM Action Logs settings and data are completely removed:
- Navigate to the ATUM Inventory menu and hover above it to make all active submenus appear.
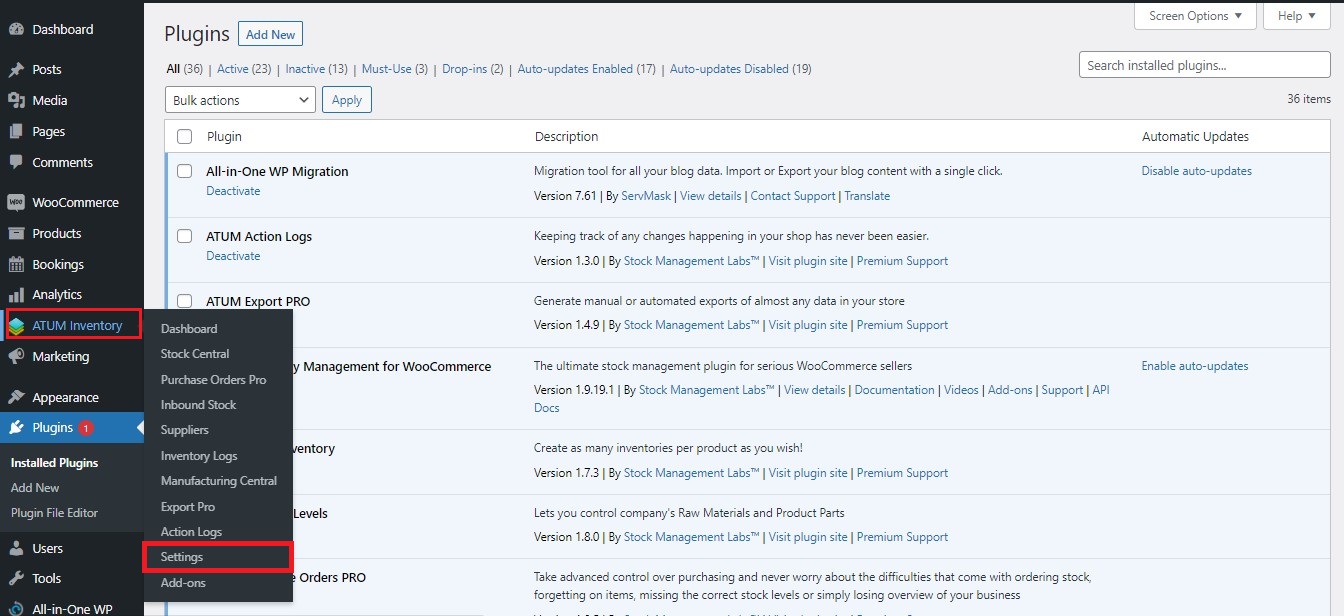
- Select the Settings submenu to reveal all options.
- Go to the Advanced tab and enable the option Delete data when uninstalling.
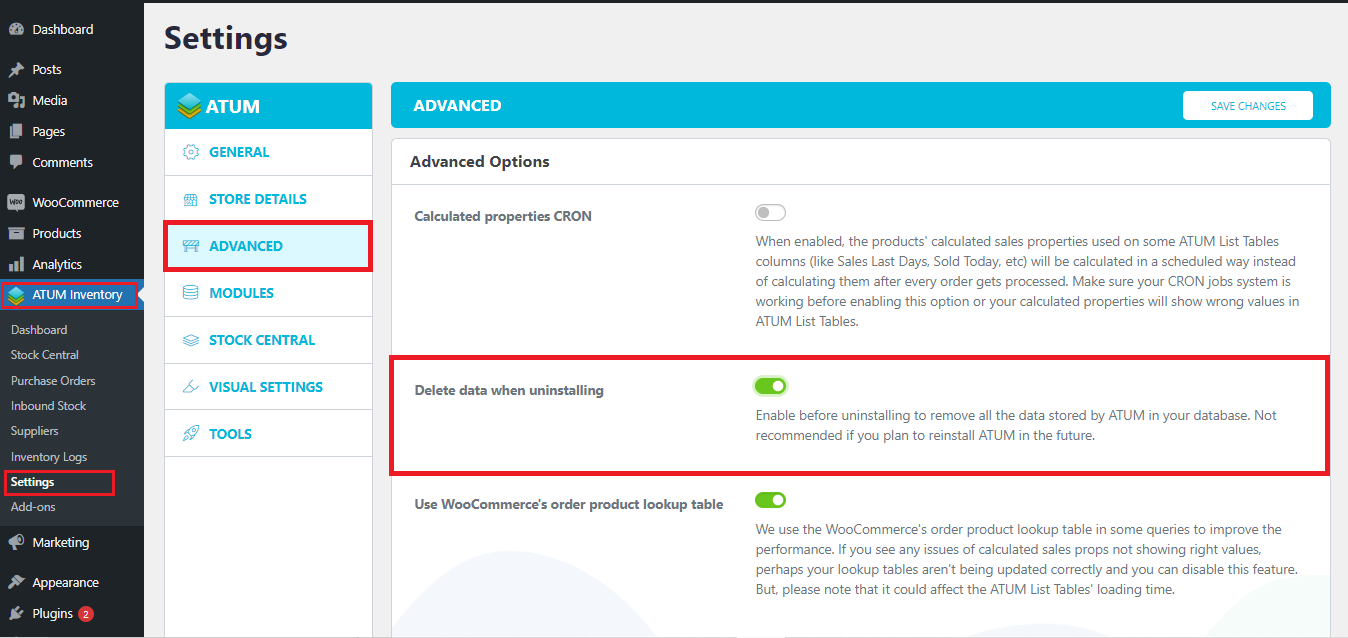
- Click Save Changes.
Uninstalling from the Plugins menu
- Go to your WordPress Dashboard.
- Select Plugins > Installed Plugins.
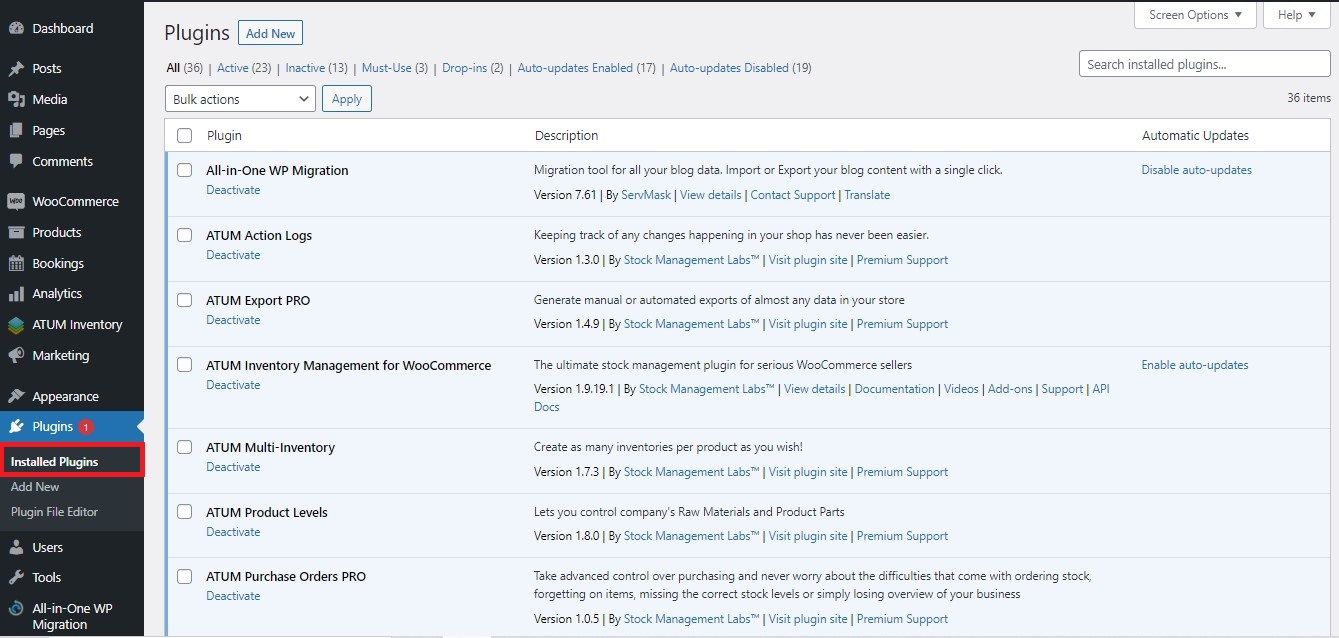
- Locate the ATUM Action Logs plugin.
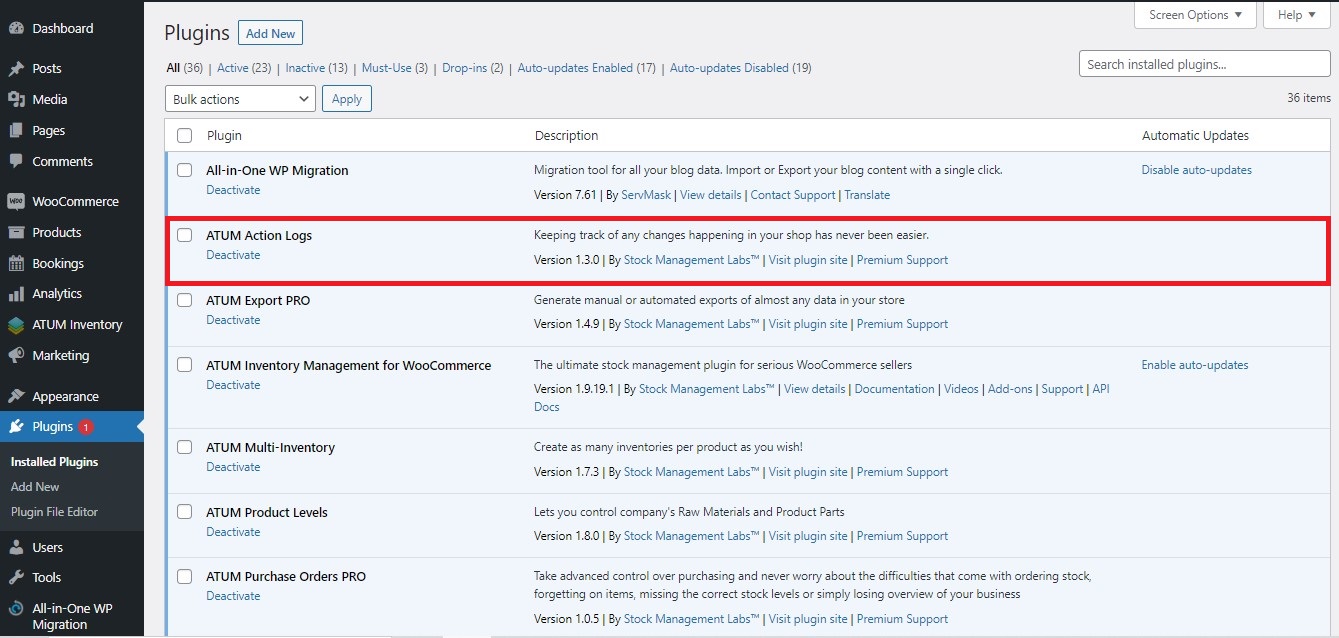
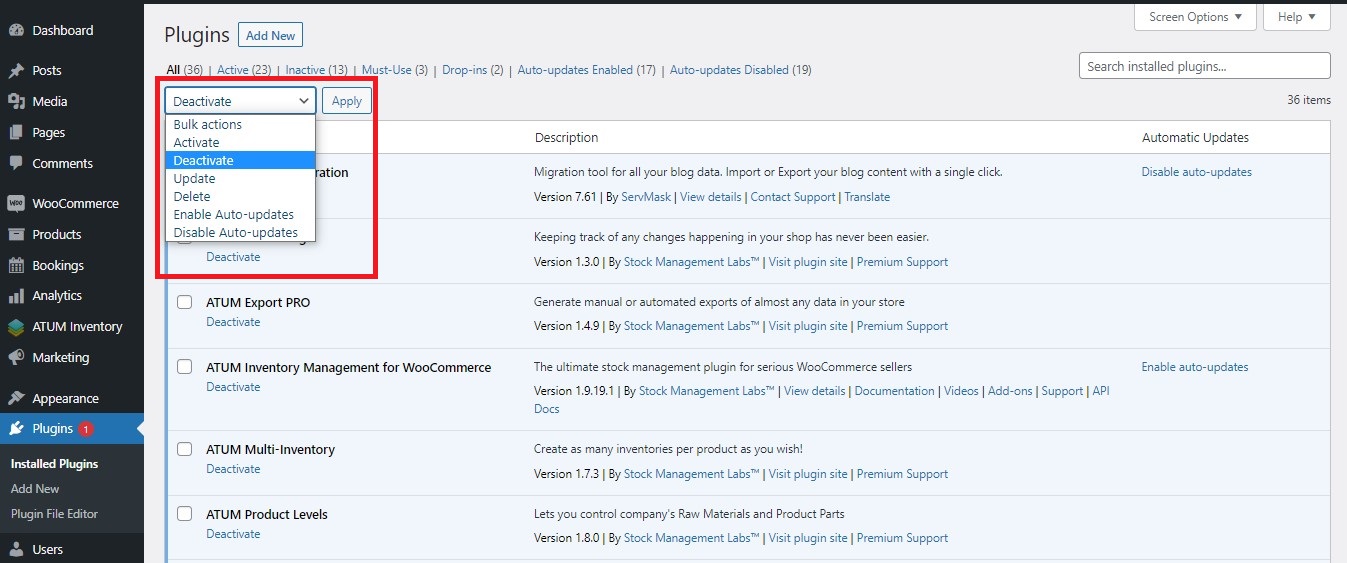
- Click Deactivate or select the checkbox, choose Deactivate from the drop-down menu, and then click Apply.
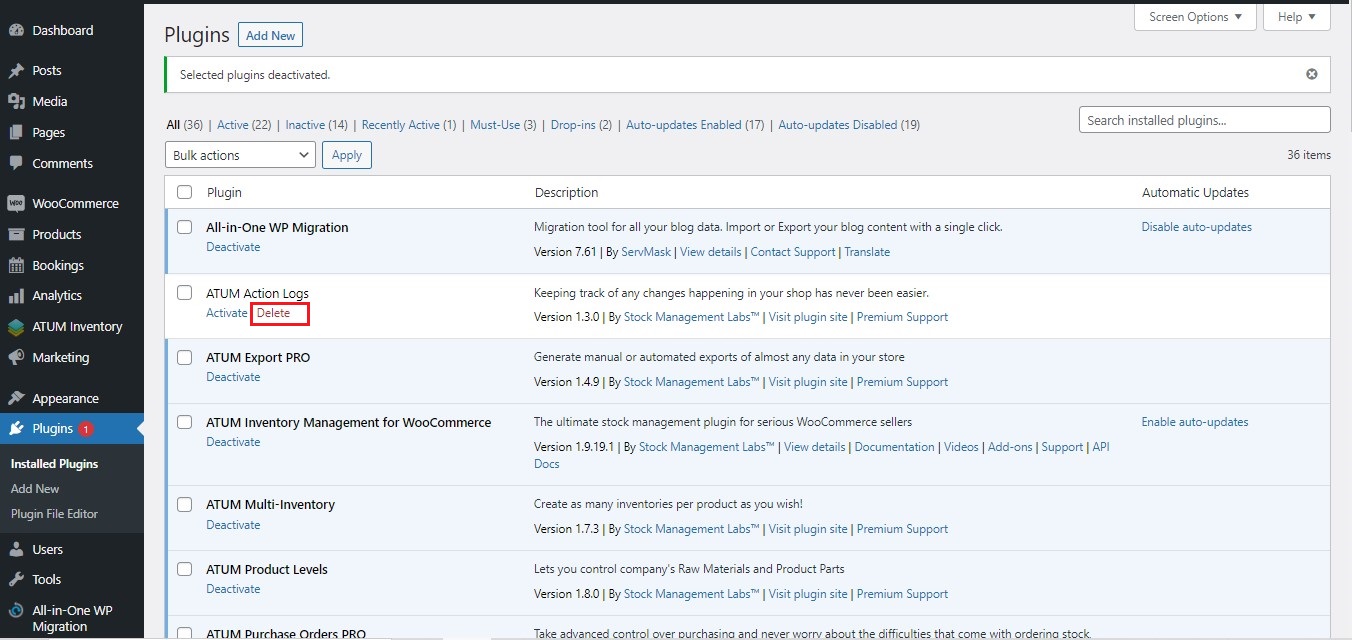
- Click Delete.
At this point, ATUM Action Logs have been uninstalled and the files removed from your server. Keep in mind that some data and settings may still stay within the WP installation. To completely remove all the data and settings, follow the instructions in the “Removing all ATUM data from your WordPress site” section above.
You can reinstall ATUM Action Logs from the add-ons screen in case you are uninstalling it to remove all its data to start with a clean install, after deleting the plugin.
Uninstalling from the server
This is only for technically experienced users.
Please, note that when uninstalling manually, the ATUM Action Logs data might be not removed from the database as stated in the first section.
Navigate to your server WordPress installation files and delete the ATUM Action Logs files from /wp-content/plugins/atum-logs.