Adding new suppliers to ATUM is as easy as adding any post to WordPress.
- In WordPress, go to ATUM Inventory > Suppliers.
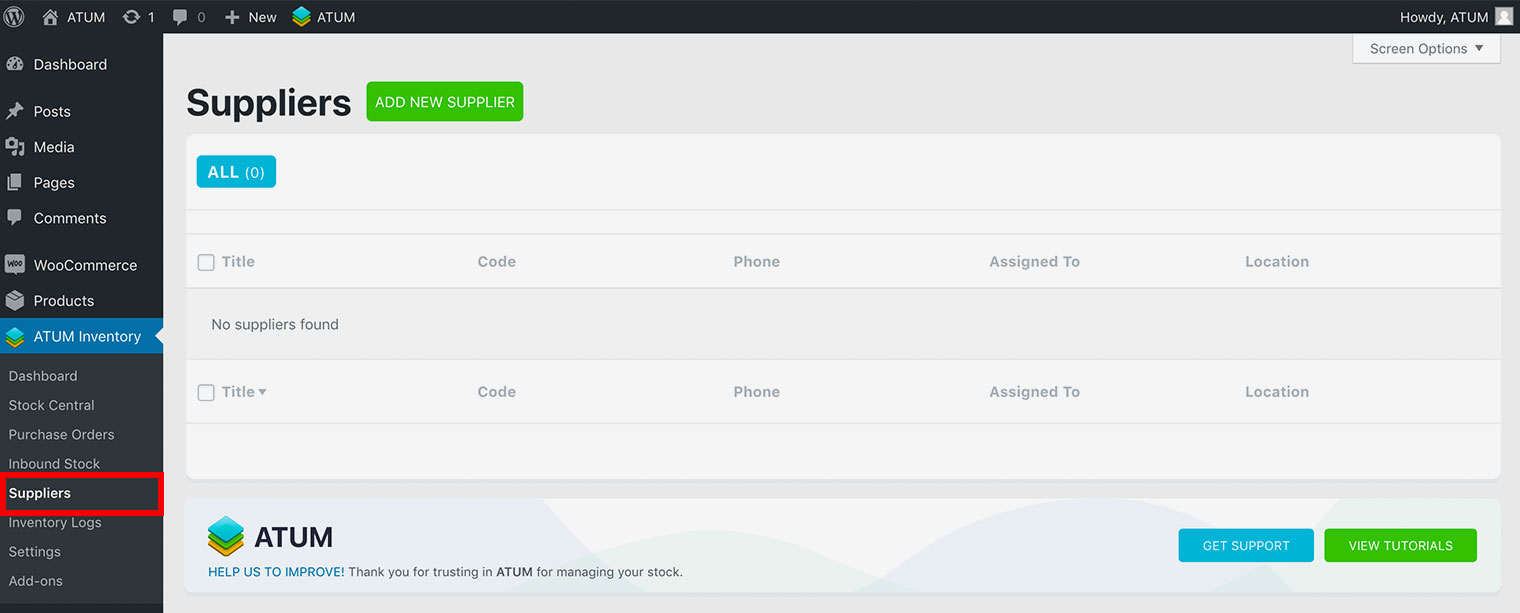
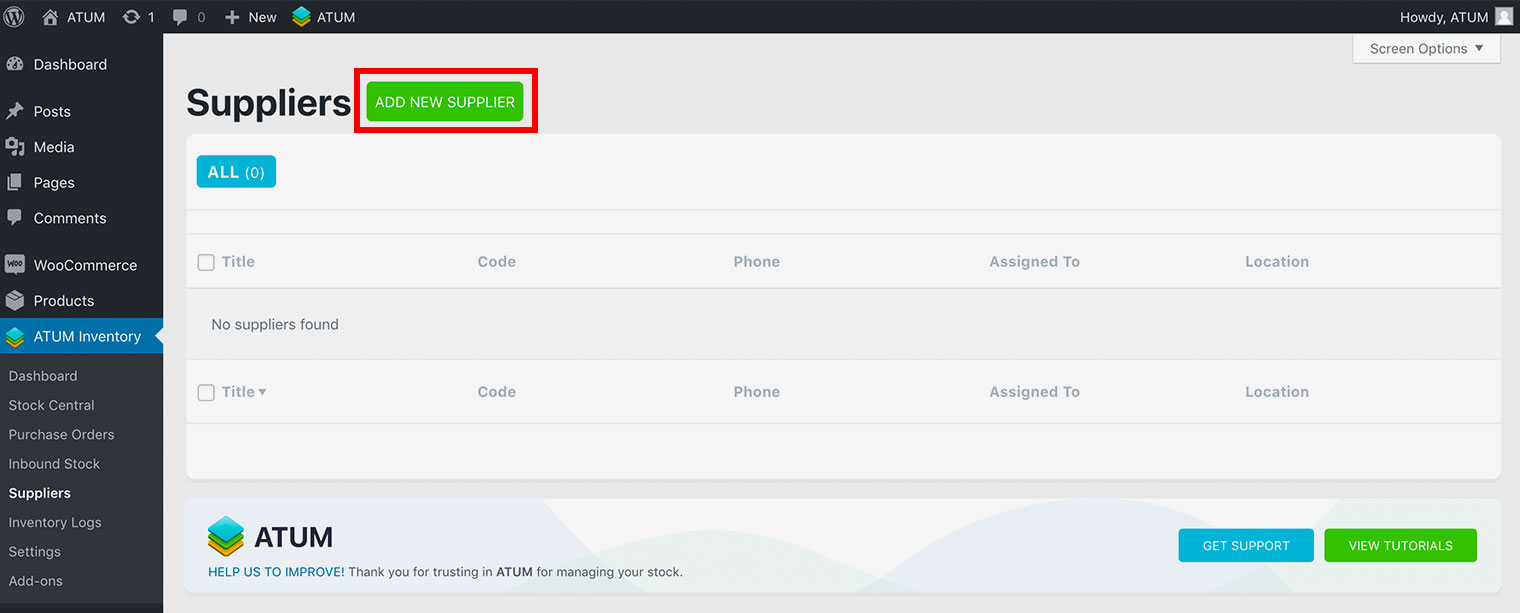
- Click Add New Supplier.
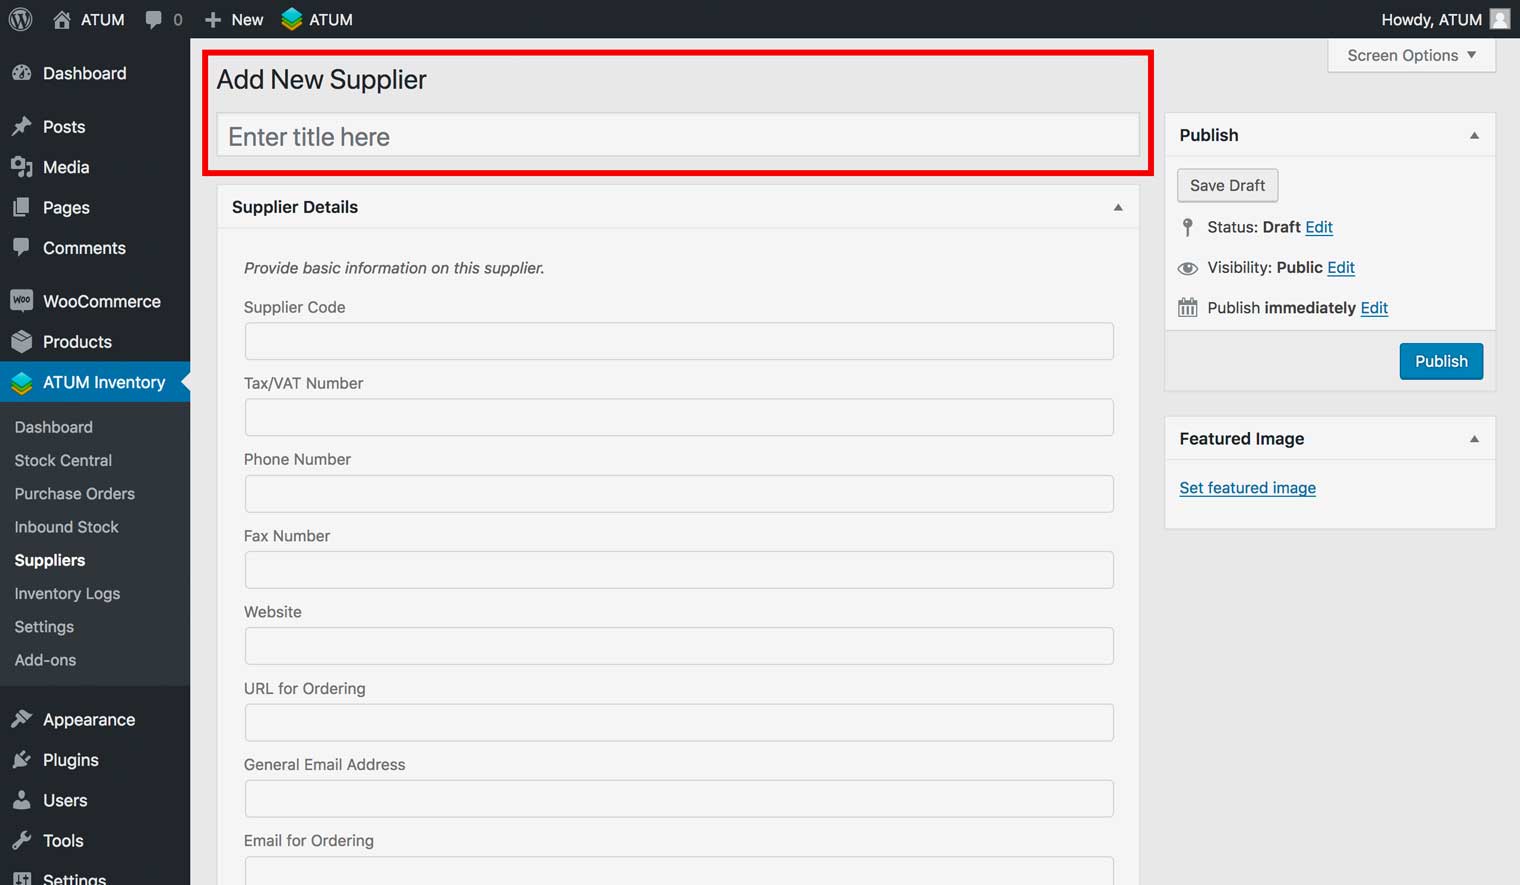
- Enter the supplier title.
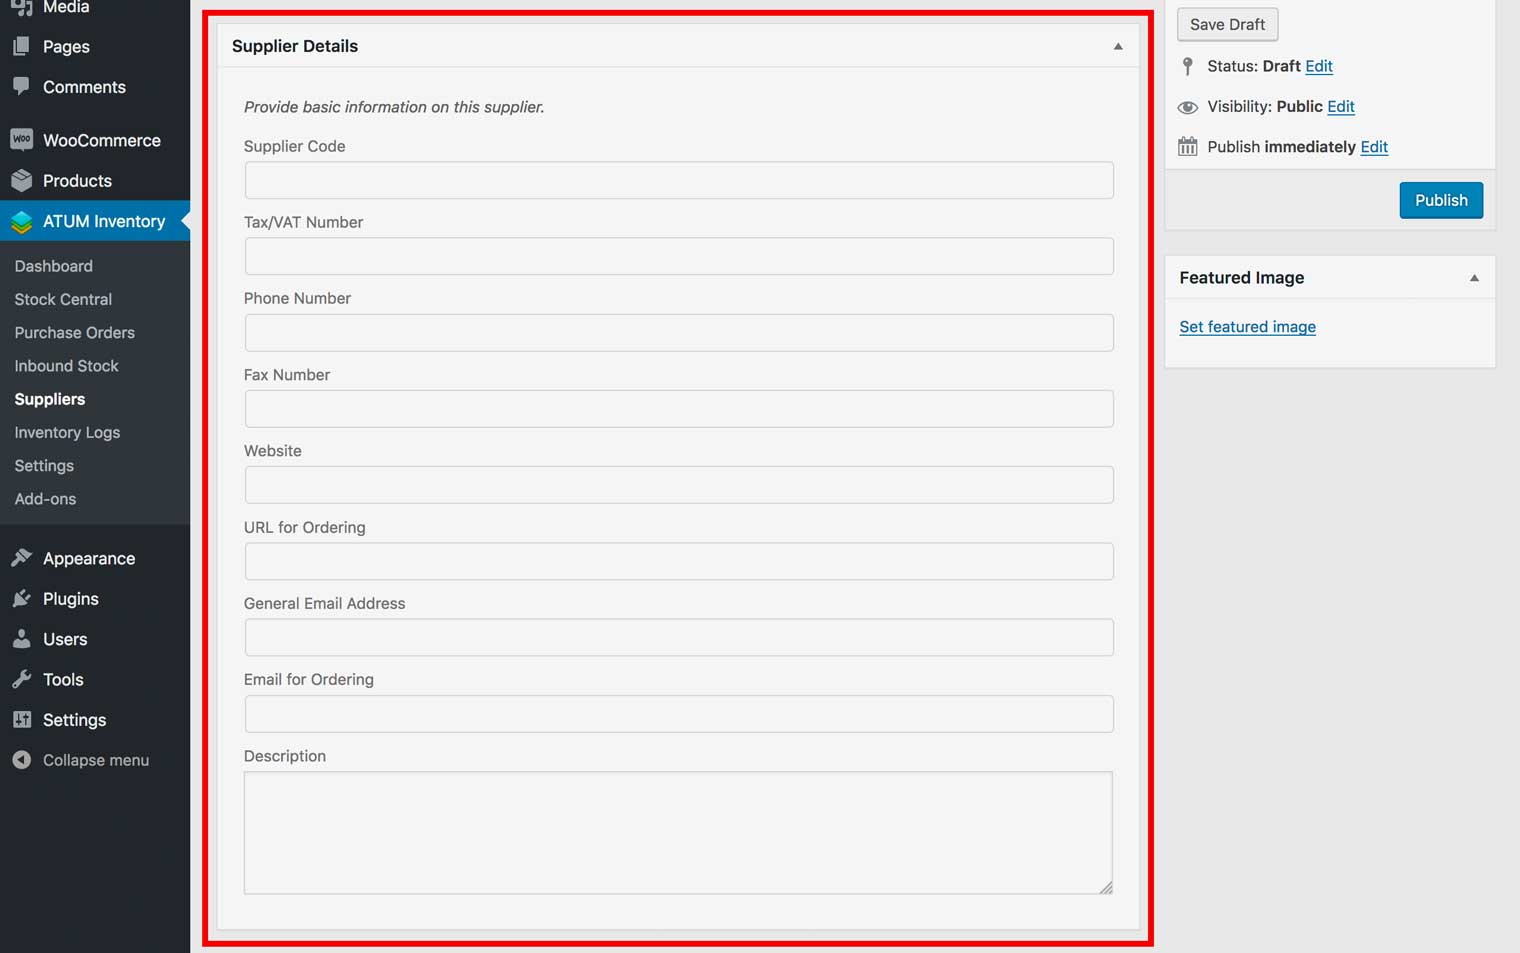
- Enter details for the supplier in the Supplier Details section:
-
Supplier Code: A short version of the supplier’s name.
-
Tax/VAT Number: The tax number for the supplier.
-
Phone Number: The telephone number of the supplier.
-
Fax Number: The fax number of the supplier.
-
Website: The supplier’s website address.
-
URL for Ordering: The link to the supplier’s ordering page.
-
General Email Address: The main contact email address for the supplier.
-
Email for Ordering: The email address used for ordering inventory from the supplier.
-
Description: Any important information about the supplier.
- Enter billing information for the supplier in the Billing Information section:

-
Currency: Select the currency used by the supplier.
-
Address: Enter the address of the supplier.
-
City: Enter the city where the supplier is located.
-
Country: Enter the country where the supplier is located.
-
State: Enter the state where the supplier is located.
-
Zip Code: Enter the postal code of the supplier.
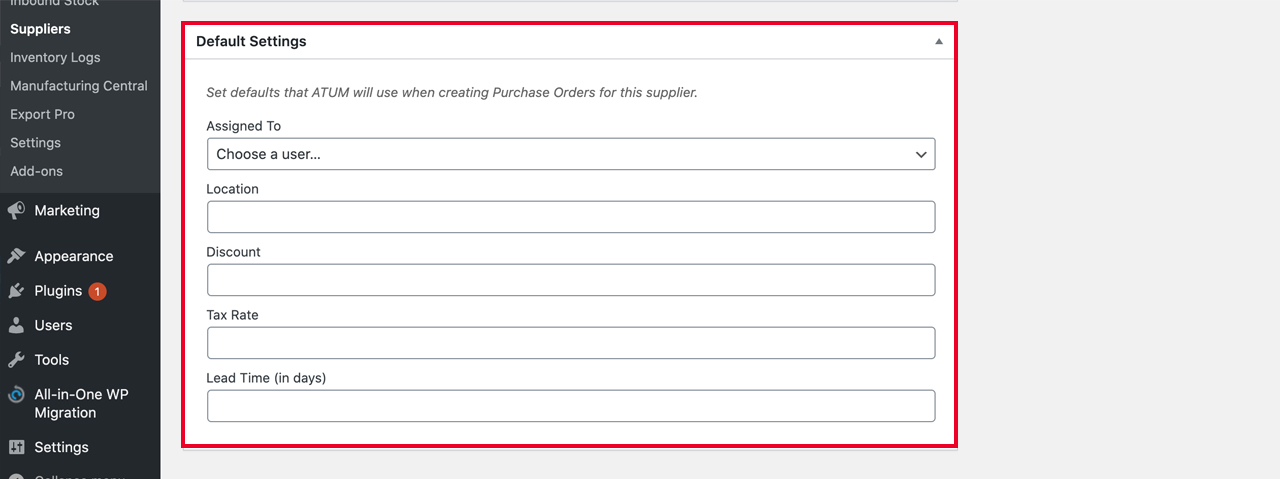
- Enter information in the Default Settings section:
-
Assigned To: Select the contact at your company who will be notified when a purchase order for this supplier is created.
-
Location: The location of the contact who is assigned to this supplier.
-
Assigned To: Select the contact at your company who will be notified when a purchase order for this supplier is created.
-
Discount: Enter the discount value of the supplier.
-
Tax rate: Enter the tax rate value of the supplier.
-
Lead time: The expected time it takes for the order to arrive with this supplier.
- Click Publish to save your supplier.