Creating Locations
After you have set up products in WordPress, you can create locations in ATUM when your products are located in different Countries, Cities, Warehouses, Areas, Shelves, etc.
To create a new location:
- In your WordPress admin panel, go to Products > ATUM Locations.
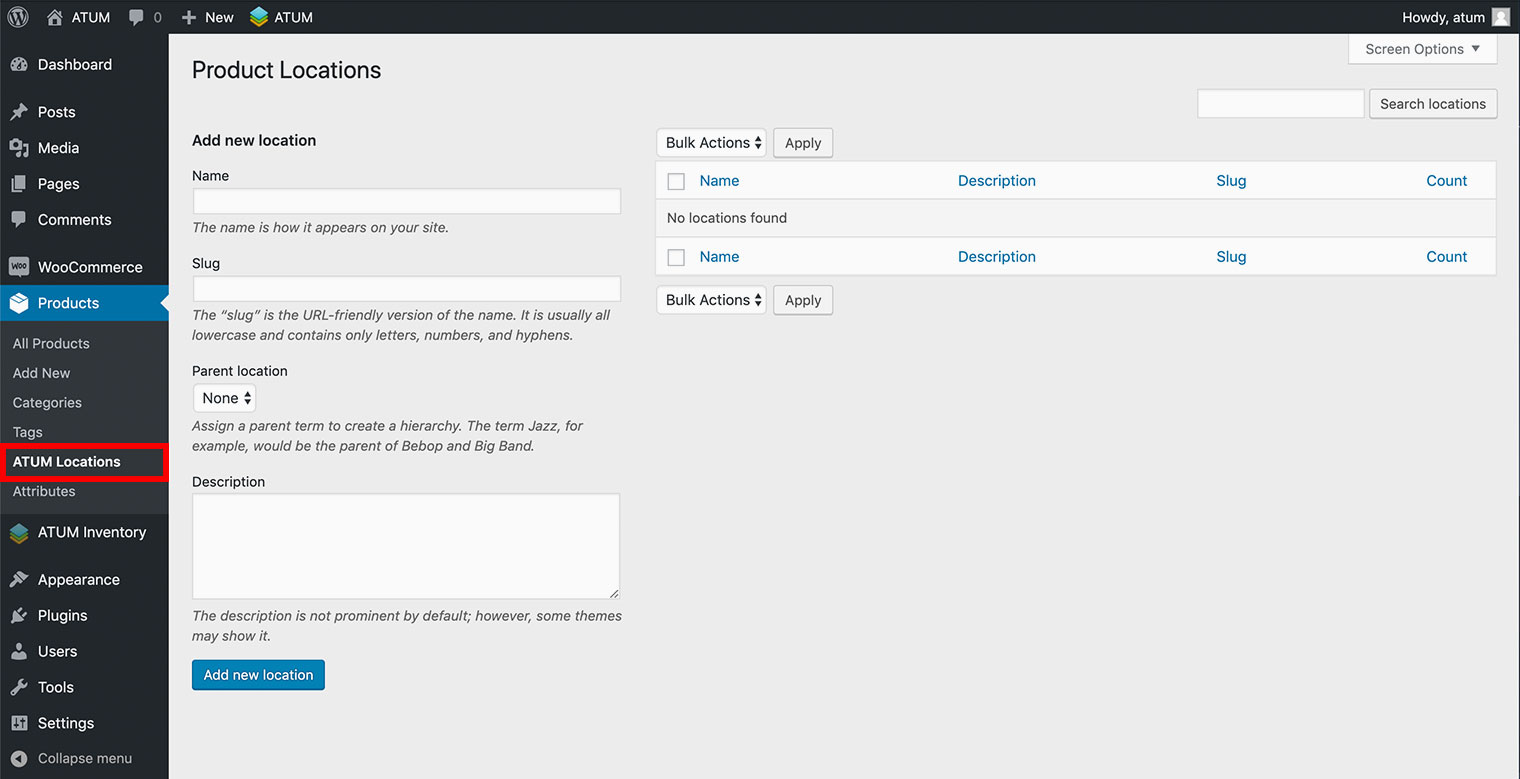
- Fill in the Location fields:
- Name: The name of the location.
- Slug: The URL of the name. It's auto-generated if the field is empty.
- Parent location: Assign a parent location to create a hierarchy.
- Description: Short description of the location.
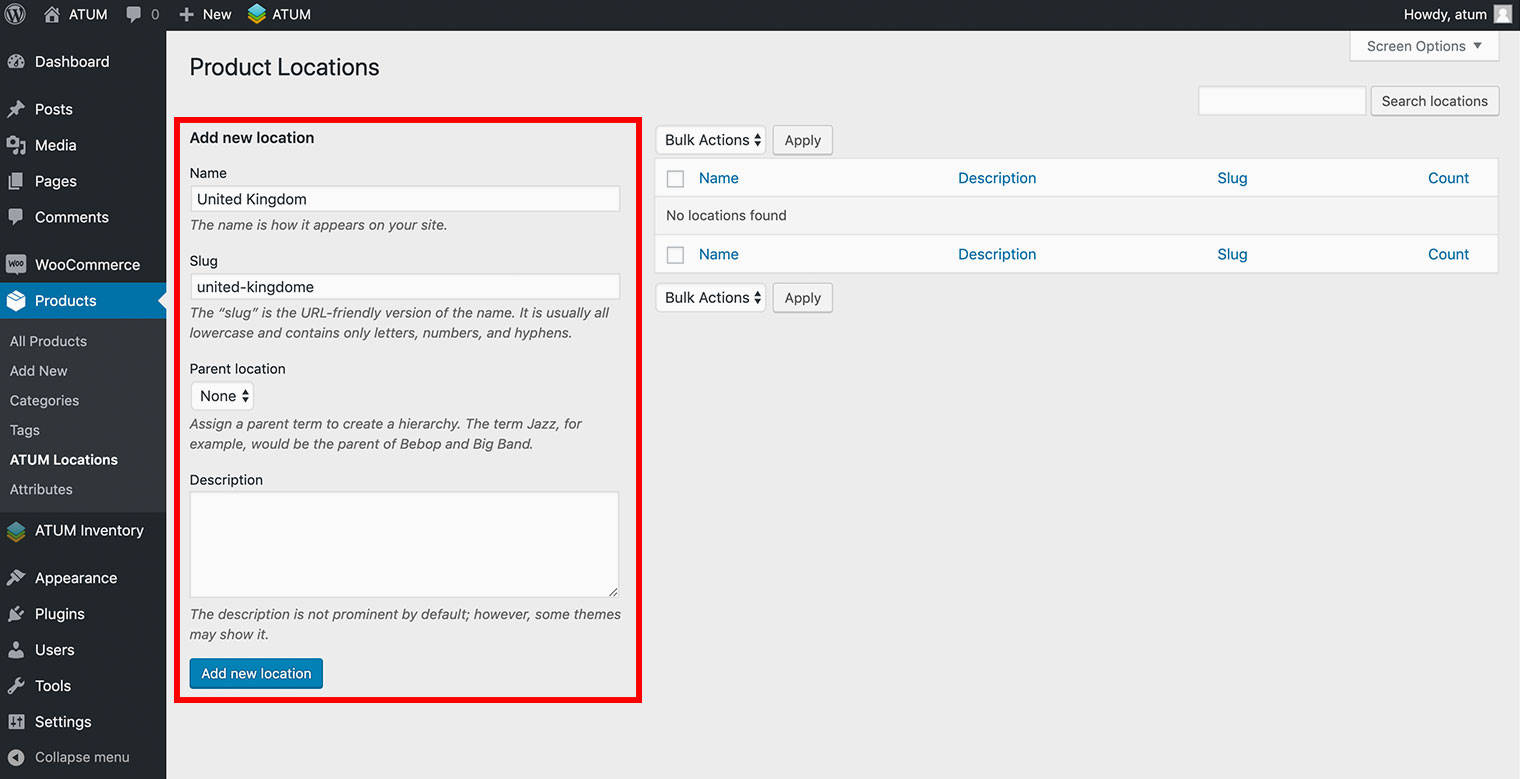
- Click Add new location button.
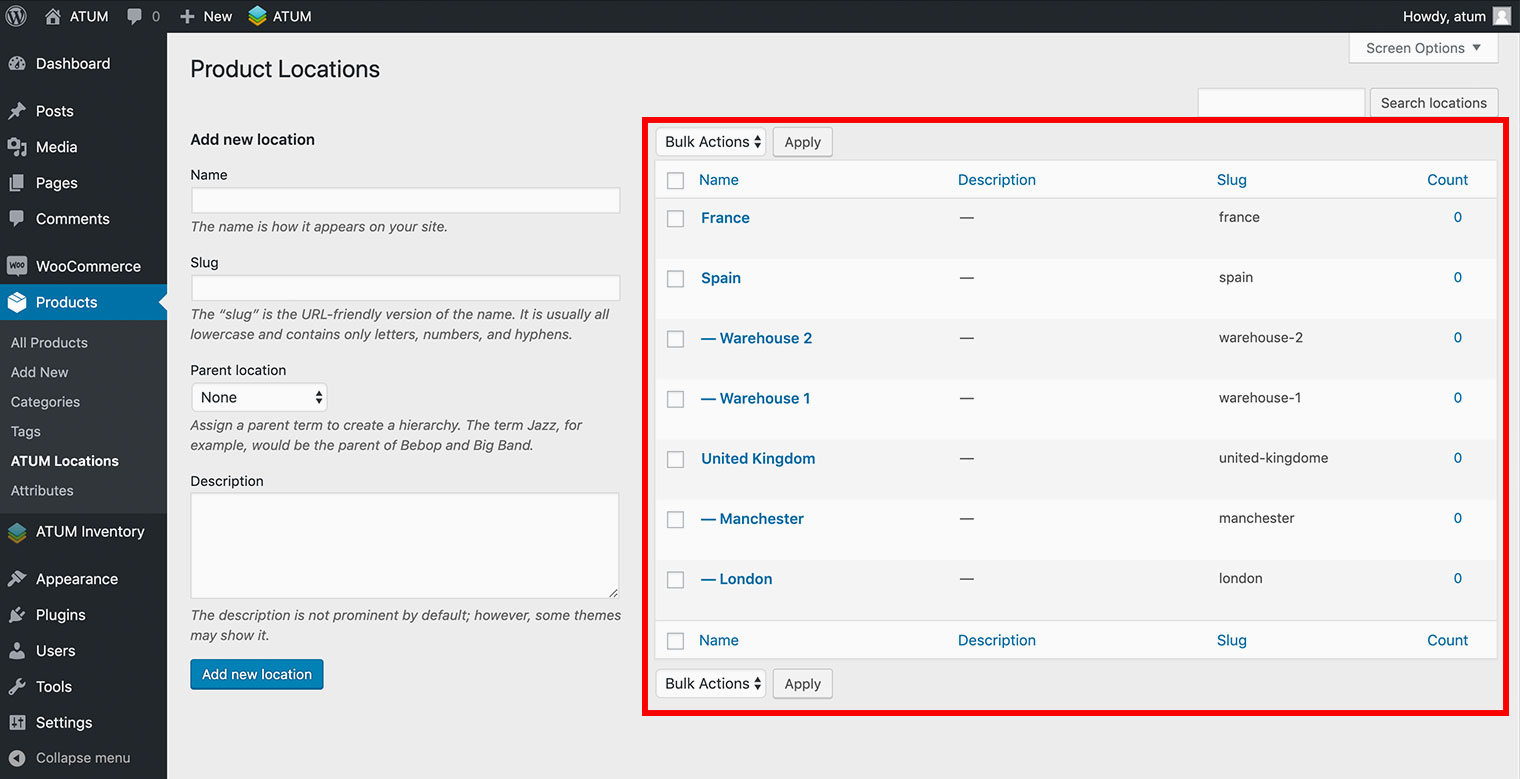
You can create as many locations as you wish.
Adding Locations to Products
Once you have created your locations, you can add them to any product. There are two ways to add locations, within the product page and within the Stock Central table.
Adding Locations within the Product Page
-
In your WordPress admin panel, go to the Product Page.
-
Scroll down to the Product Locations meta box, and check the desired locations.
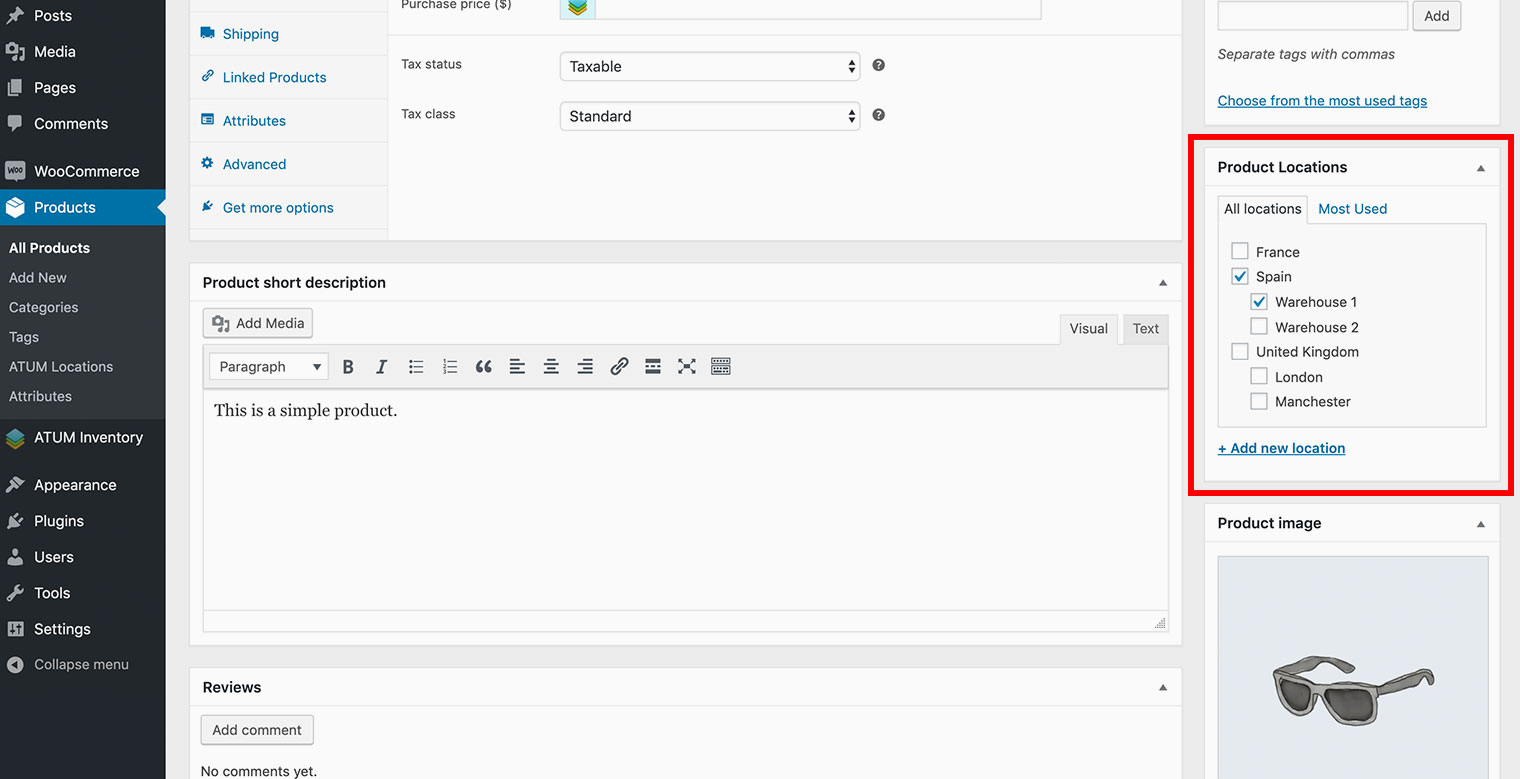
You can create locations within the product page by clicking on the + Add new location link.
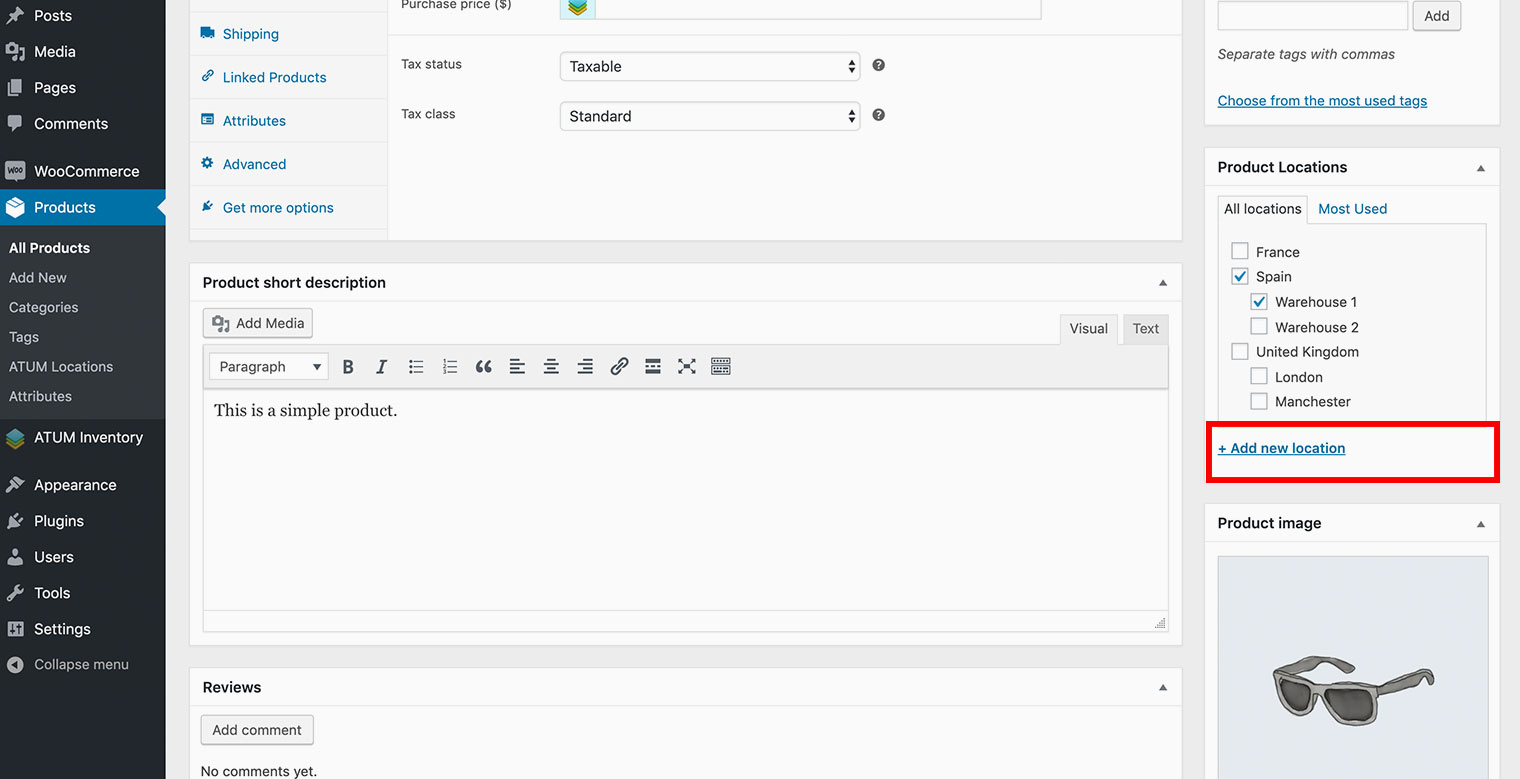
- Update the product.
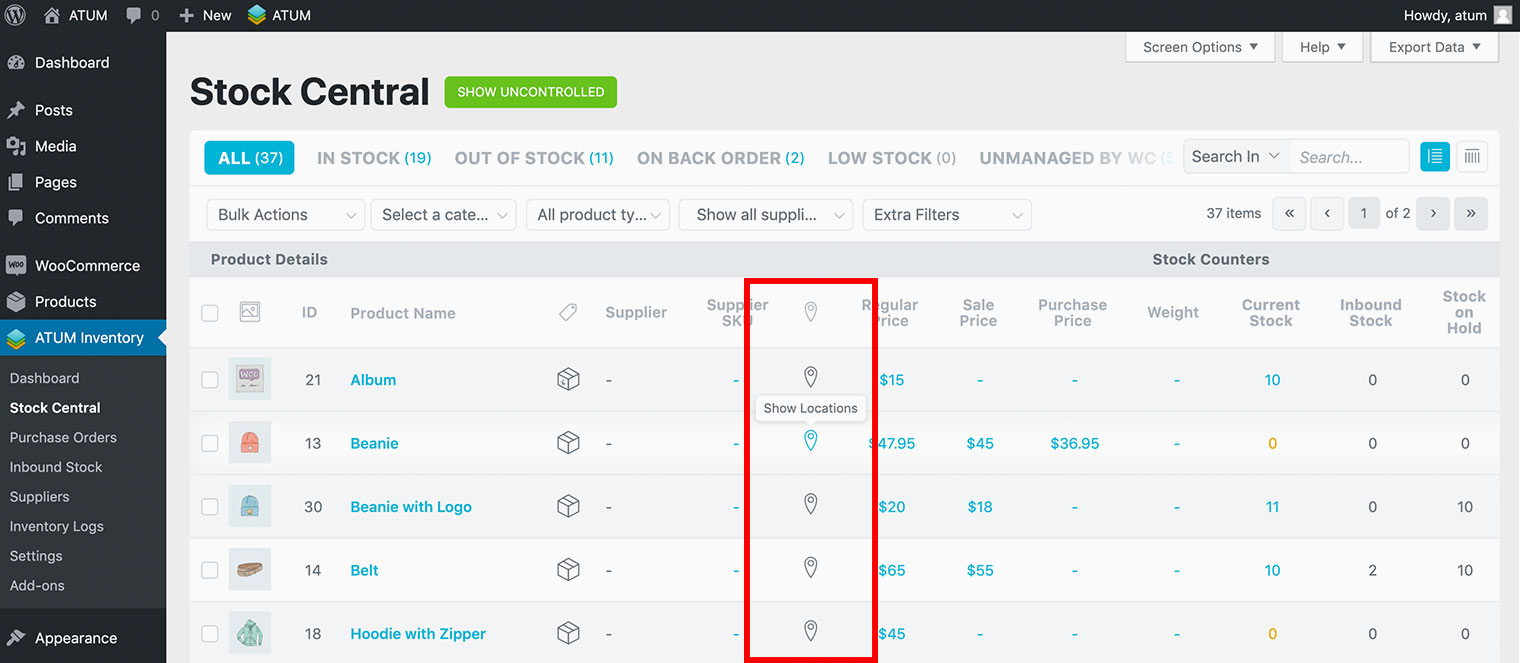
Adding Locations within Stock Central
-
In your WordPress admin panel, go to the ATUM Inventory > Stock Central.
-
Look for the product you want to add the location and click the location icon.
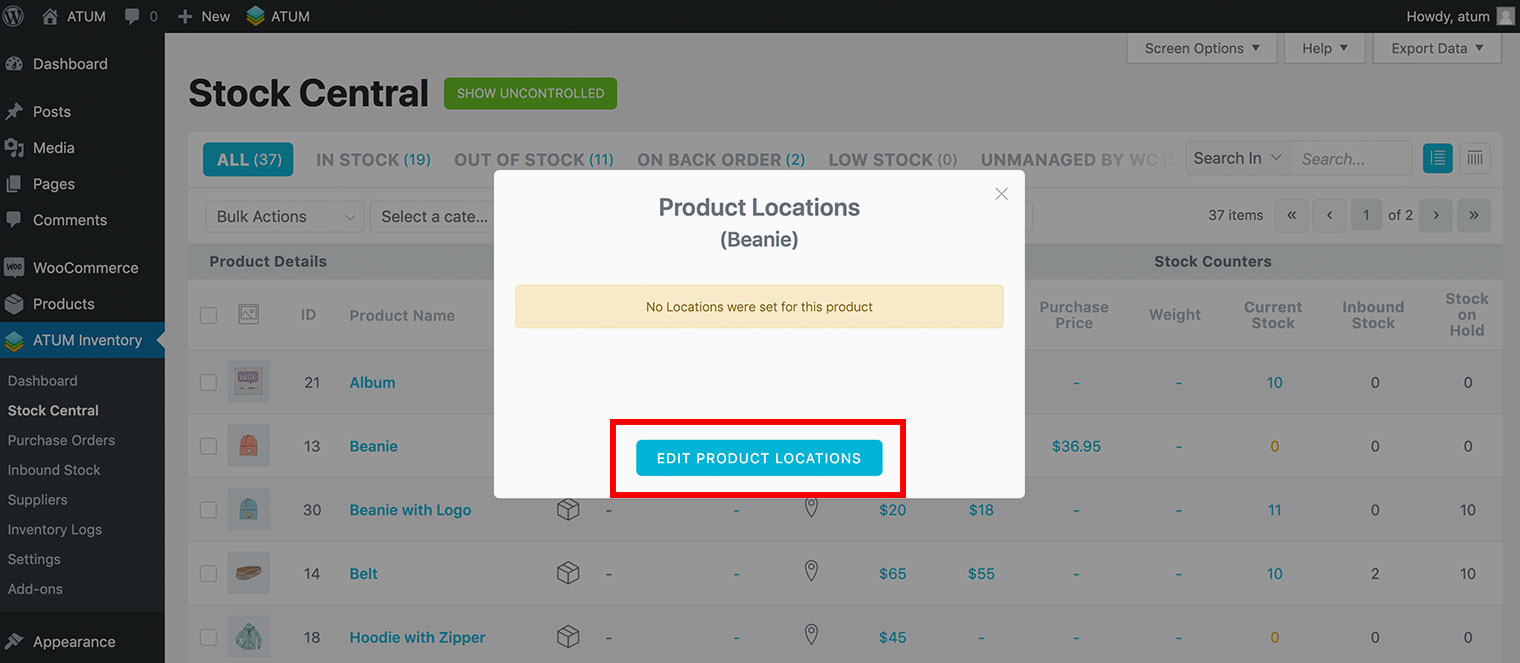
- A popup will appear. Click the Edit Product Locations button.
- Click on the locations you want to set for the product. When you select a location, the icon will change to blue color.
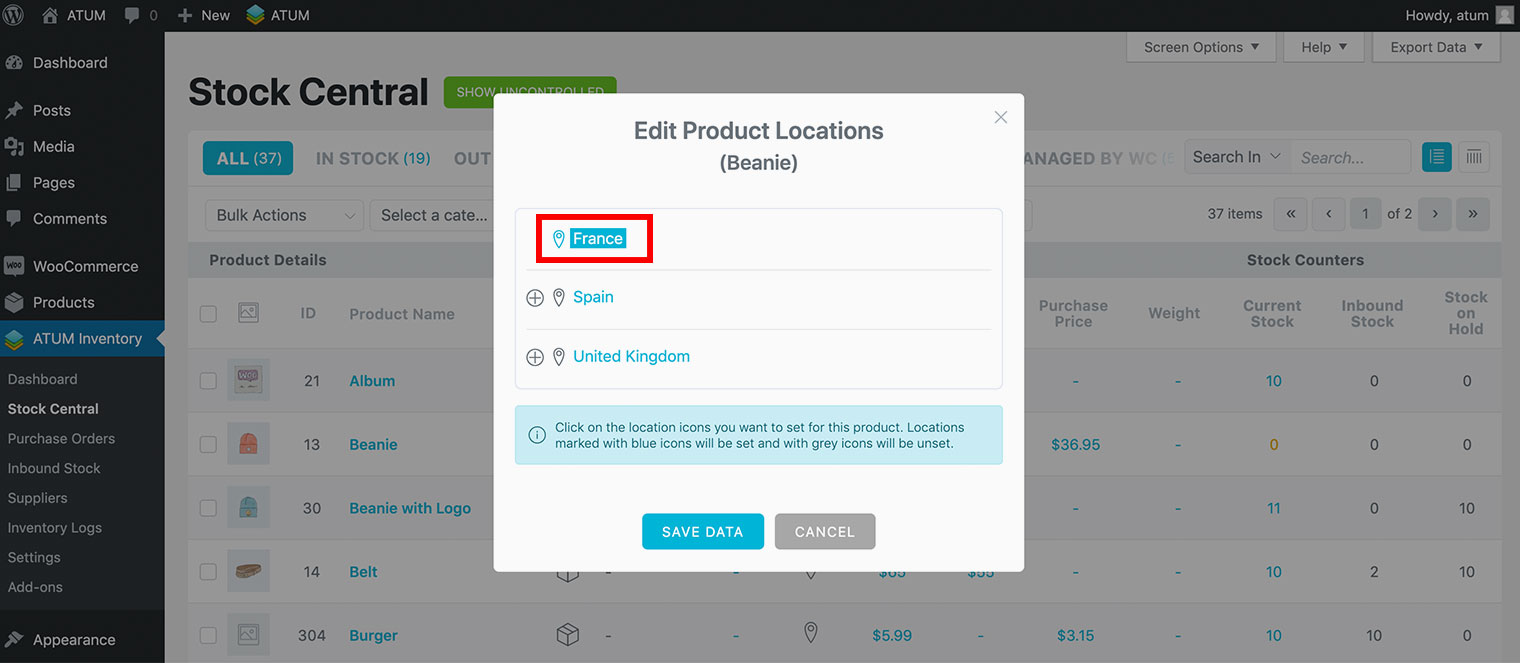
- Click the Save Data button.