After you have set up products in WordPress, you can add purchase orders in ATUM when you intend to purchase products from a supplier.
To add a new purchase order:
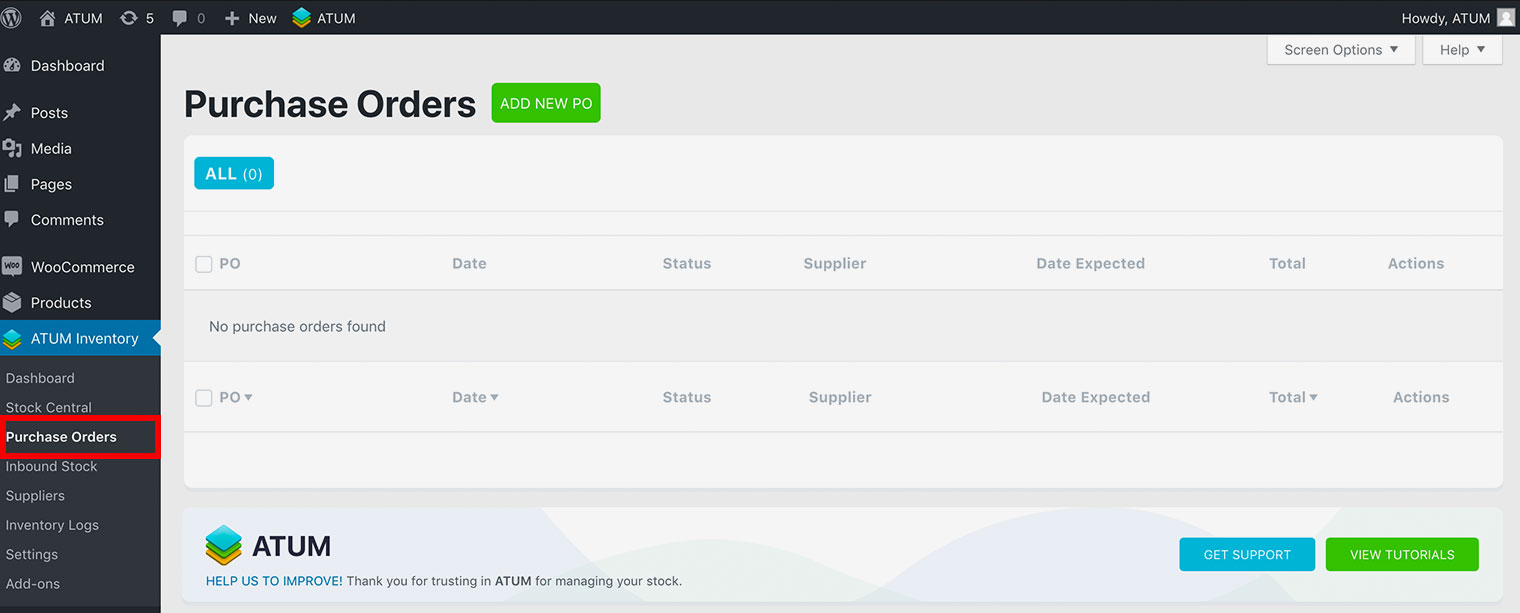
- Go to ATUM Inventory > Purchase Orders.
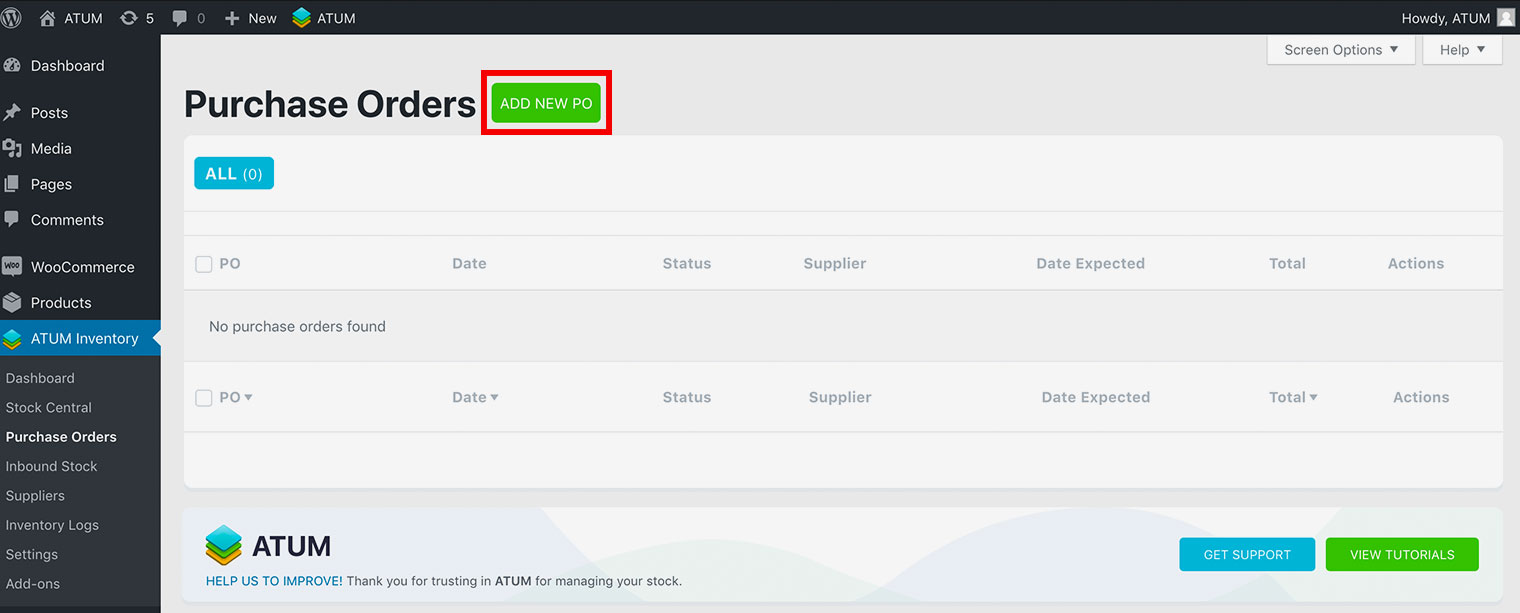
- Click Add New PO.
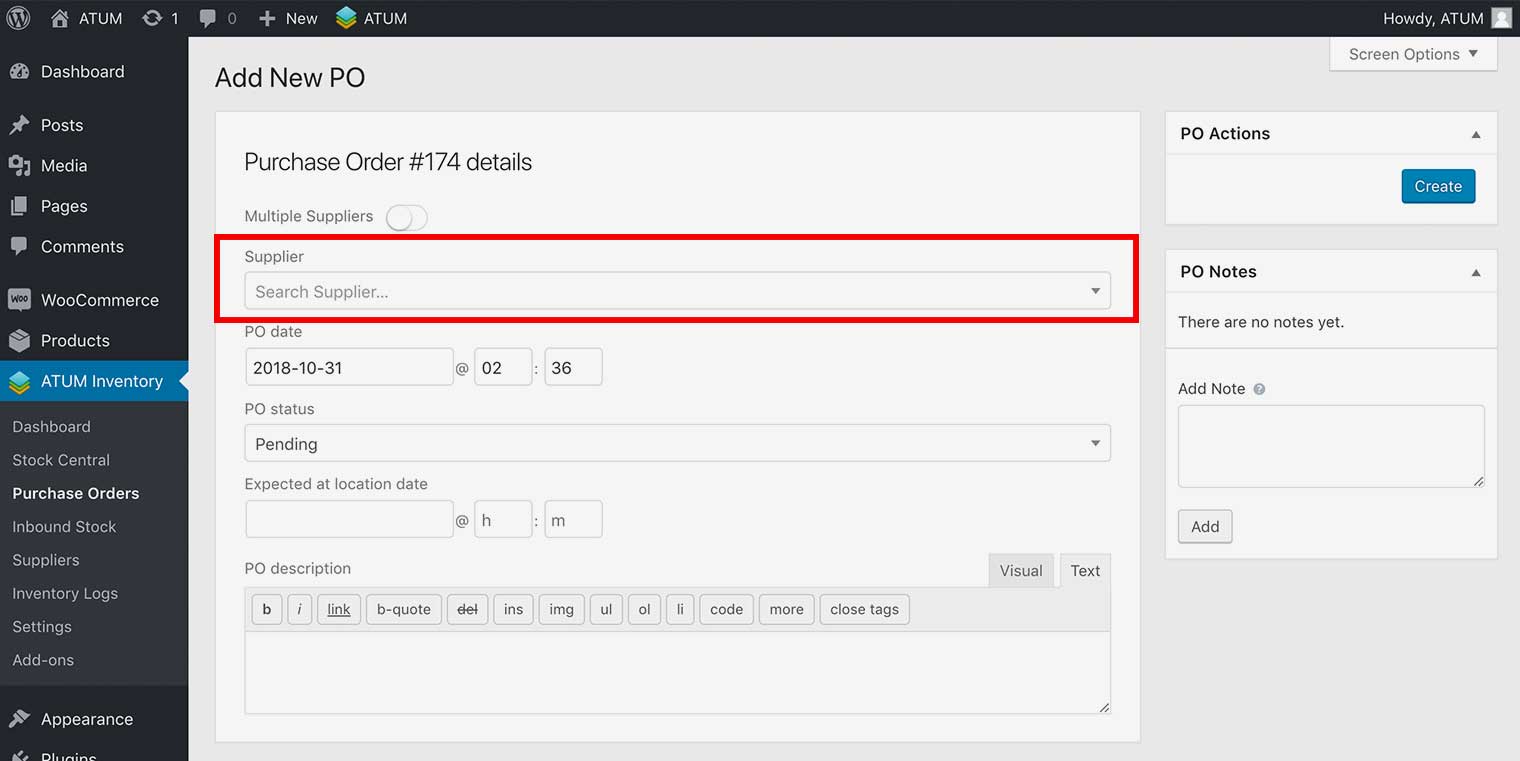
- Enable the Multiple Suppliers option if you want to add any product to the PO.
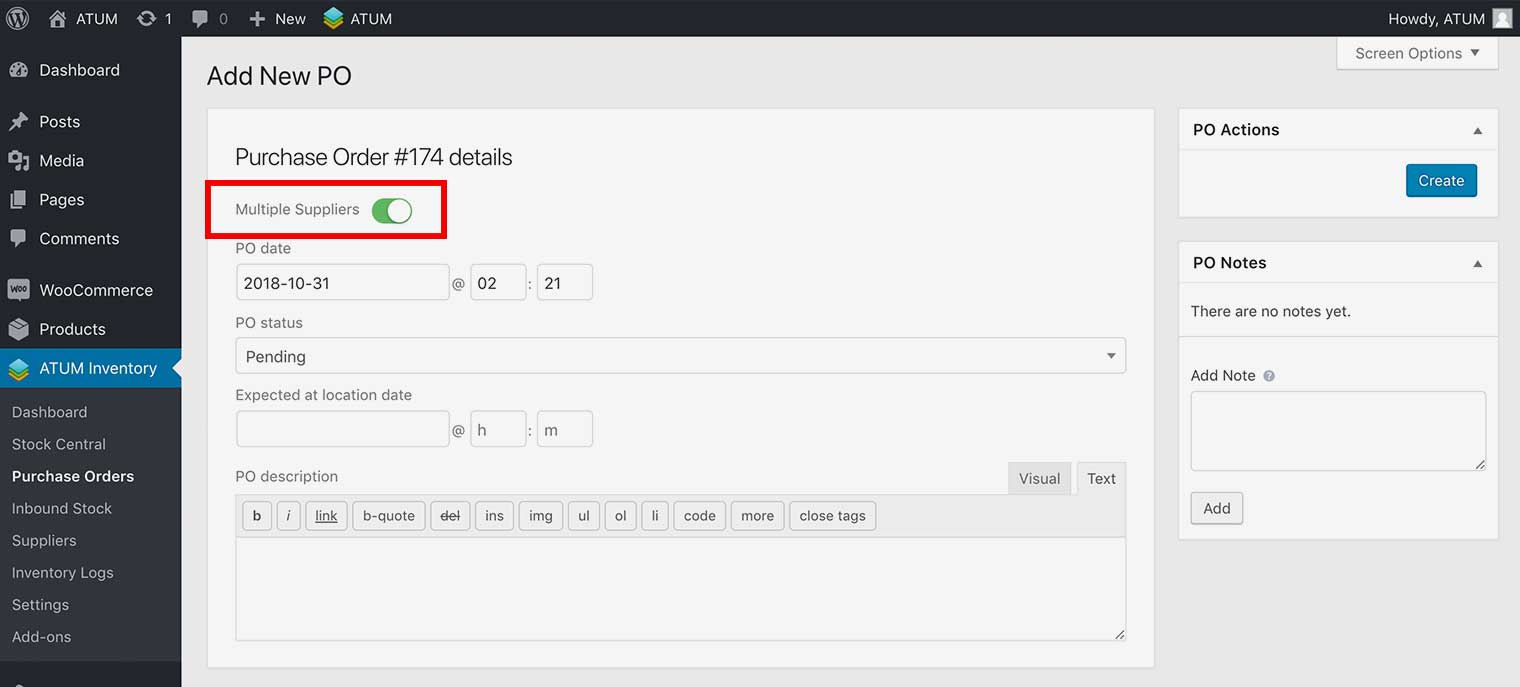
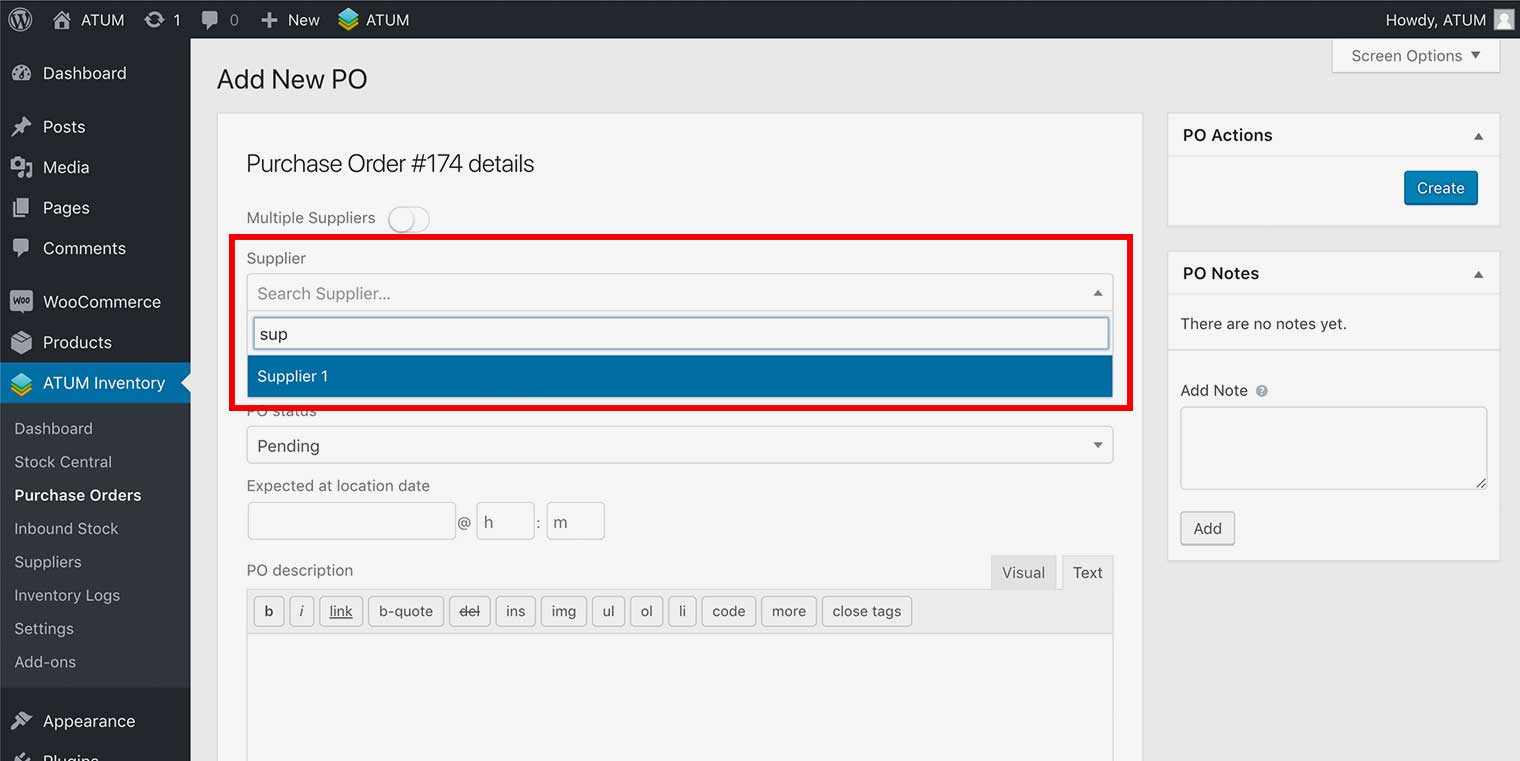
- Keep the Multiple Suppliers option disabled and select a supplier in the Supplier field if you want to add products from a specific supplier only.
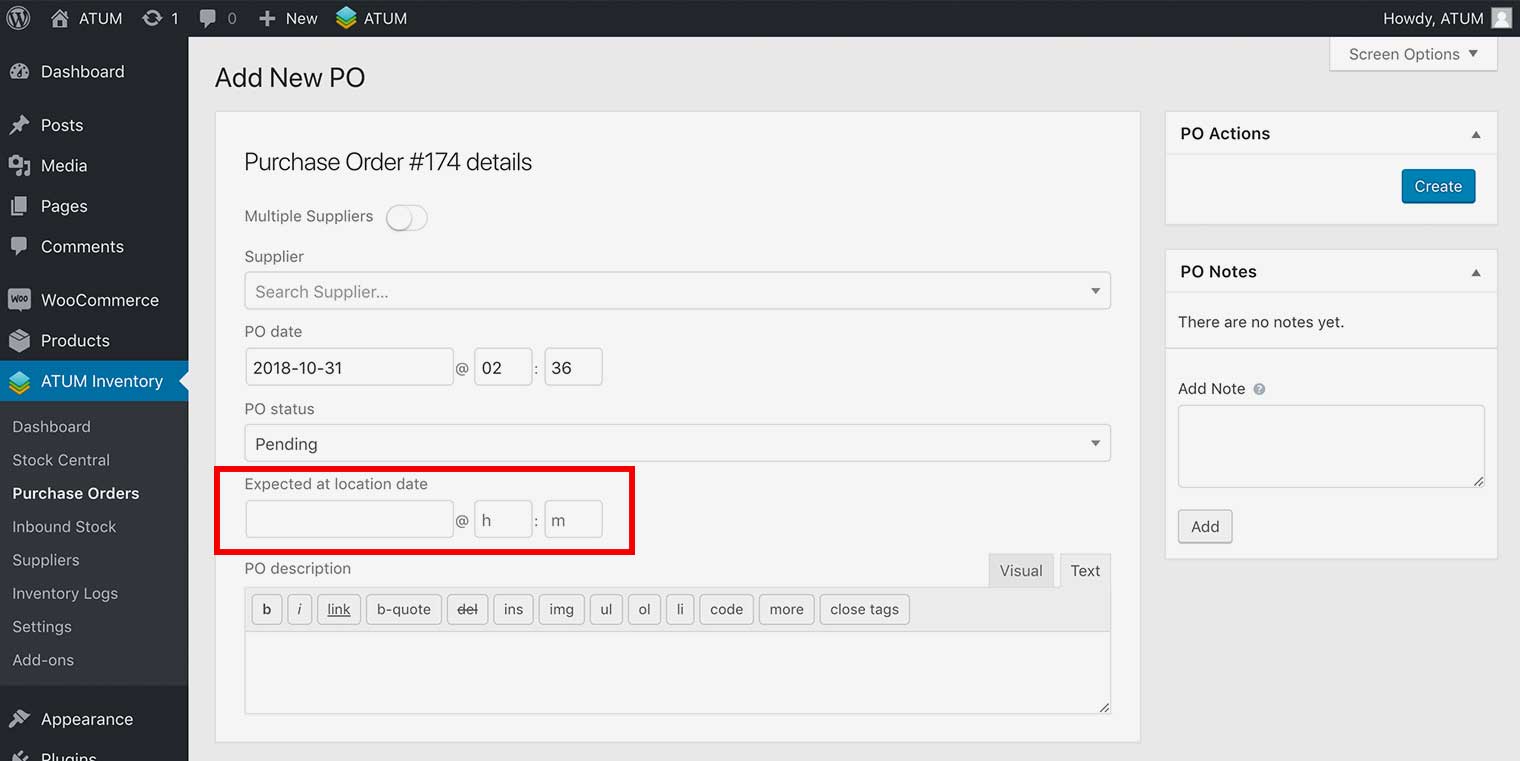
- Enter the date the products are expected to arrive from the supplier in the Expected at location date field.
- (Optional) Enter a description of the purchase order in the PO description field.

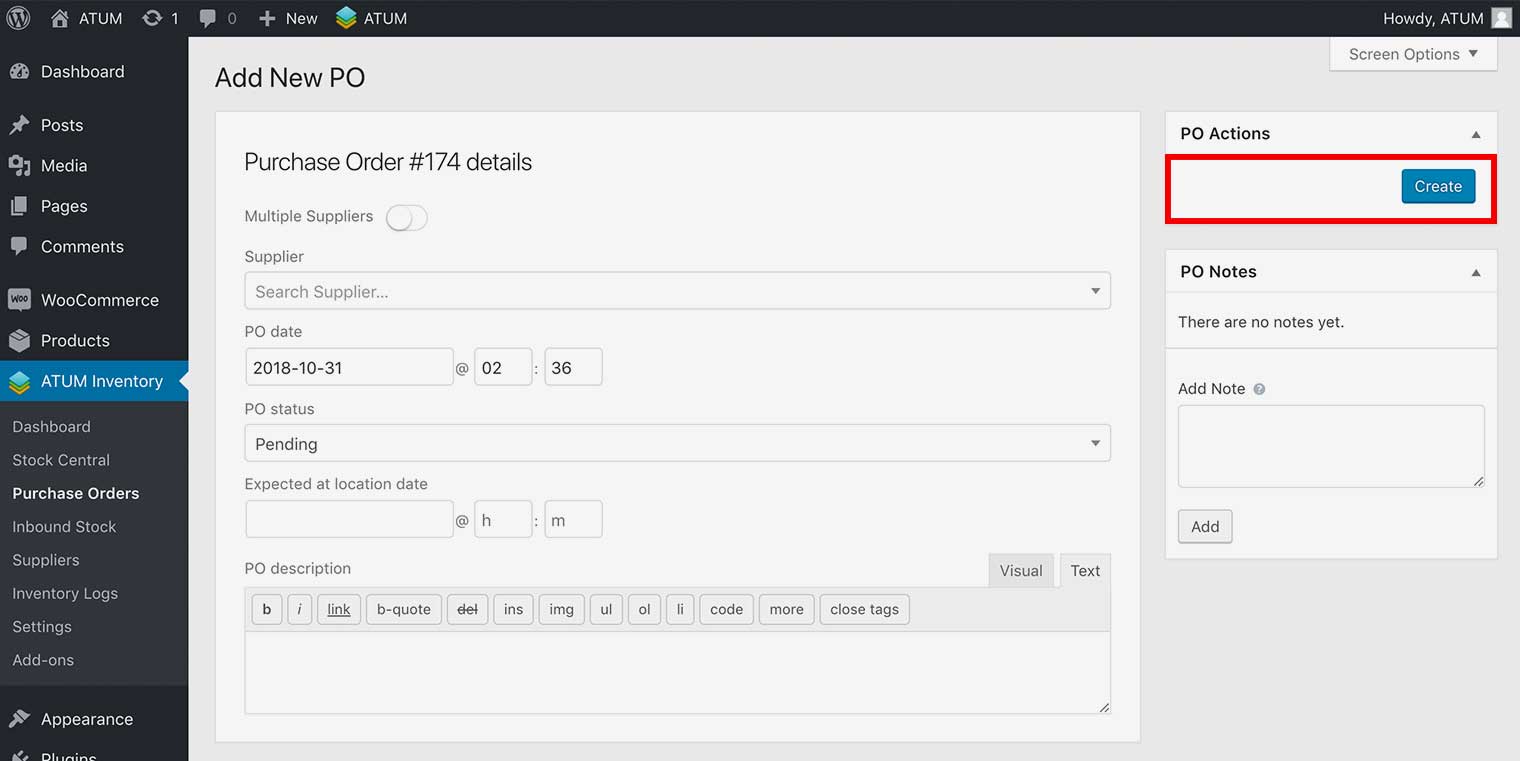
- Click Create.
ADD PRODUCTS TO THE PURCHASE ORDER
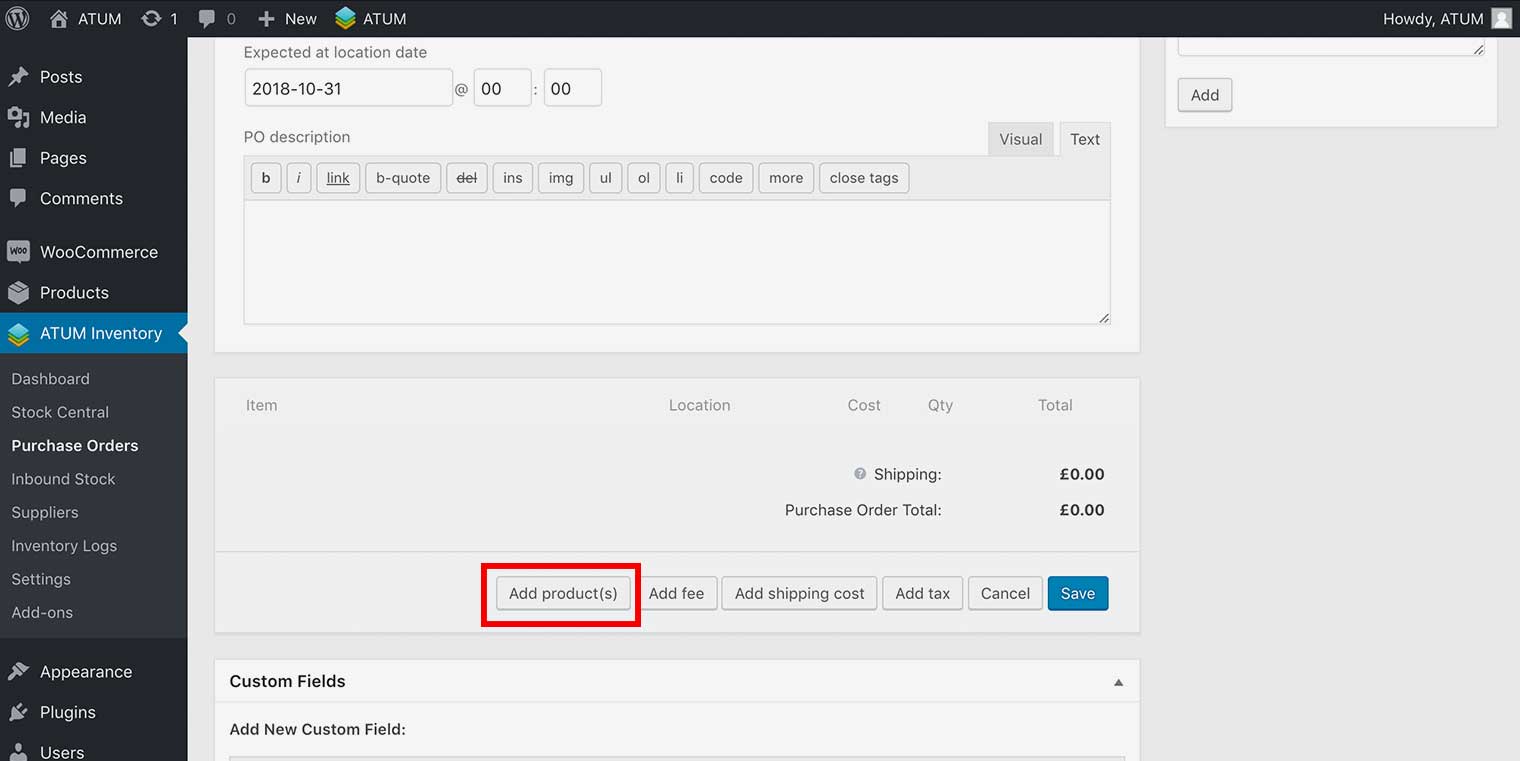
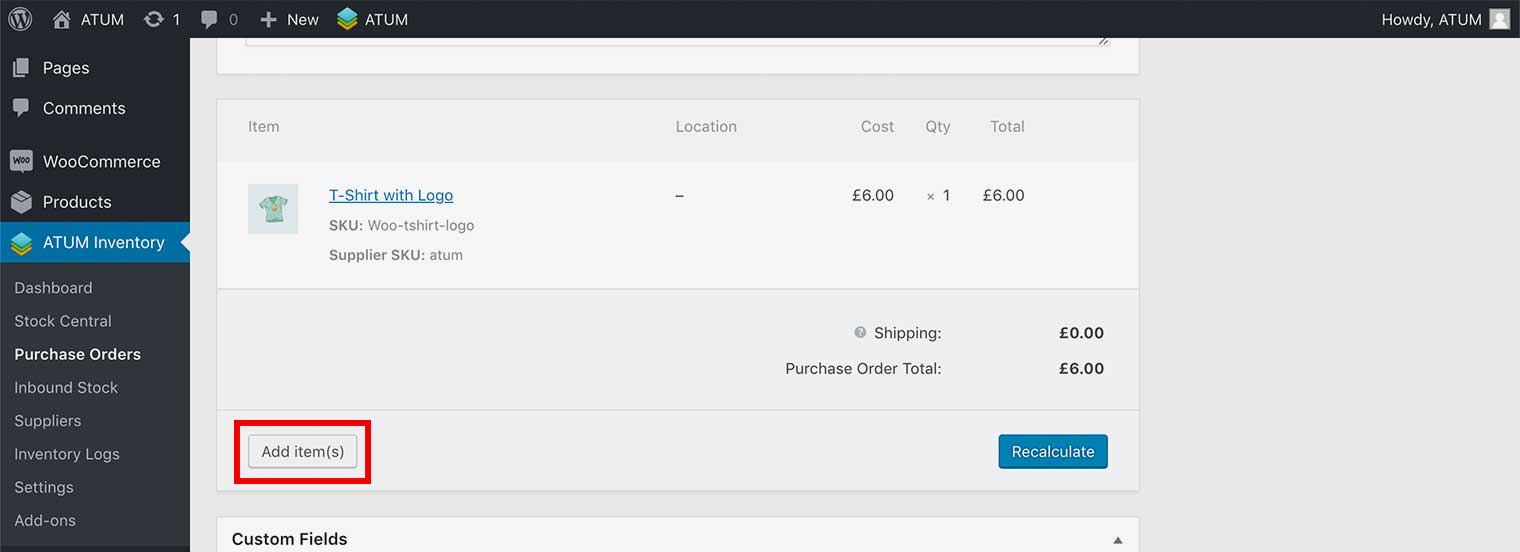
- Click Add Items(s) to add a product to the purchase order.

- Click Add product(s).
- The Add products pop-up appears. Enter the name of the product you want to add.
However, if you have Multiple Suppliers disabled, this pop-up allows you to search all the products for the supplier that you selected.
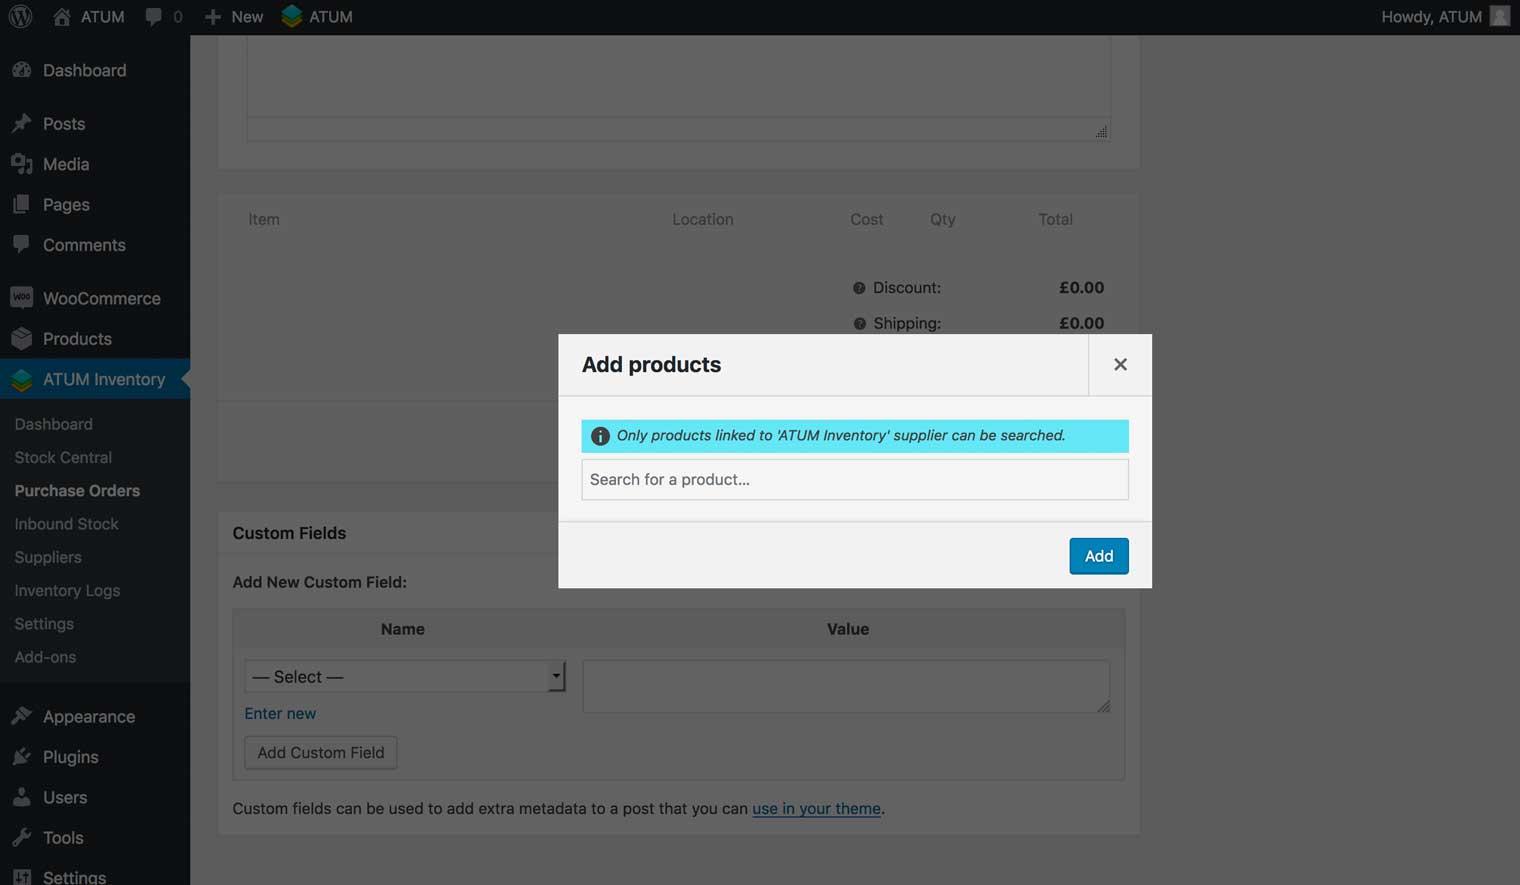
This field acts as a search field for all of the supplier’s products, and displays any products they have that match the text you have entered. You must enter at least three characters.
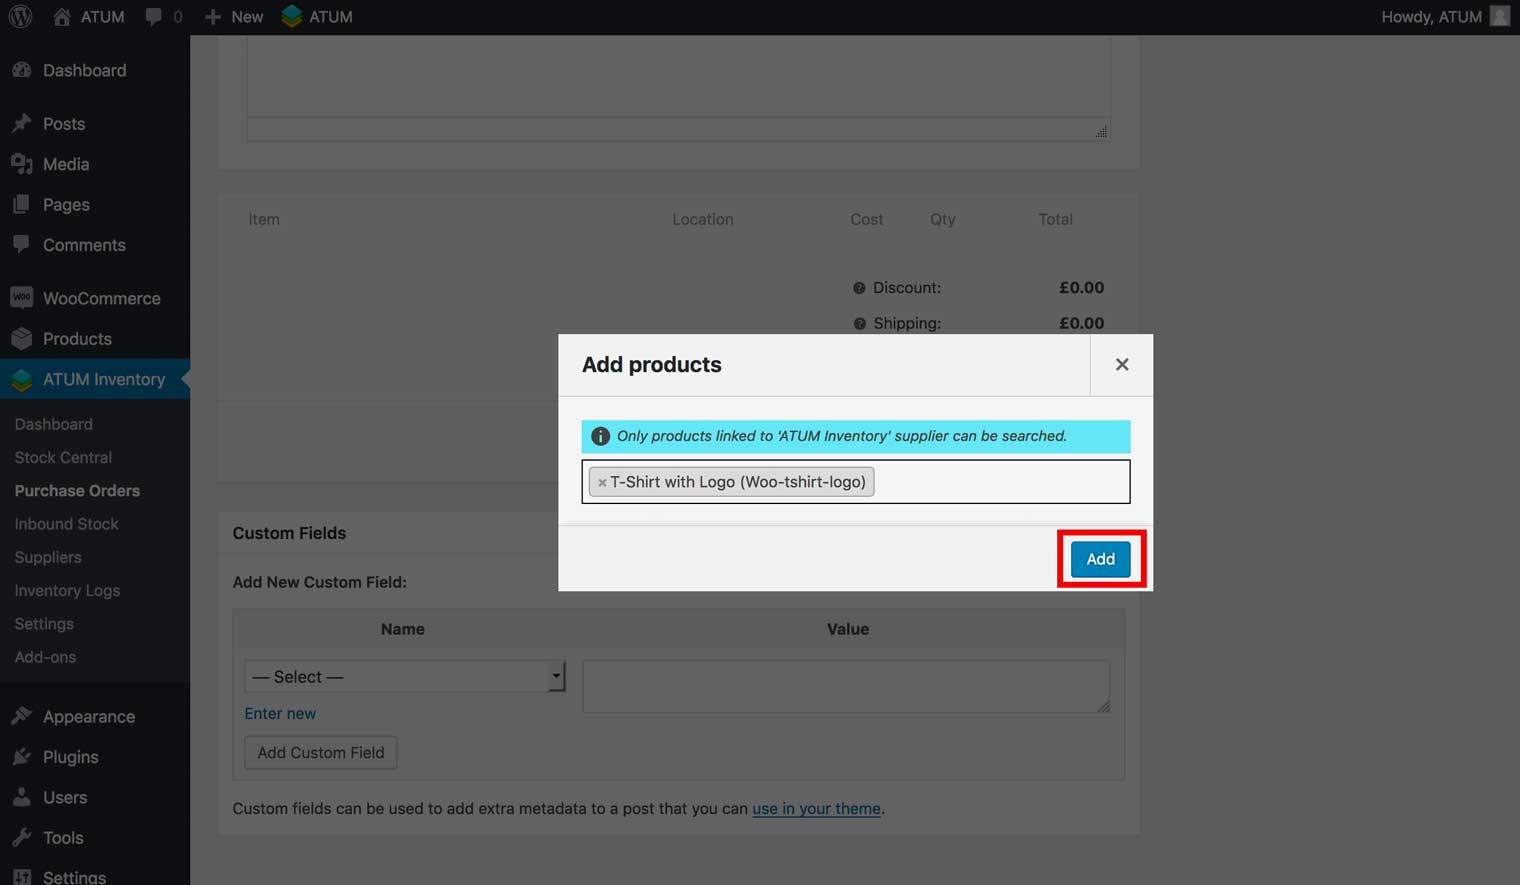
- Select the product and click Add.
- To increase the quantity of the product, click the edit icon and enter a new quantity in the Qty column.
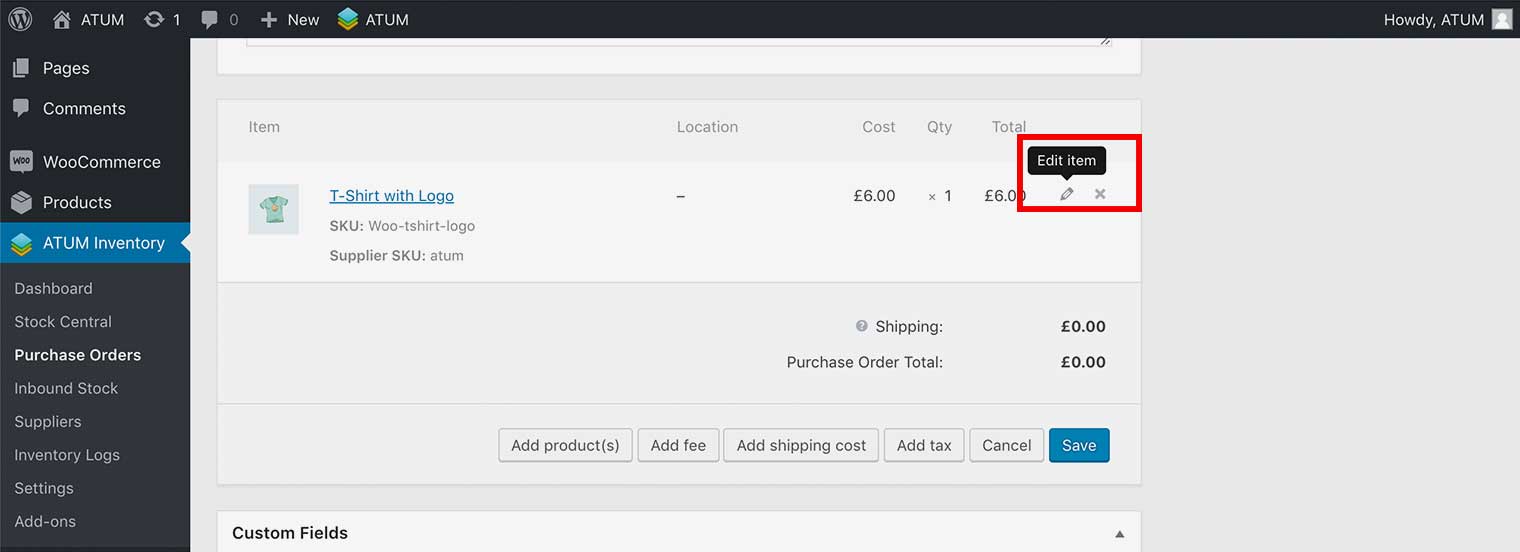

-
Click Save.
-
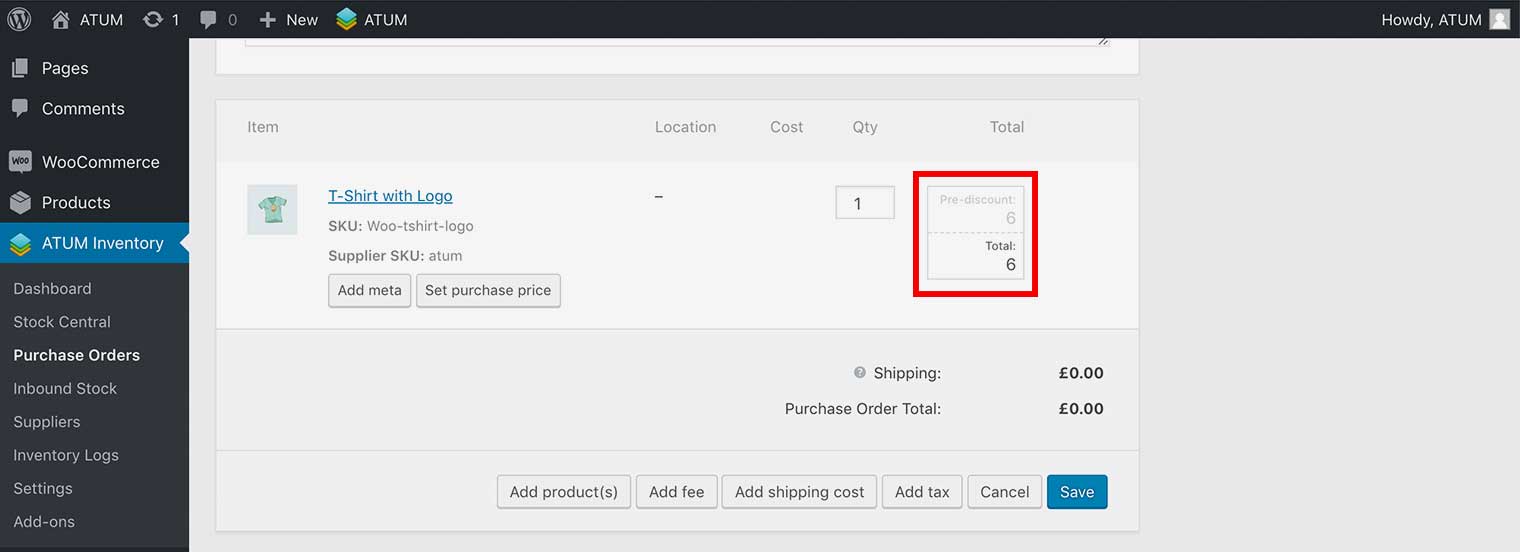
To change the purchase price of a product, click the edit icon and then enter a new purchase price in the Total column.
- Click the Set purchase price button.
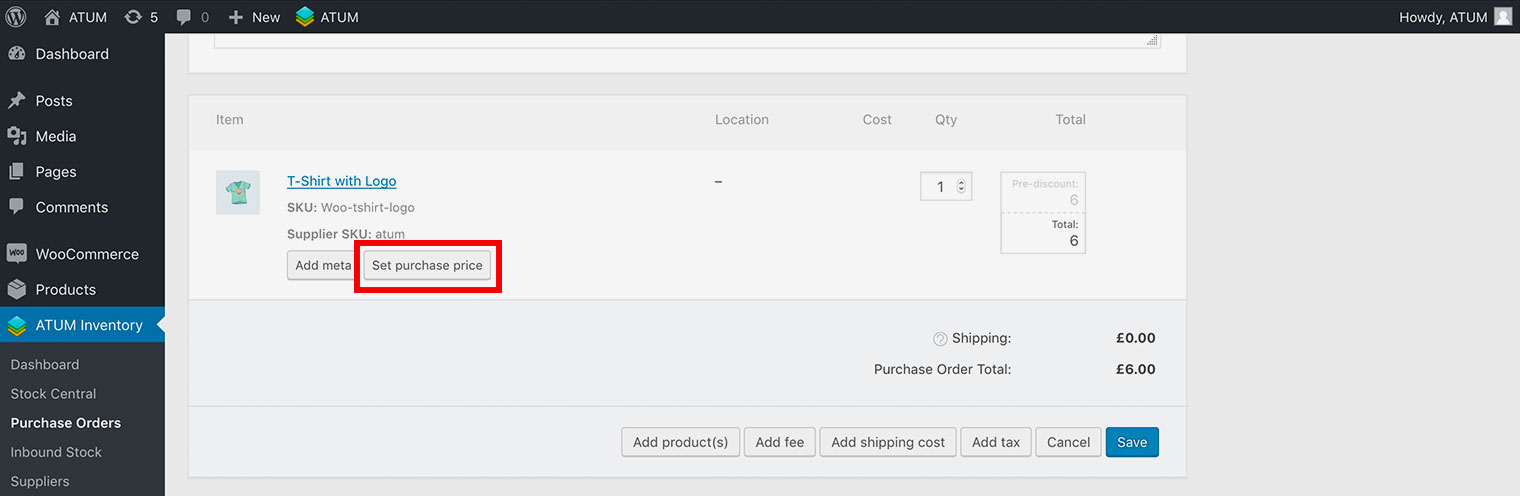
- Click Save.
ADD FEE TO THE PURCHASE ORDER
If you need to add a fee:
- Click Add Items(s) button.
- Click Add fee button.
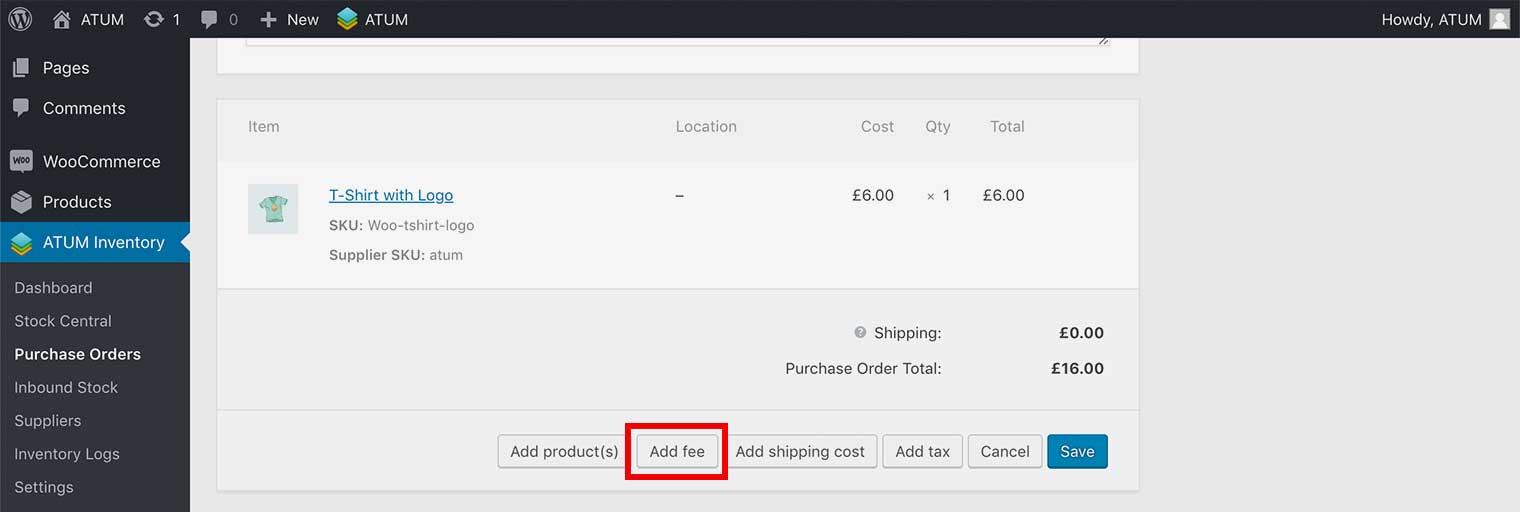
- A new fee row appears.
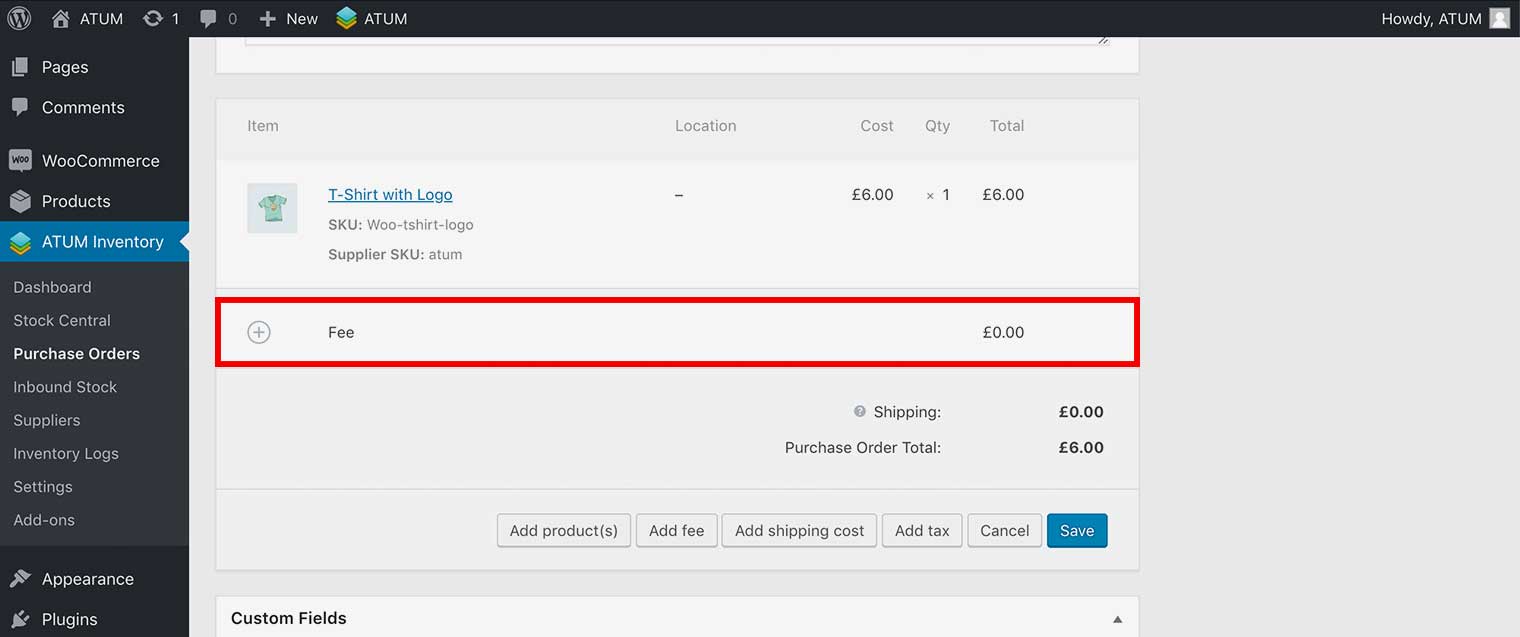
- Click the edit icon and enter the name and the total cost.

- Click Save.
ADD SHIPPING COST TO THE PURCHASE ORDER
If you need to add Shipping Costs:
- Click Add Items(s) button.
- Click Add Shipping Cost button.

- A new Shipping Cost row appears.
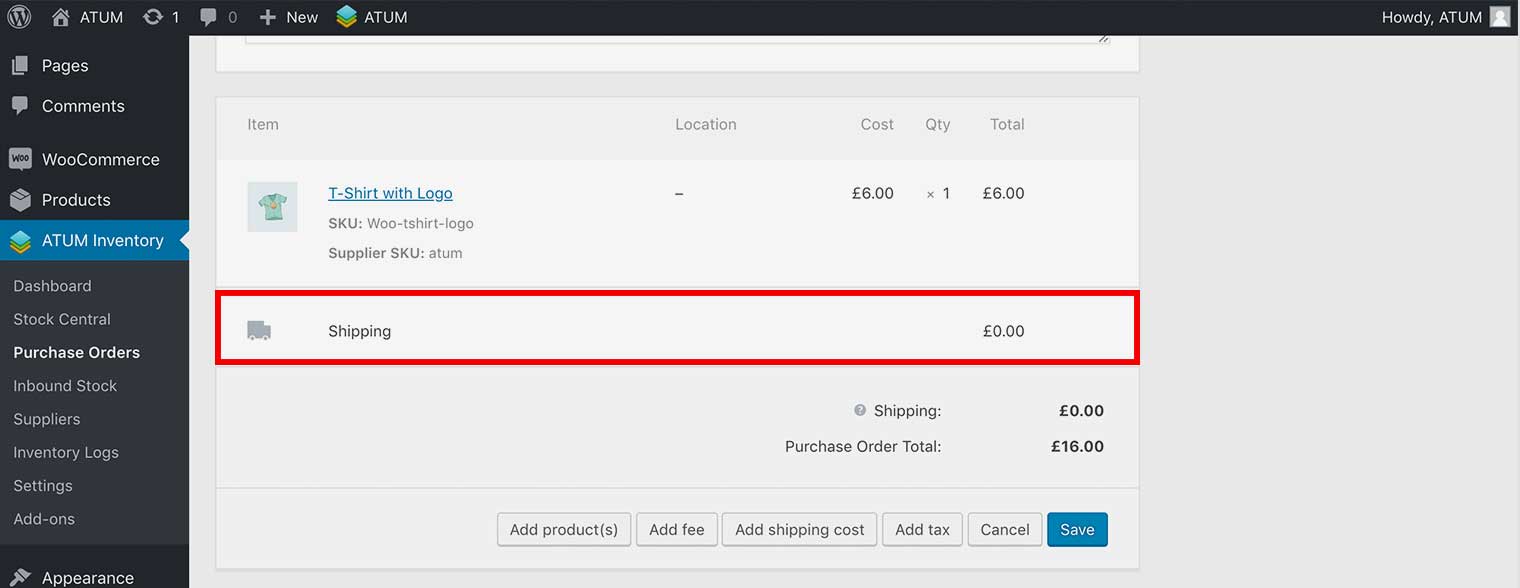
- Click the edit icon and enter the name, rate type, and total cost.

- Click Save.
ADD TAX TO THE PURCHASE ORDER
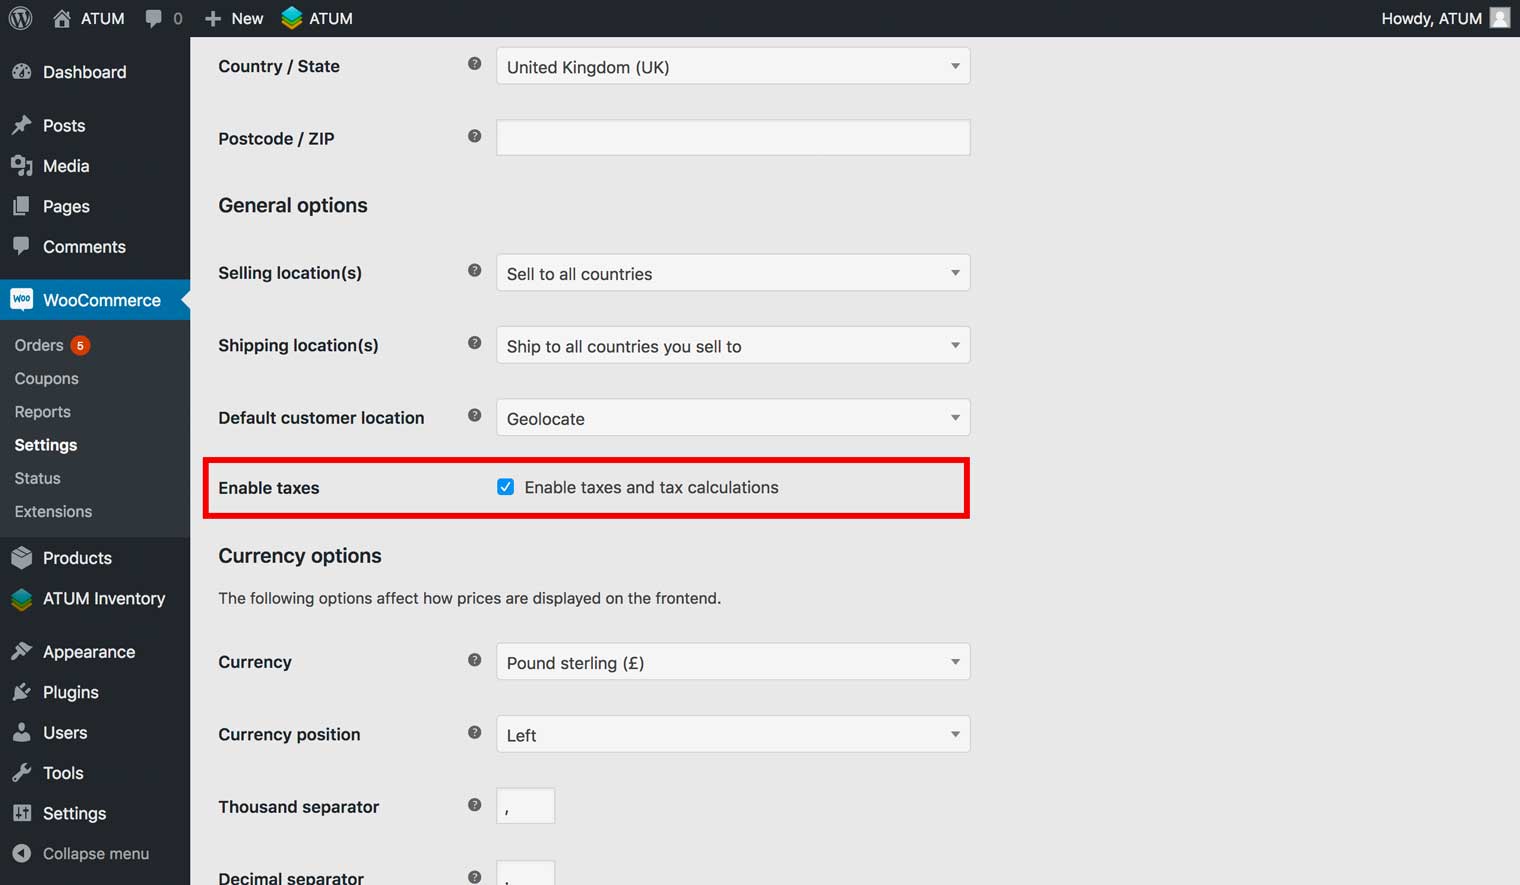
If you need to add Tax:
- Click Add Items(s) button.
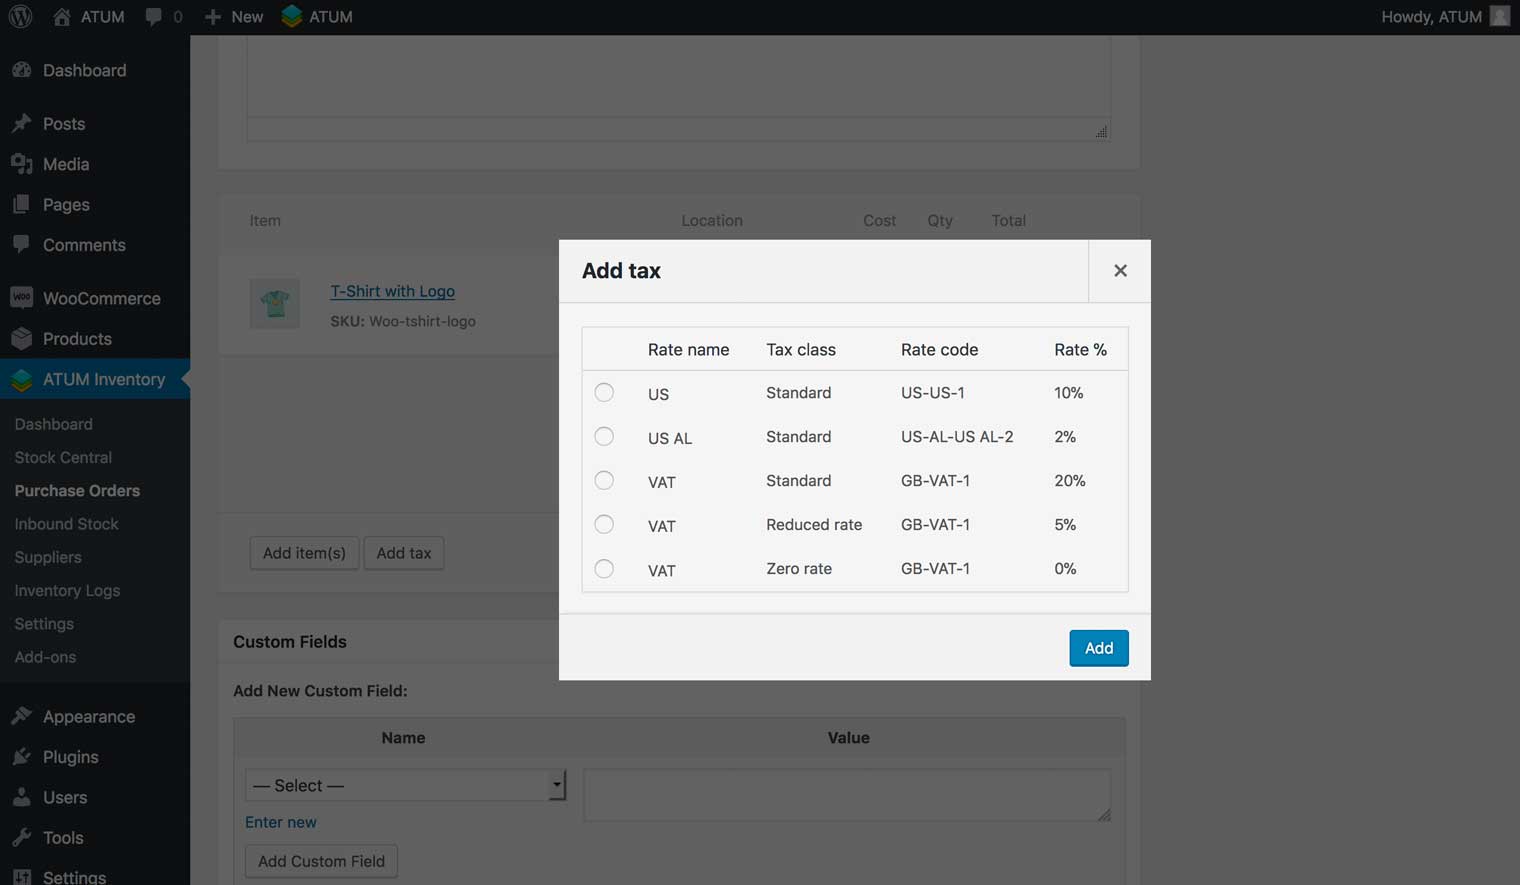
- Click add tax button.
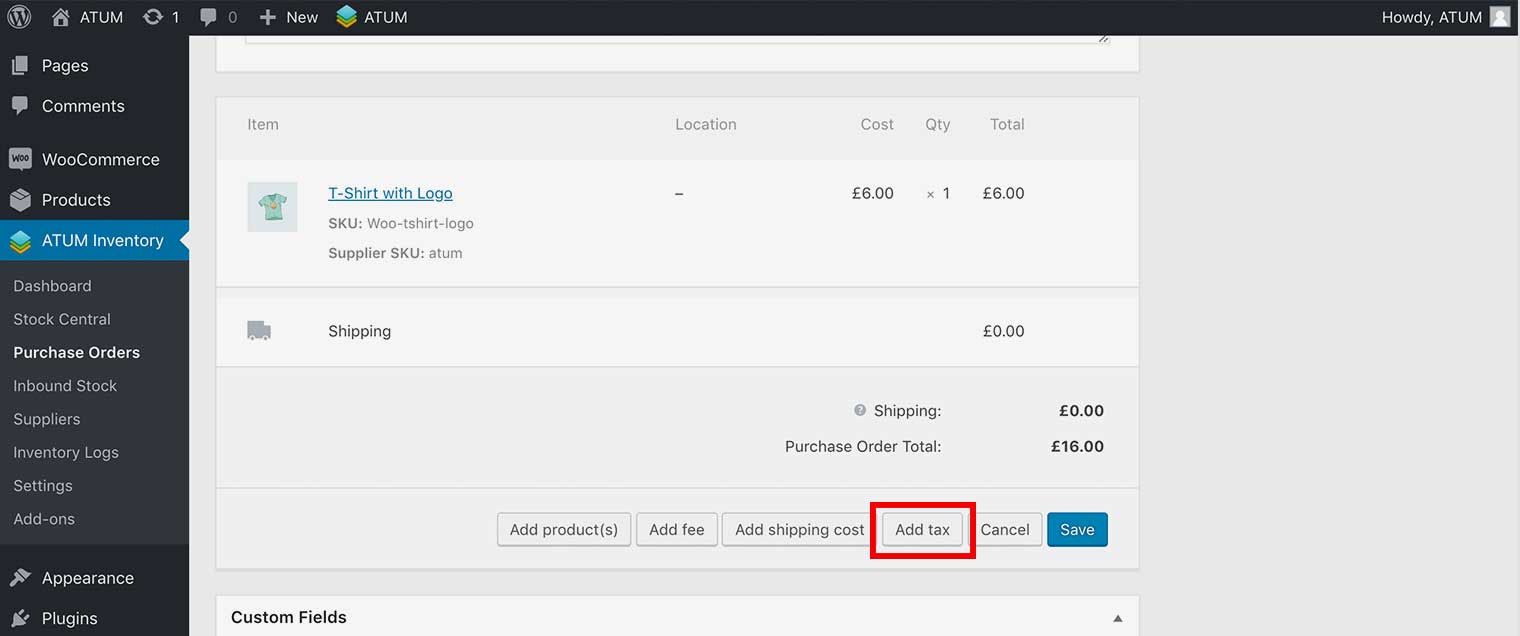
- The Add tax pop-up appears. Select the tax rate, and then click Add.
-
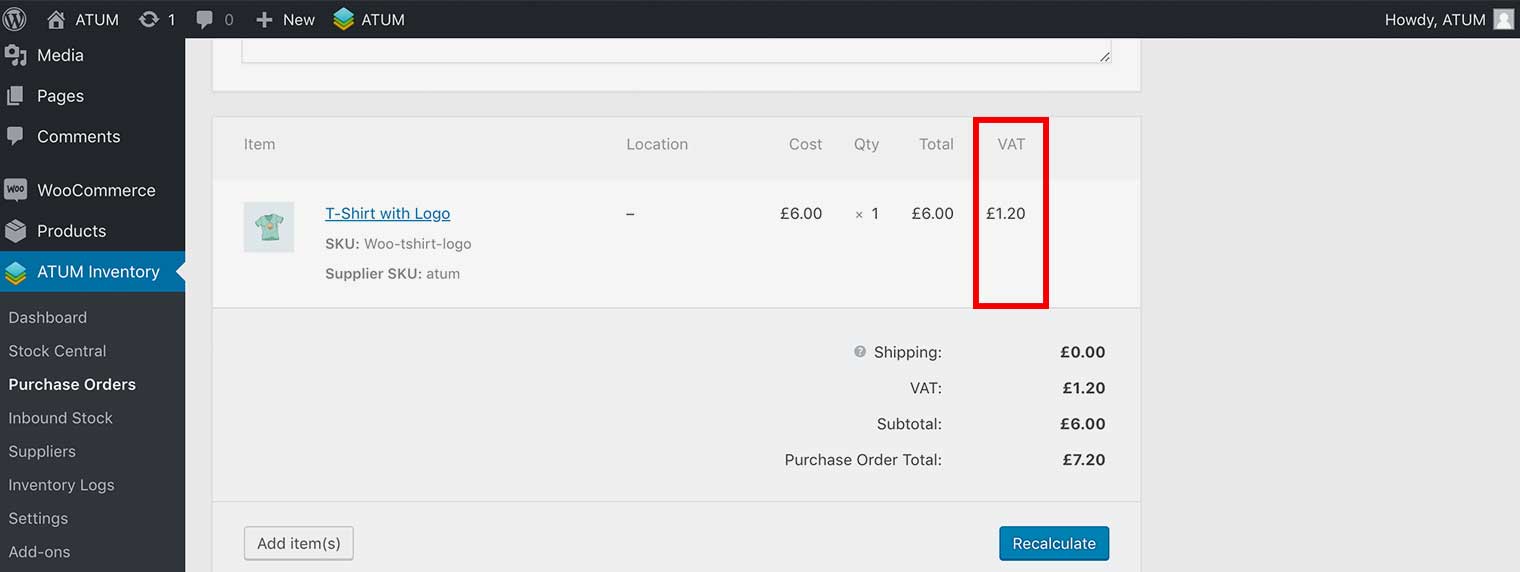
A new tax column will be added to the product row.
-
Click Recalculate to apply the tax.
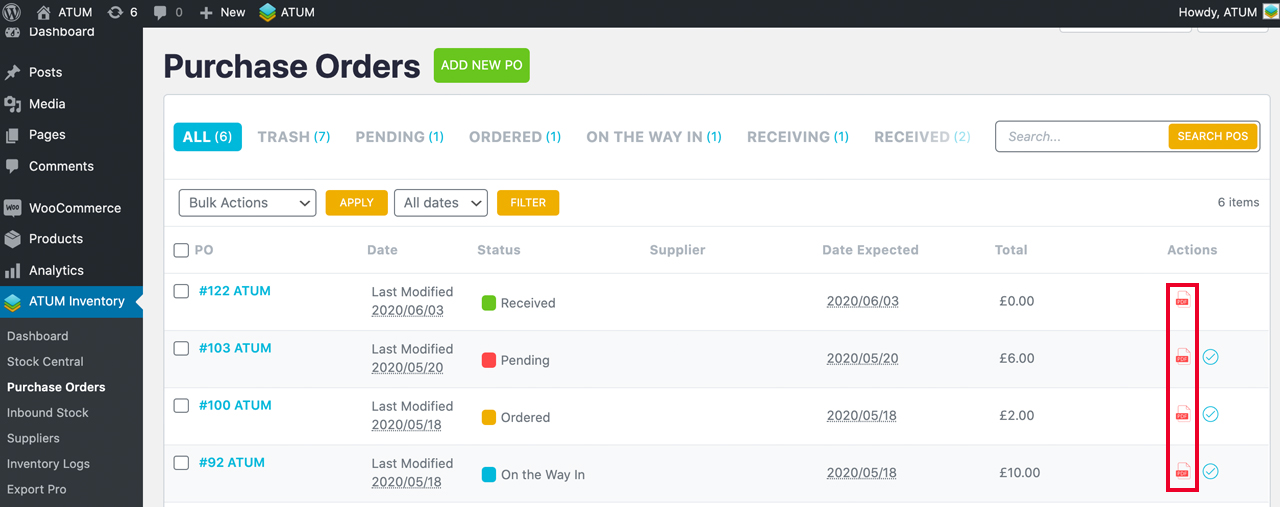
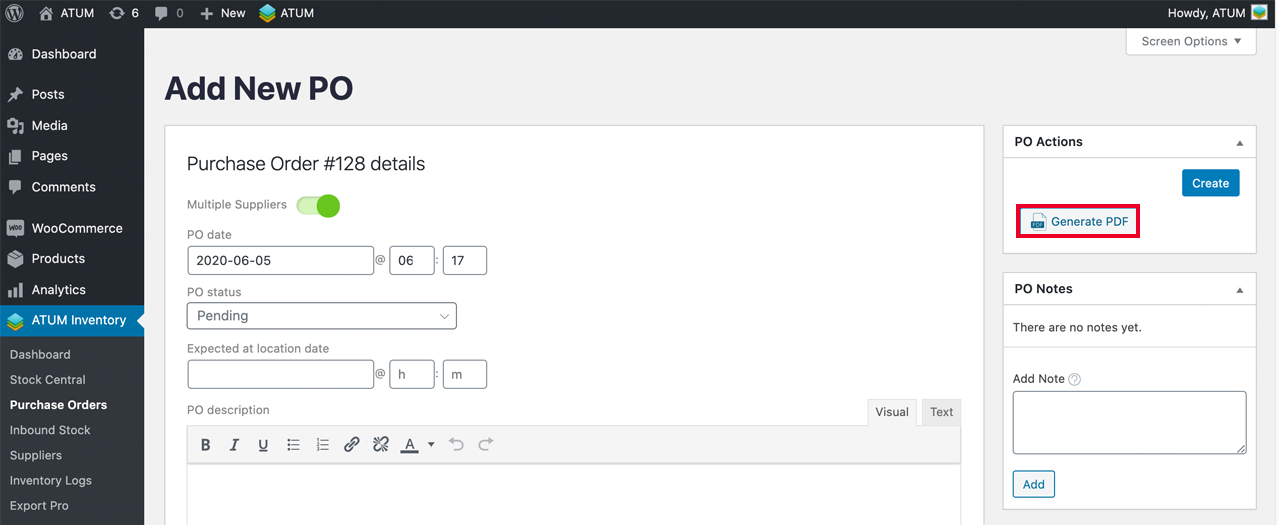
PDF GENERATION
Finally, you can generate a PDF with the purchase order information. You have two options:
-
Generate the PDF from the page of the new purchase order
-
Generate the PDF from the list of the purchase orders