You can update ATUM three ways: via the WordPress Updates page, via FTP, or via a ZIP file.
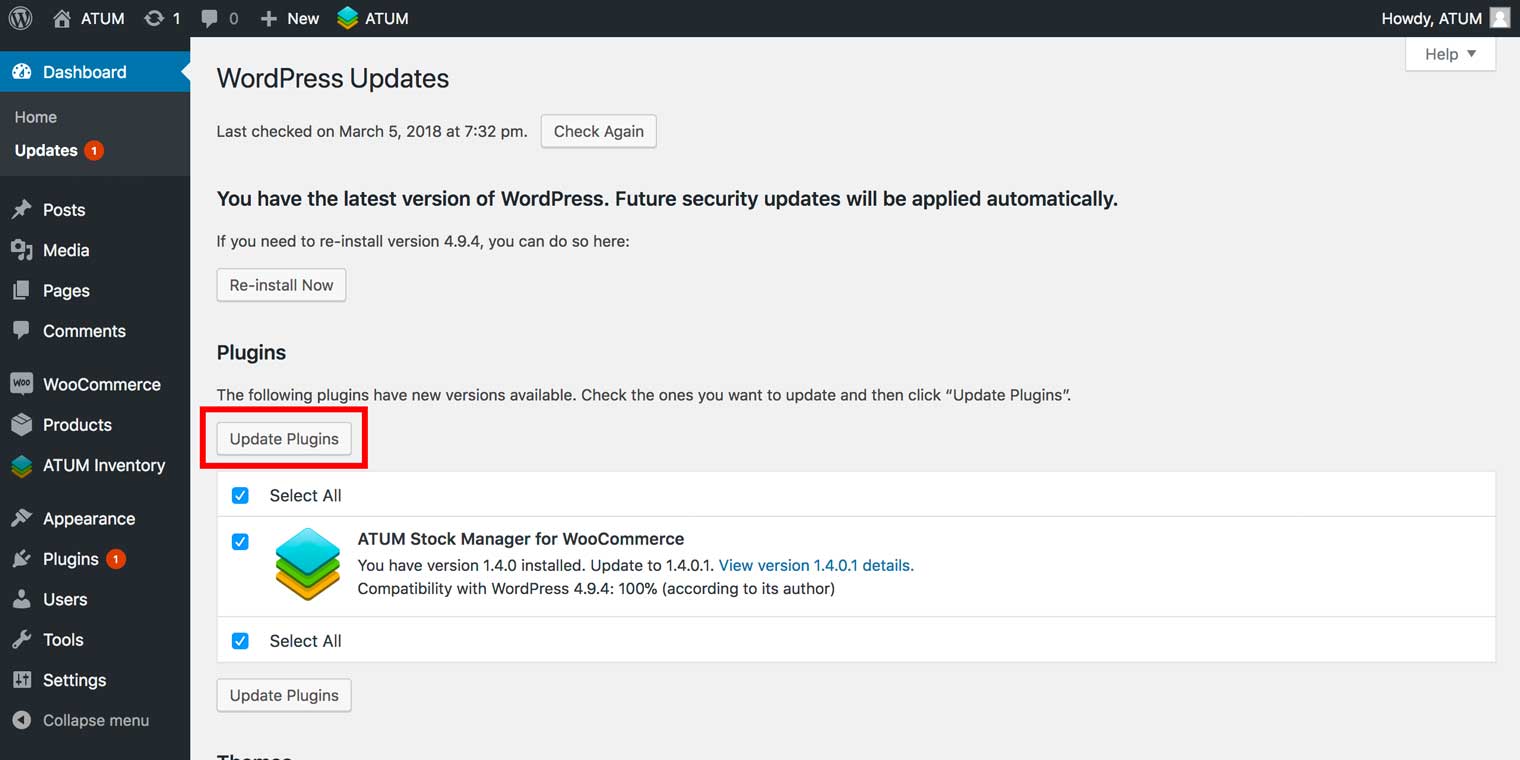
Updating ATUM via the WordPress Updates page
- From your WordPress Dashboard, go to Updates. All plugins with updates appear here.
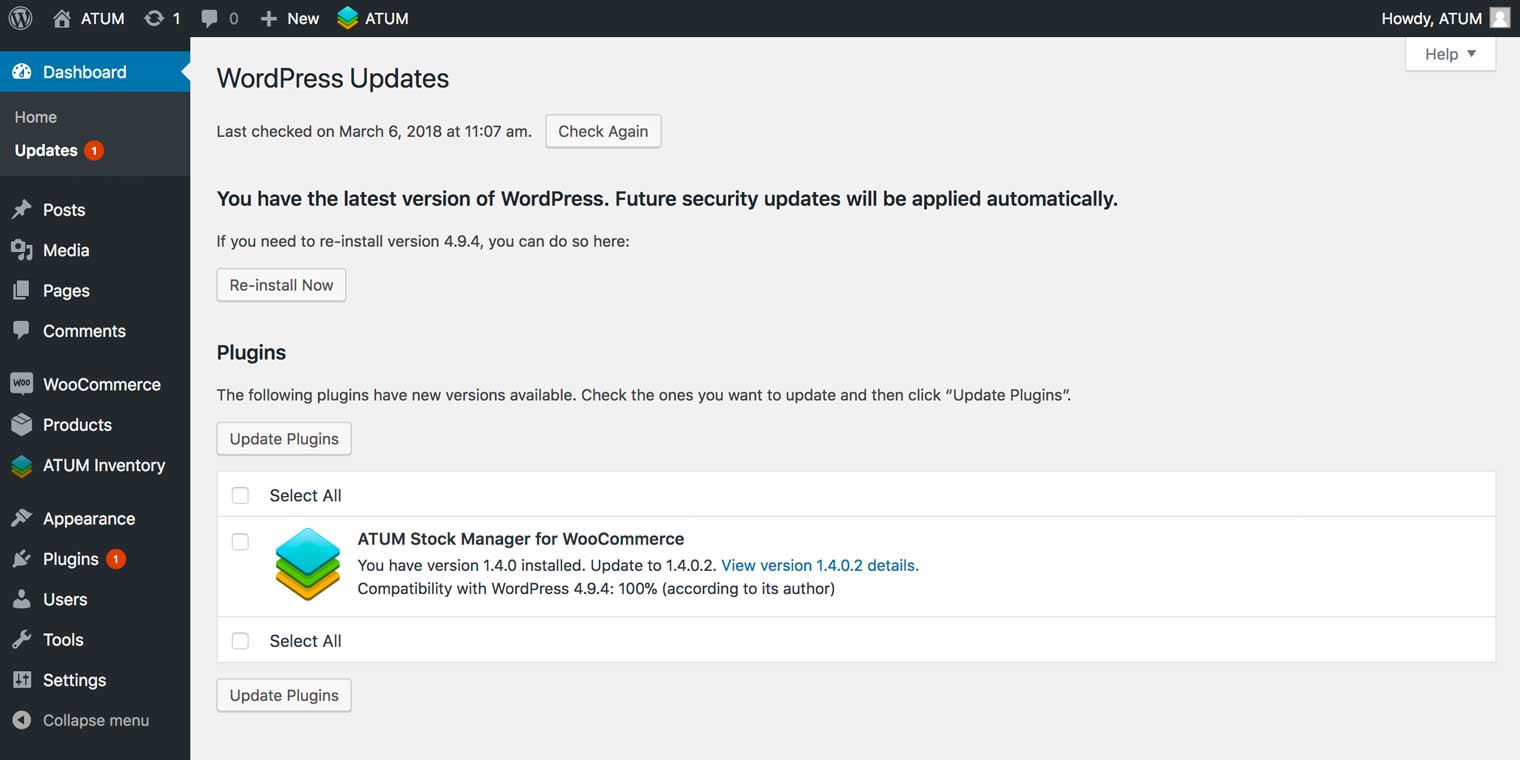
- Select the checkbox for the ATUM plugin.
- Click Update Plugins.
Updating ATUM via FTP
Automatic updates can sometimes fail for a variety of reasons. If an update does not complete successfully, then you will end up with a broken site.
One way to fix this is to update ATUM via FTP manually. By doing this, you will be able to continue using the latest version of ATUM.
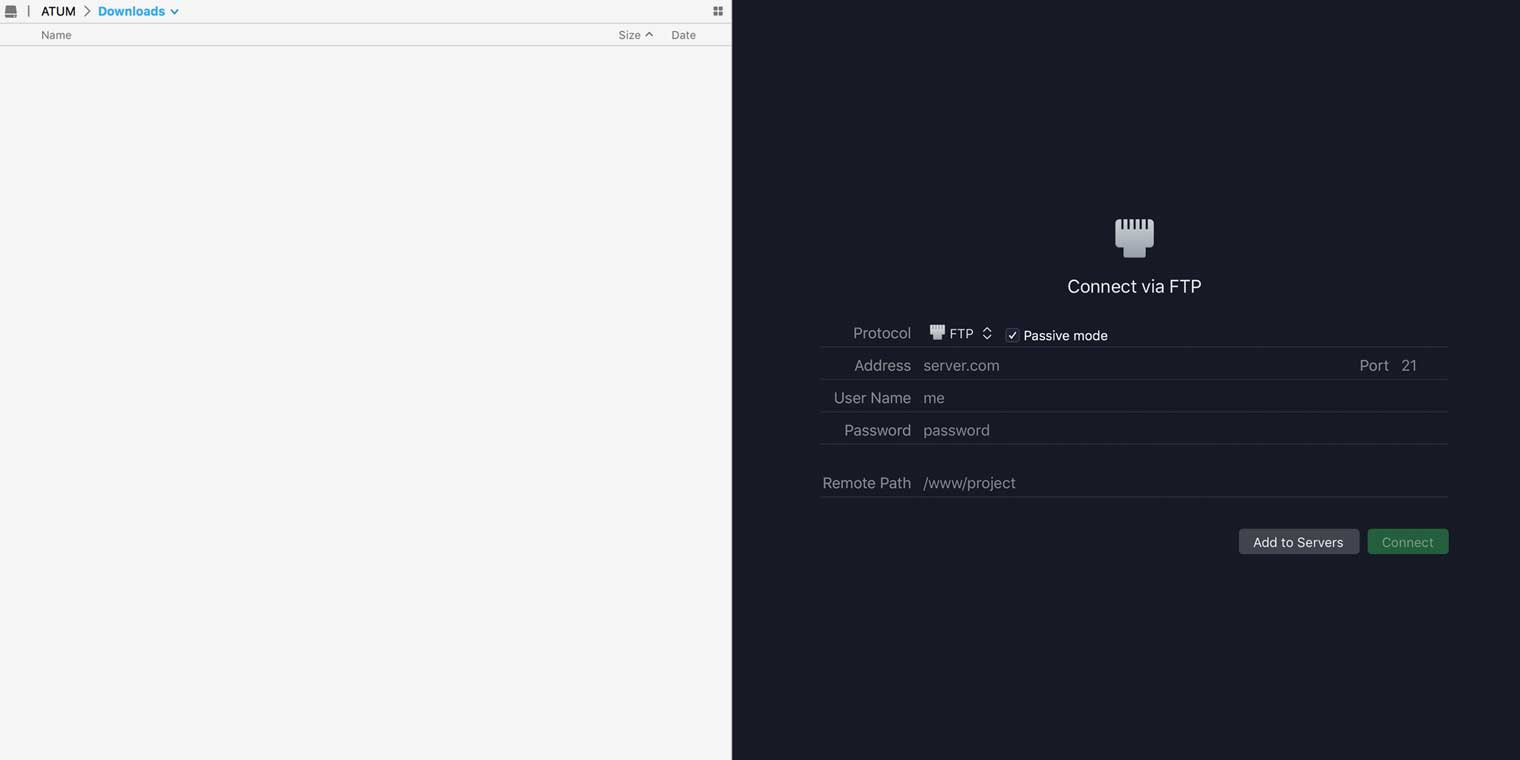
- First, go to an FTP client such as FileZilla and download and install the client, if you haven’t already.
- Open the FTP client and log in using the credentials provided by your server hosting provider.
- Go to /wp-content/plugins.
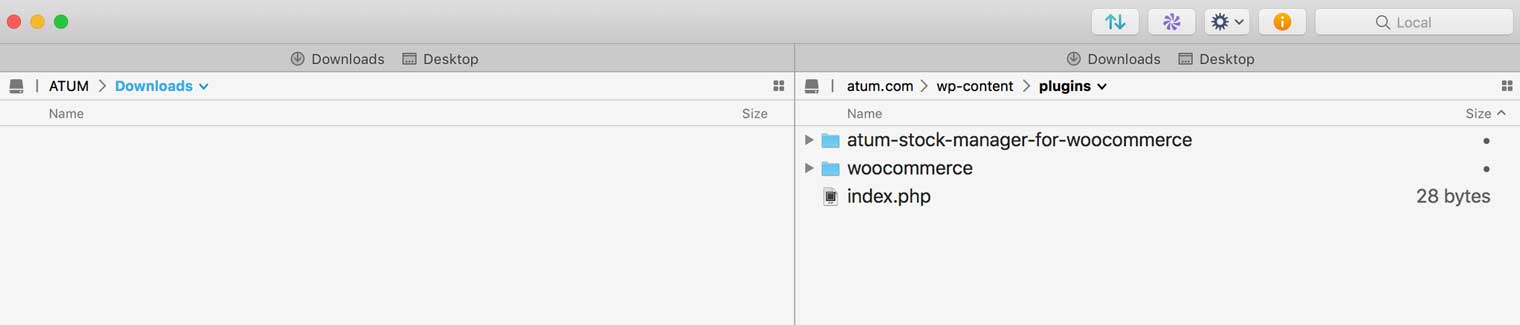
- Select the ATUM plugin folder and rename it to anything, such as OLD.
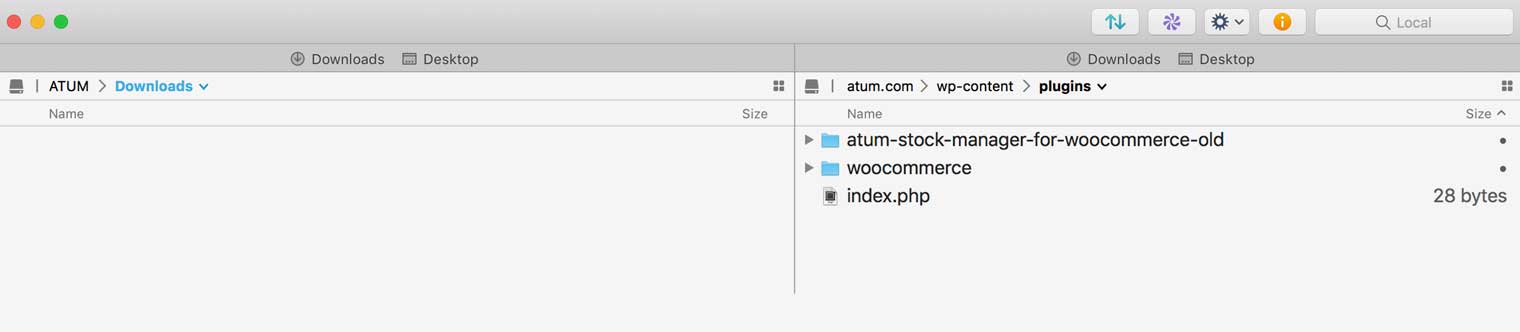
- Right-click and select Download to download it to your computer, in case you need it later.
- After, the download is complete, delete the folder.
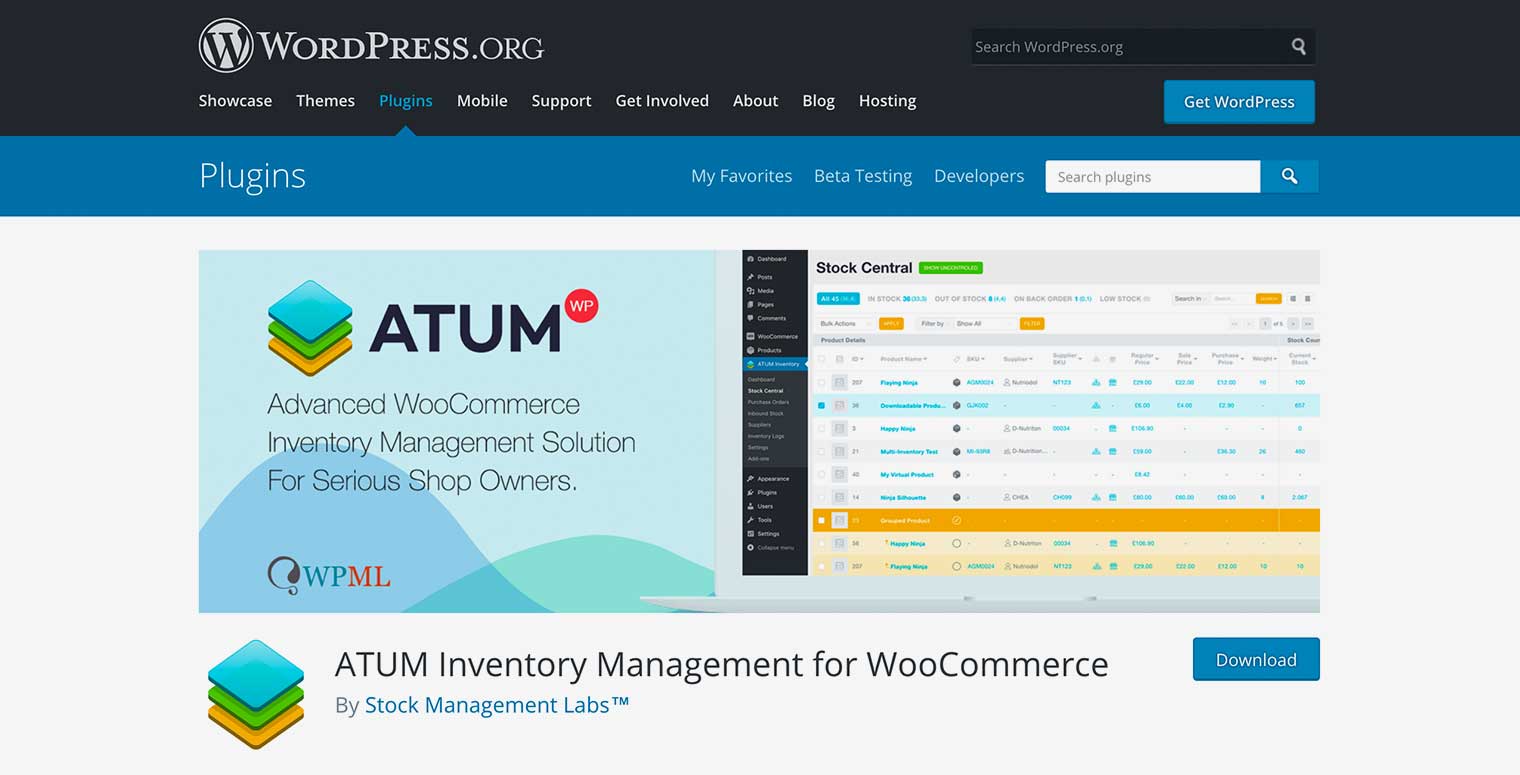
- Go to https://wordpress.org/plugins/atum-stock-manager-for-woocommerce/
- Click Download to download the installation file to your computer.
- Open the file and click Extract. When you extract the installation files, be sure to keep the same folder structure.
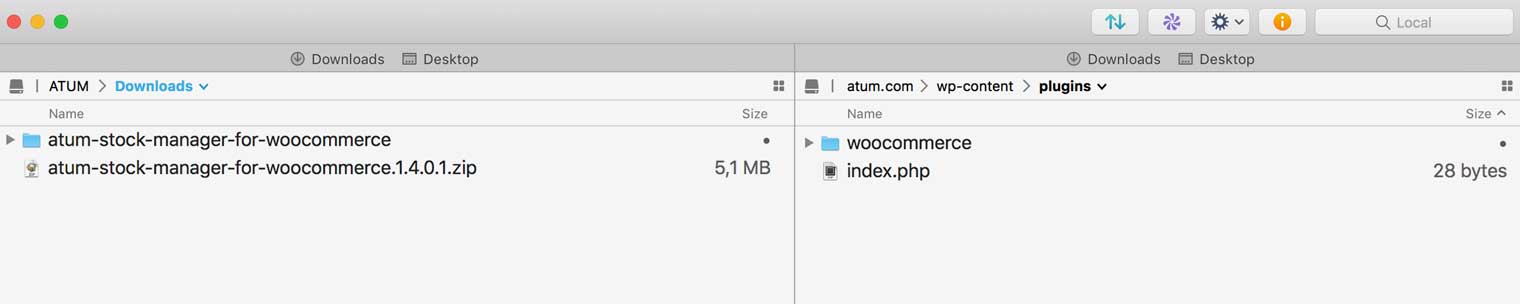
- From the left panel of the FTP client, right-click on the installation files on your computer, and click Upload.

- Once the upload is complete, go to WordPress and click Refresh on the Plugins page. The ATUM plugin should display.
- Click Activate to activate ATUM.
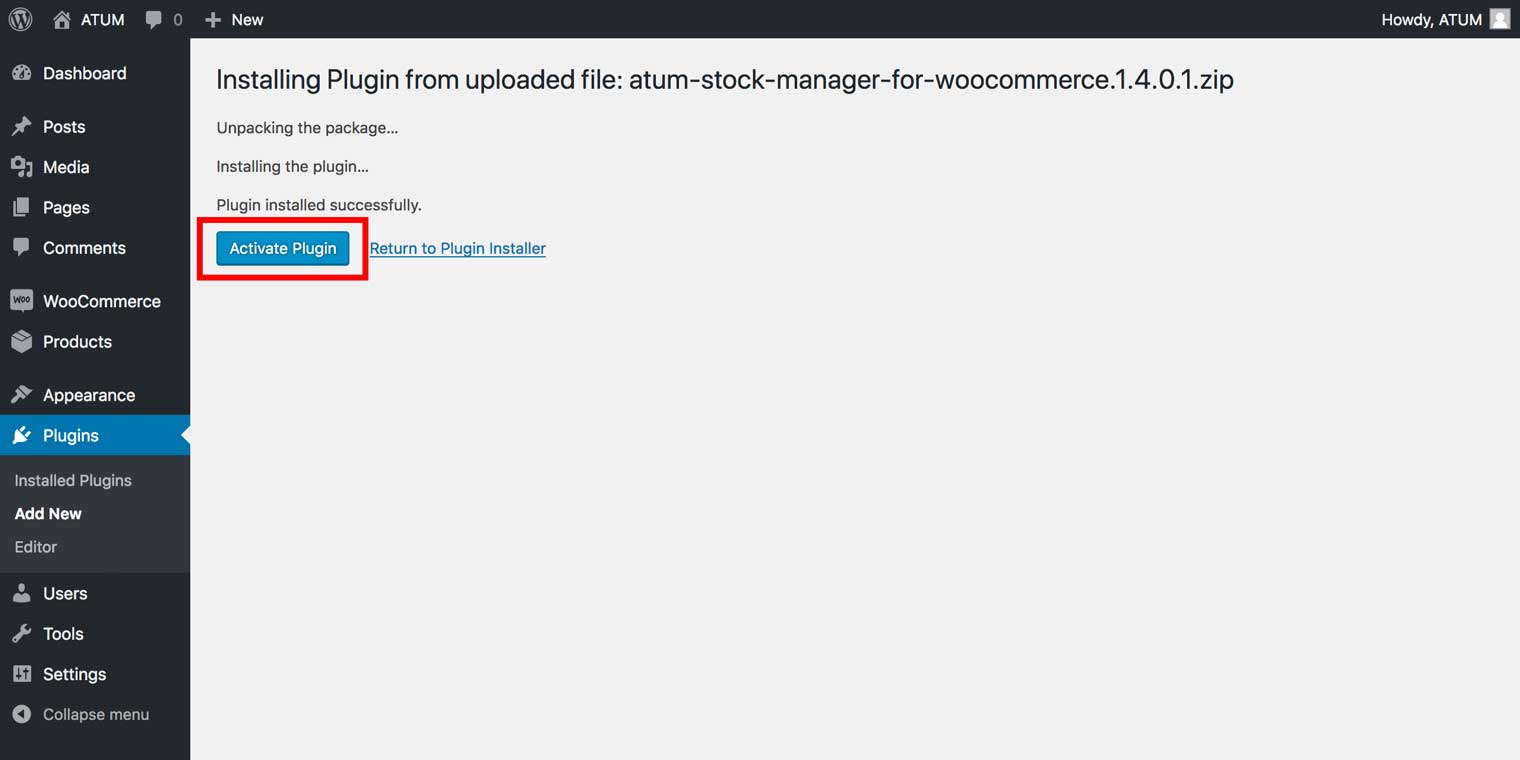
Updating ATUM via a ZIP file
You can also use a ZIP file to update ATUM.
- Log into your WordPress Dashboard.
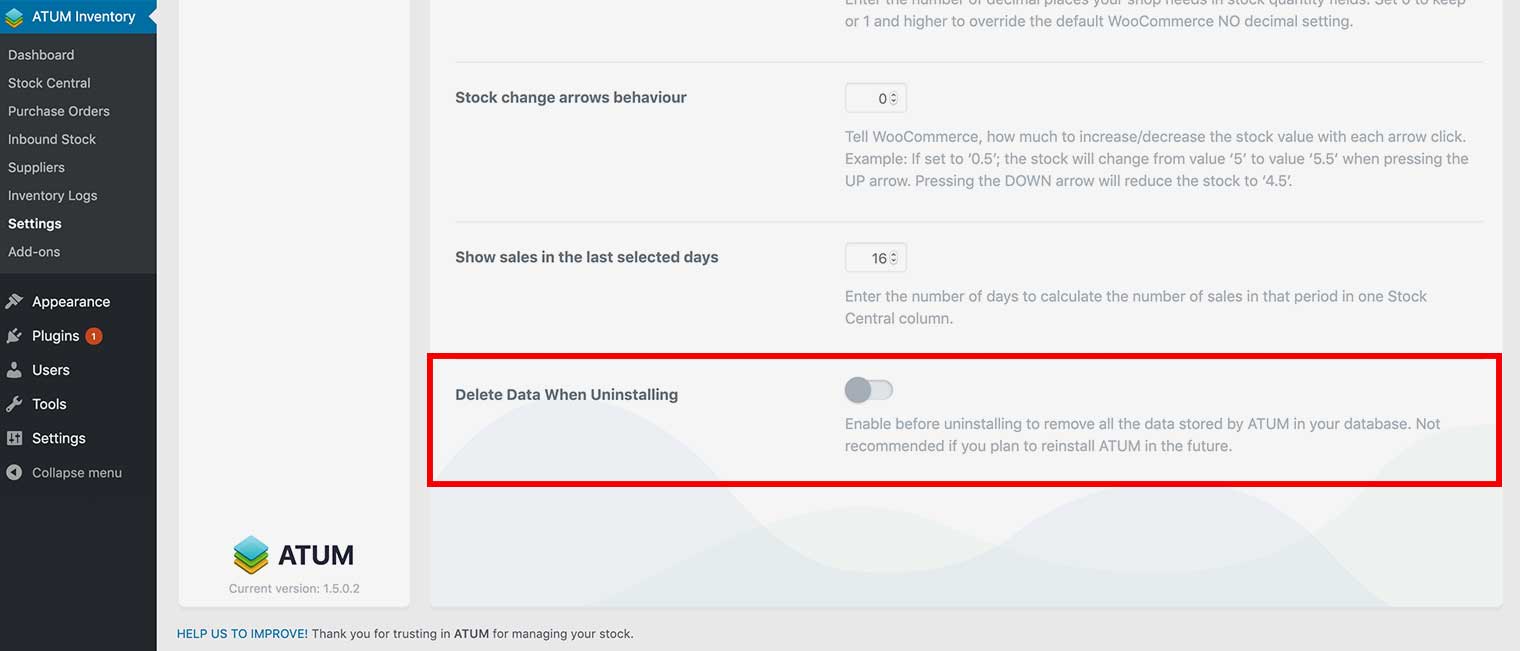
First, navigate to ATUM Inventory > Settings > General Tab > Now make sure the option “Delete data when uninstalling” is disabled.
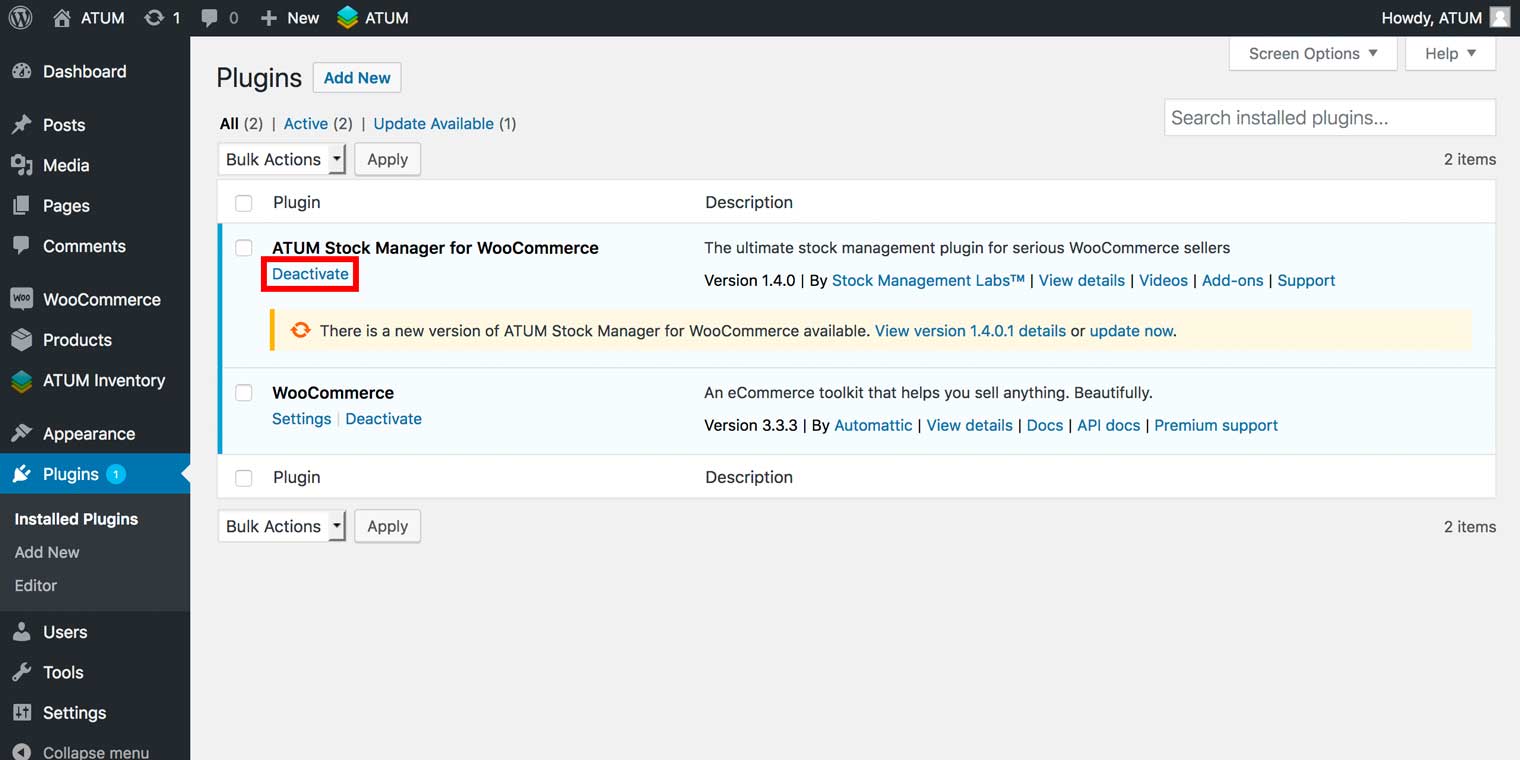
- Go to Plugins > Installed Plugins and locate the ATUM plugin.
- Click Deactivate.
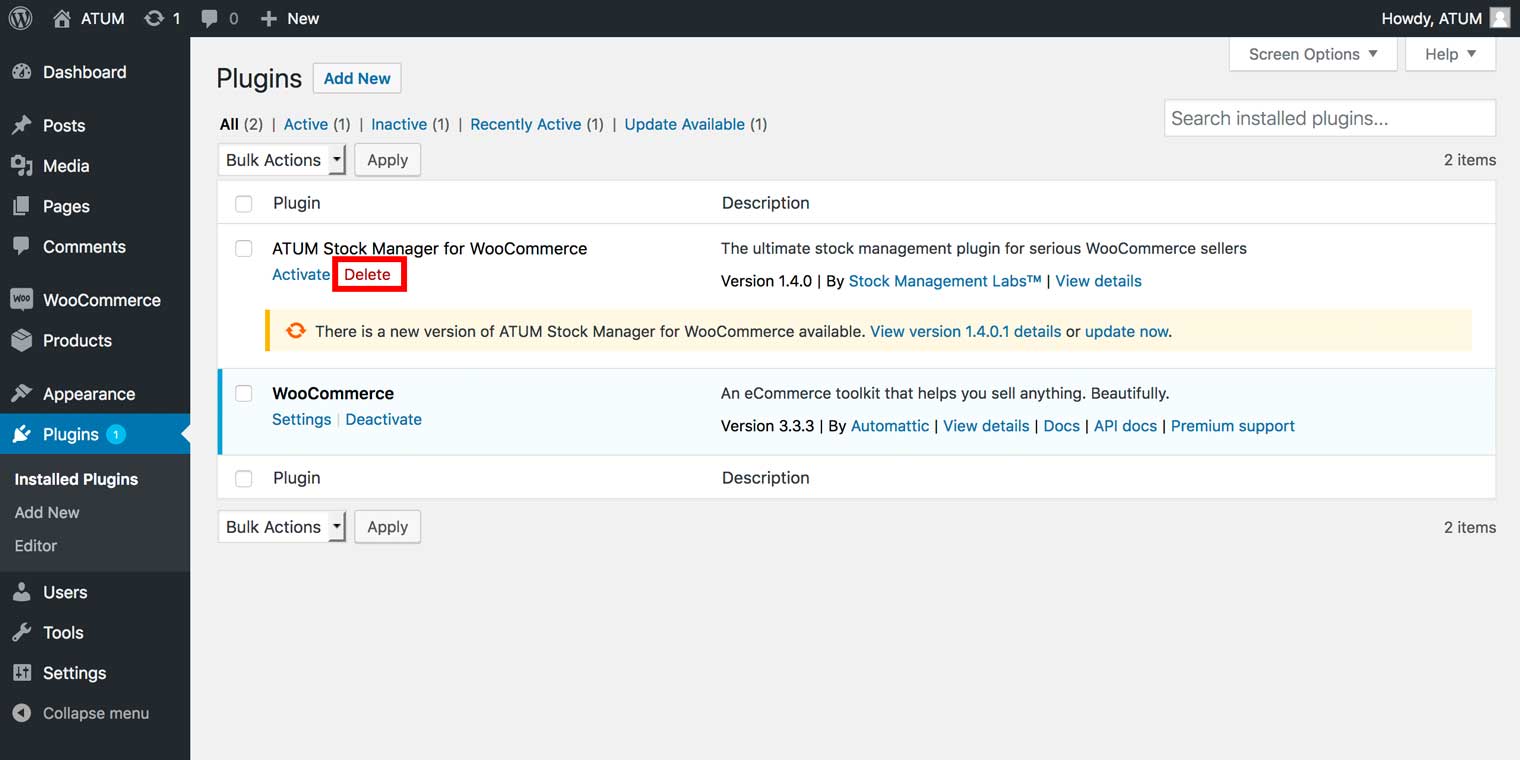
- Click Delete.
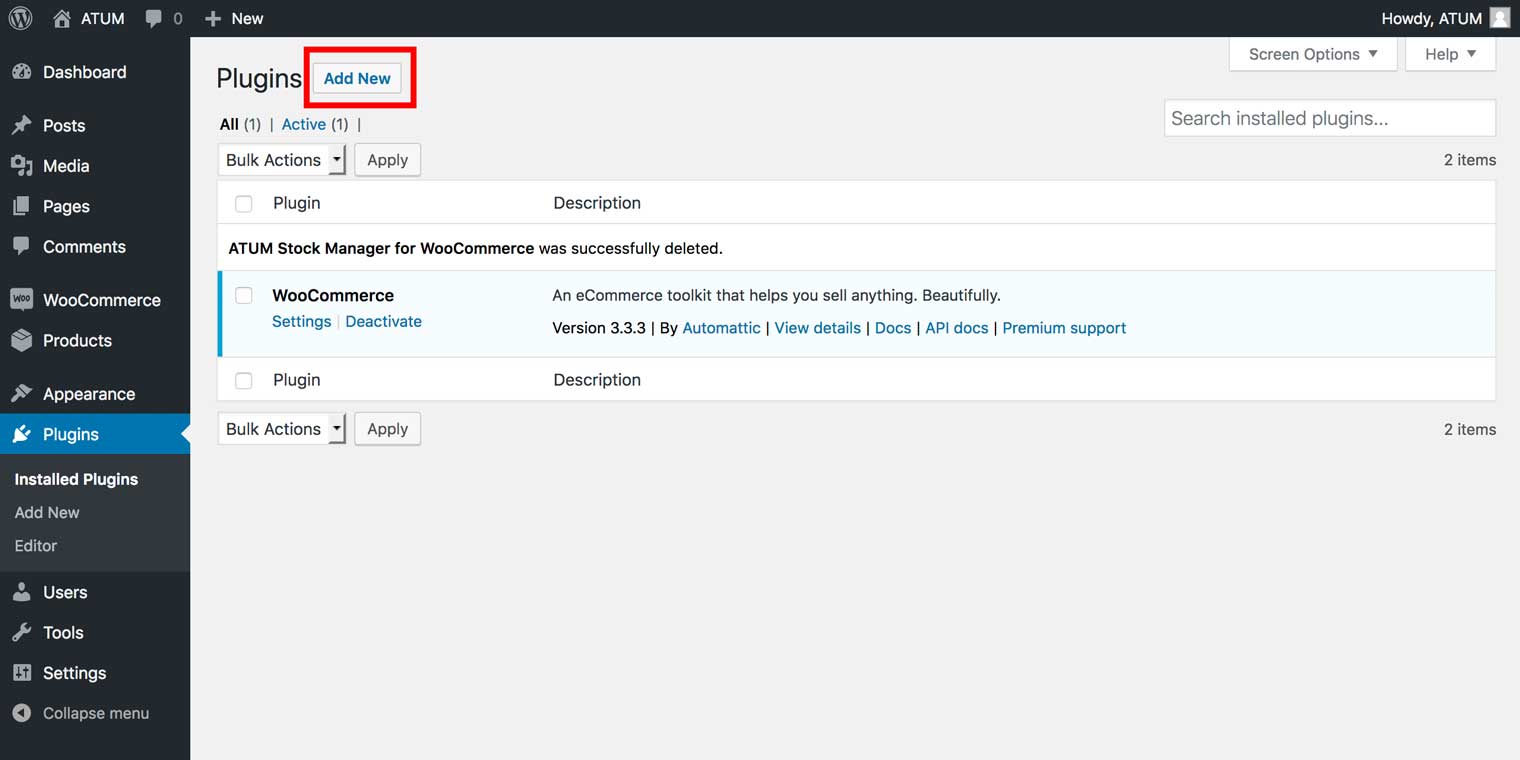
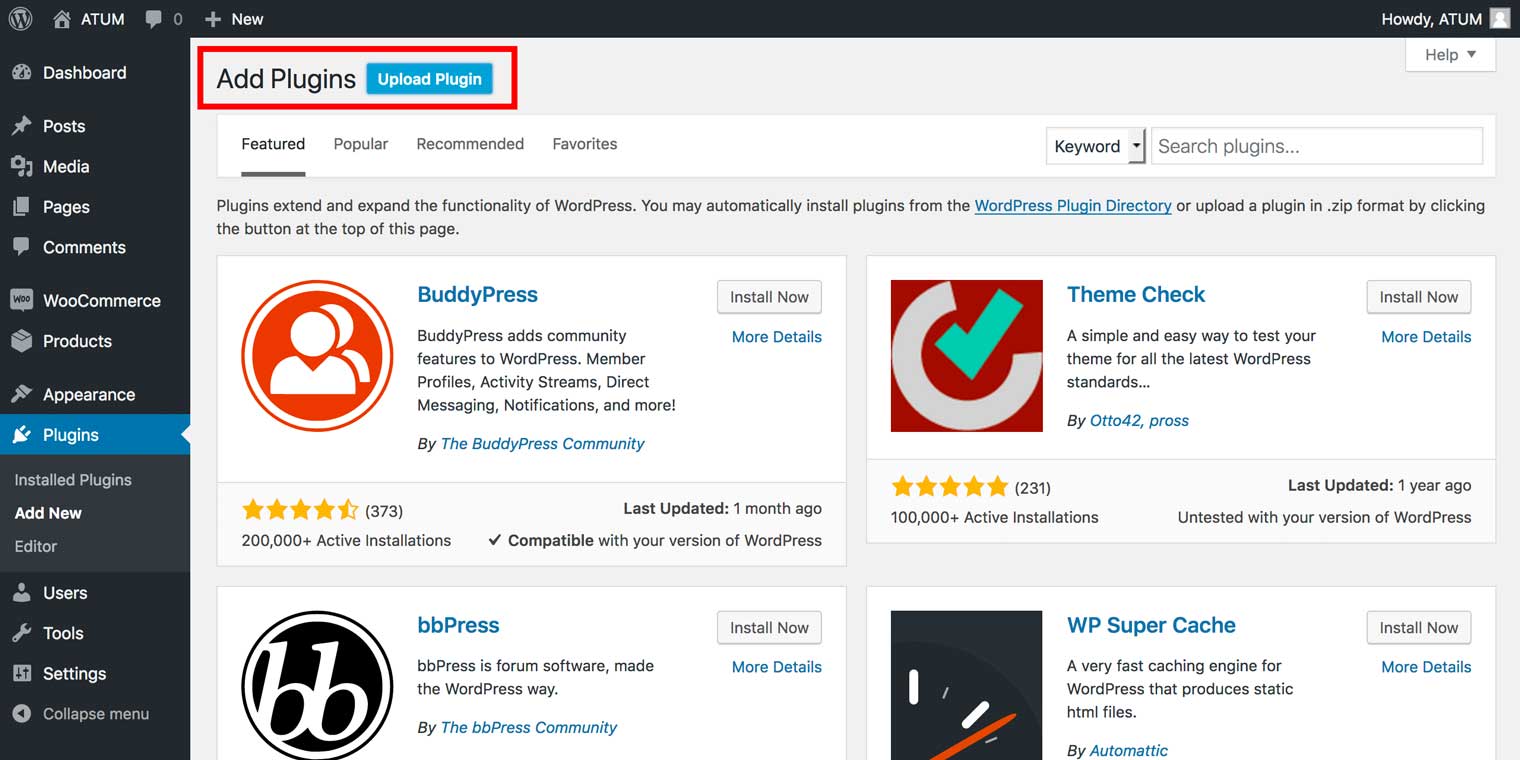
- In Plugins, click Add New.
- Click Upload Plugin.
- Click Choose File and select the ZIP file containing the updated version of ATUM.
- Click Activate Plugin.