When creating an order with a Multi-Inventory product, you can add the inventories for the order manually, or you can choose to assign an inventory automatically to the order. Let´s see how it works.
To add a product with Multi-Inventory records to an Order and set an inventory manually, follow these steps:
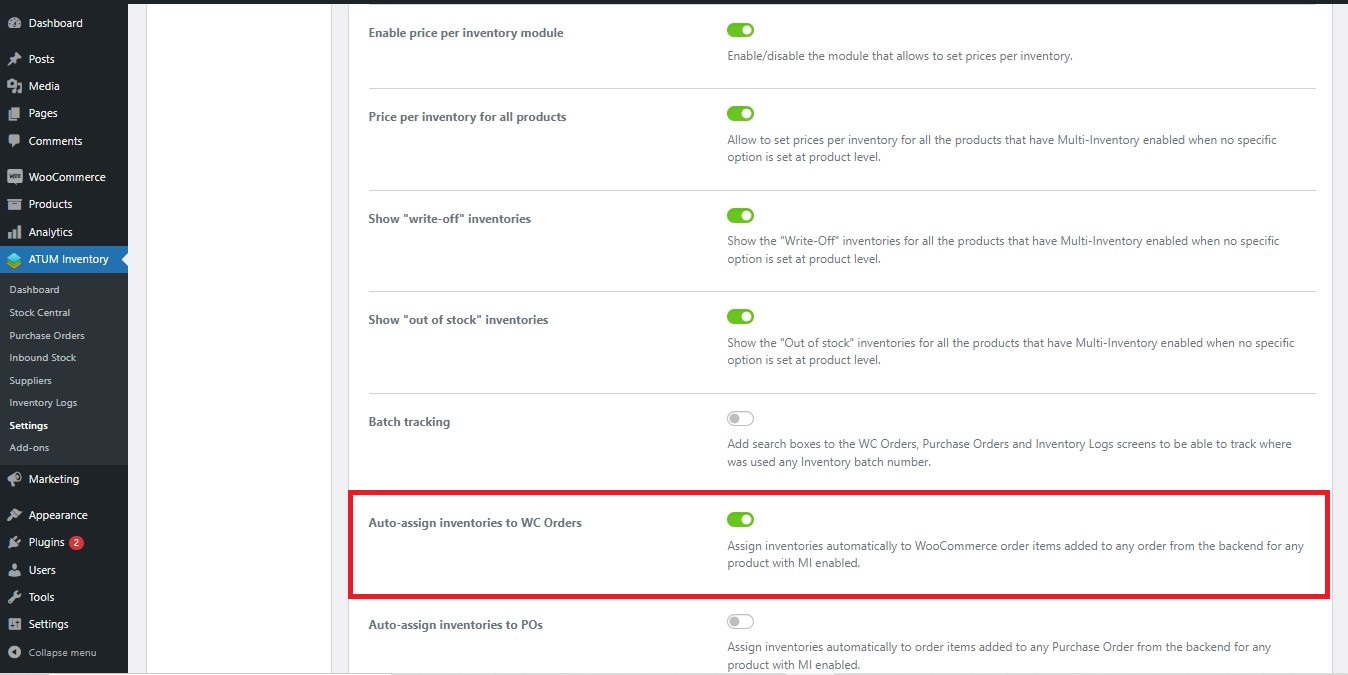
- First, go to ATUM Inventory > Settings > Multi-Inventory and ensure you have the option Auto-assign inventories to WC Orders disabled.

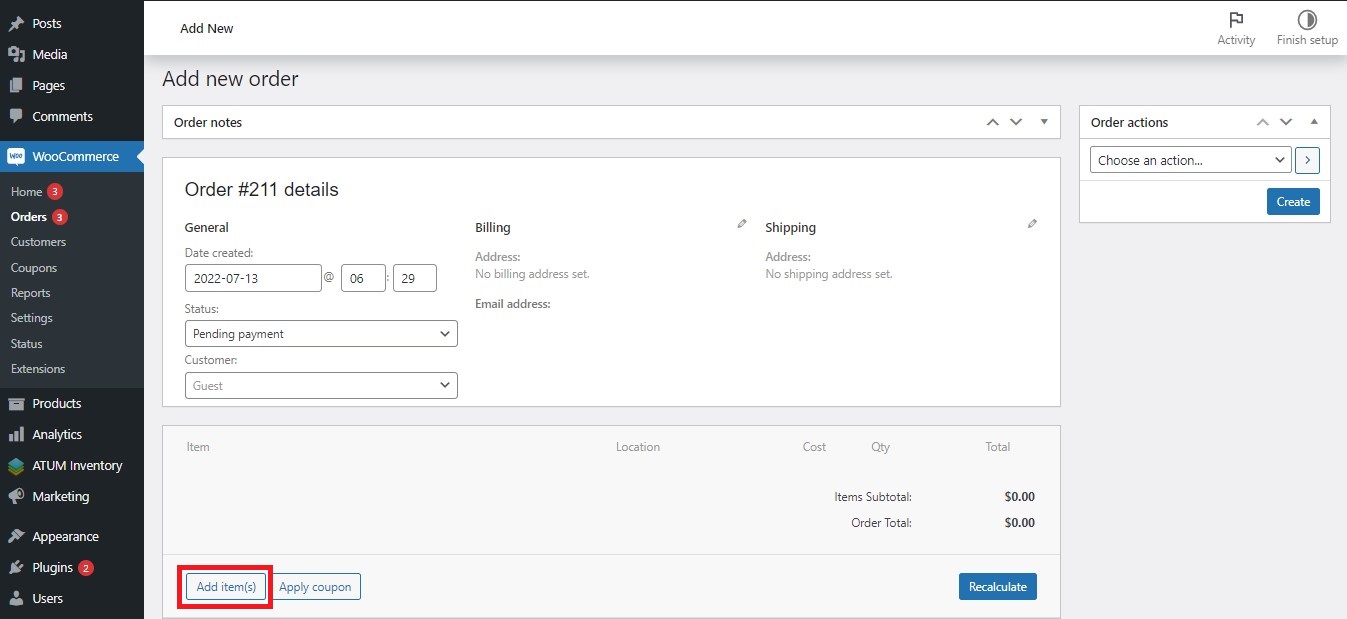
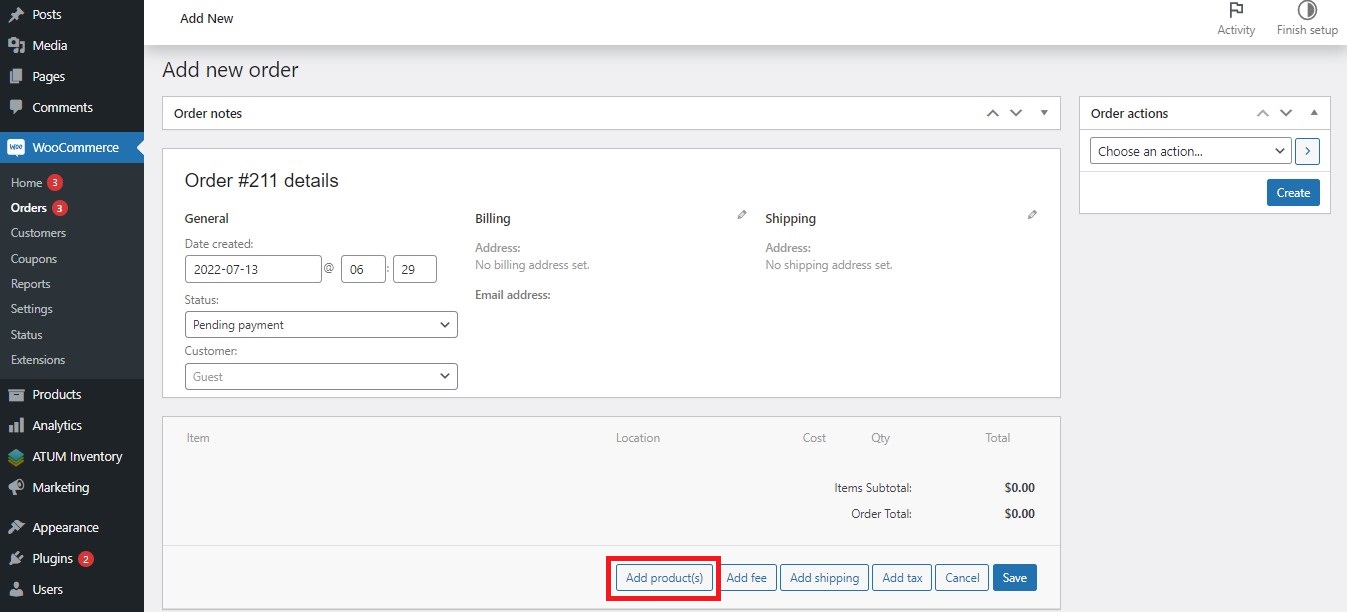
- Now, on the WordPress admin panel, go to WooCommerce > Orders and open the order for editing or create a new one.
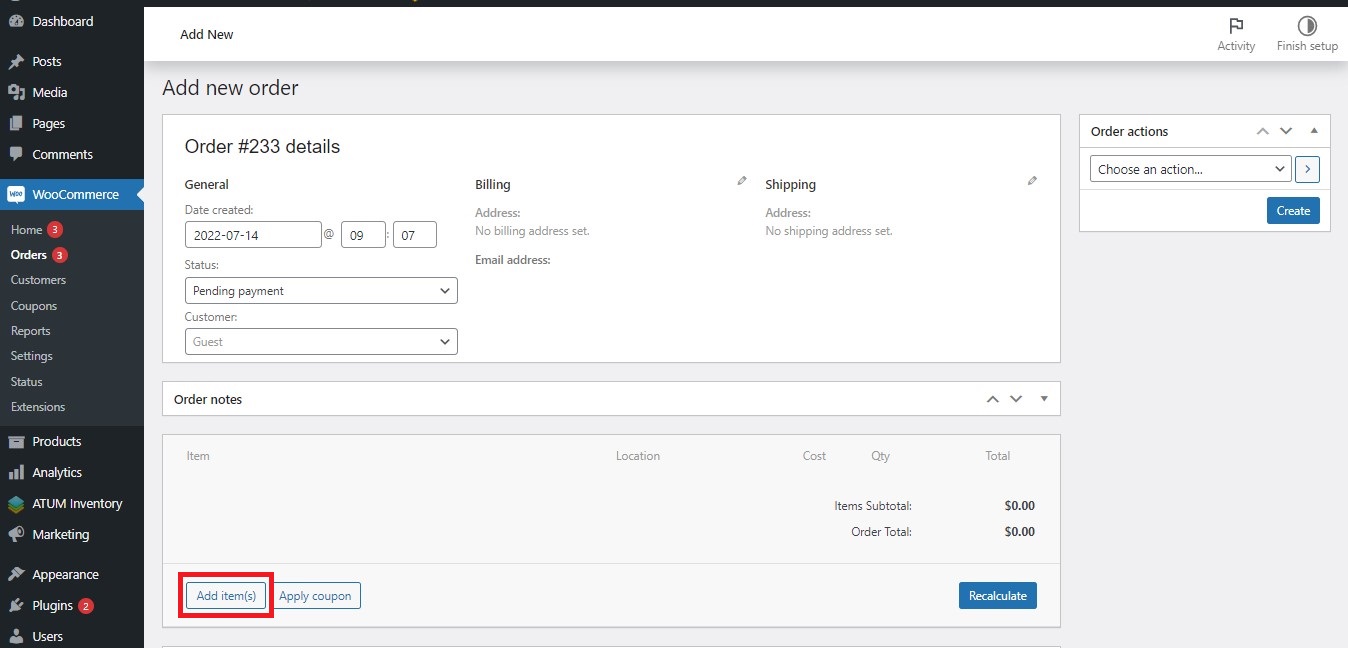
- Click Add Item(s) button.
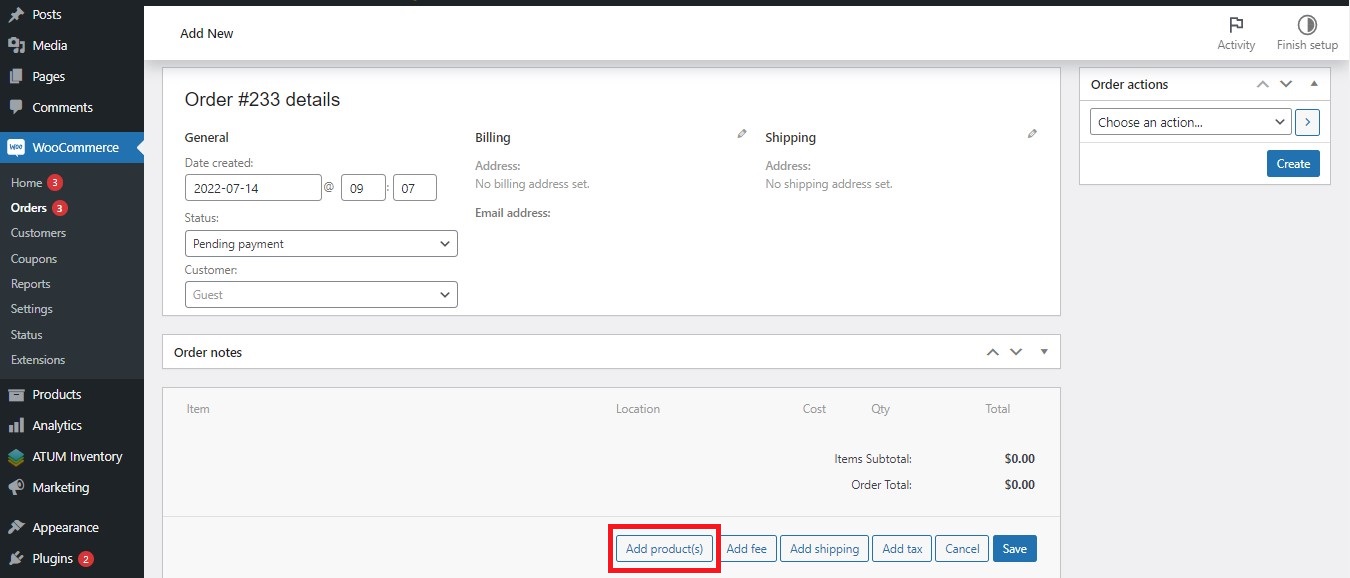
- Click Add Product(s) button.
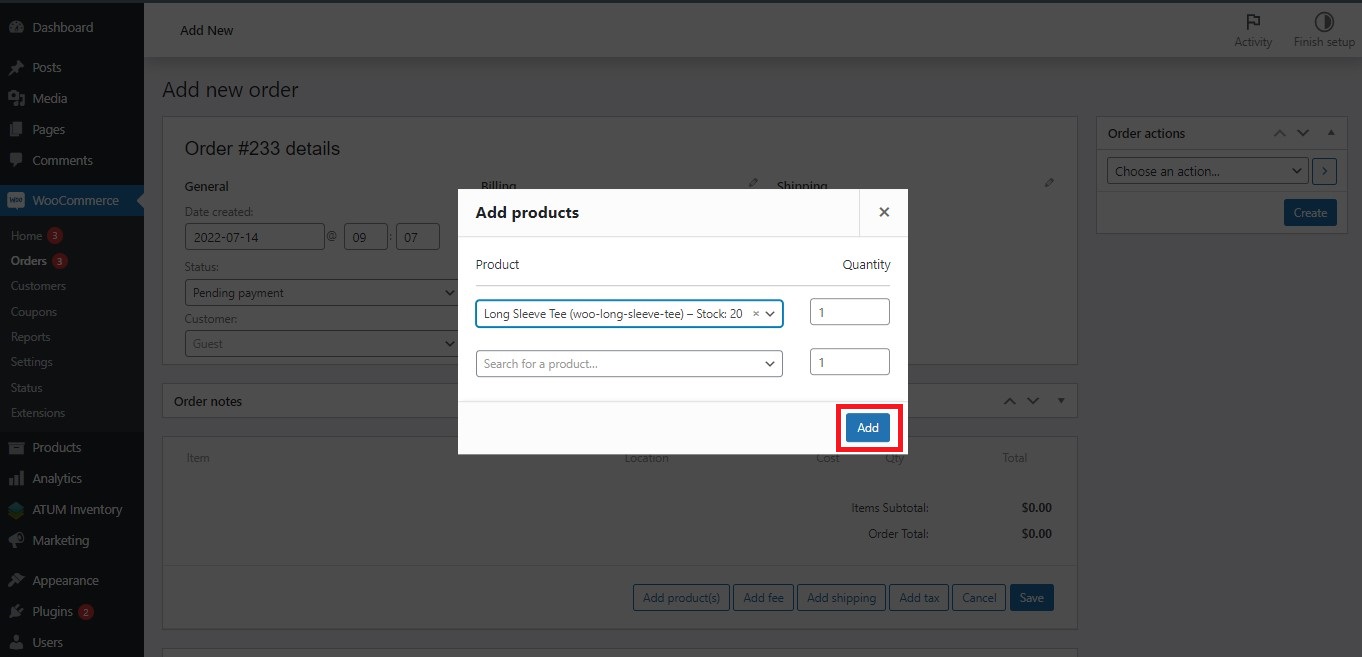
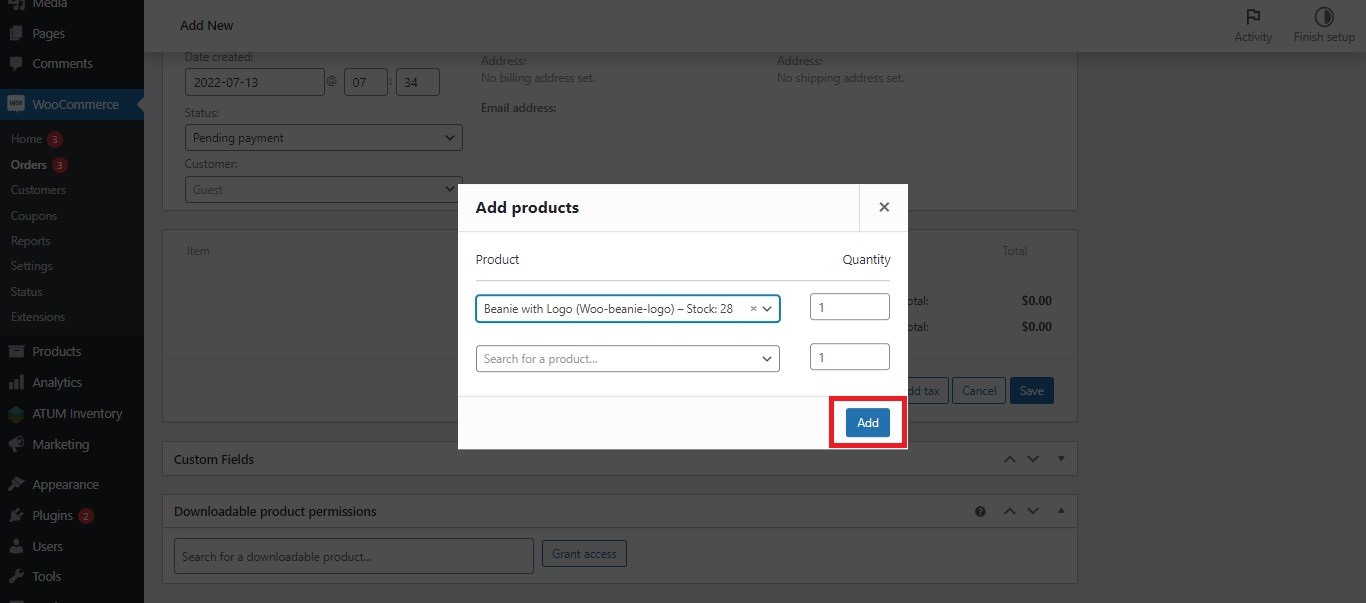
- On the Add Products PopUp, select the Multi-Inventory product you wish and click the Add button.
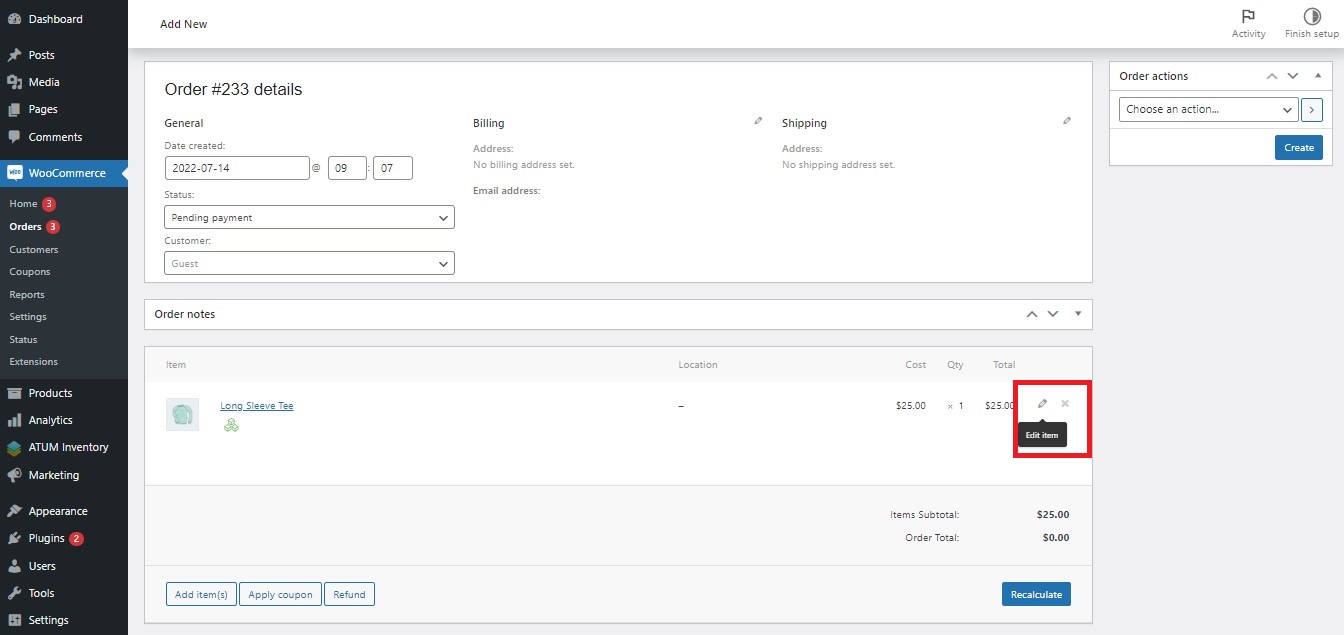
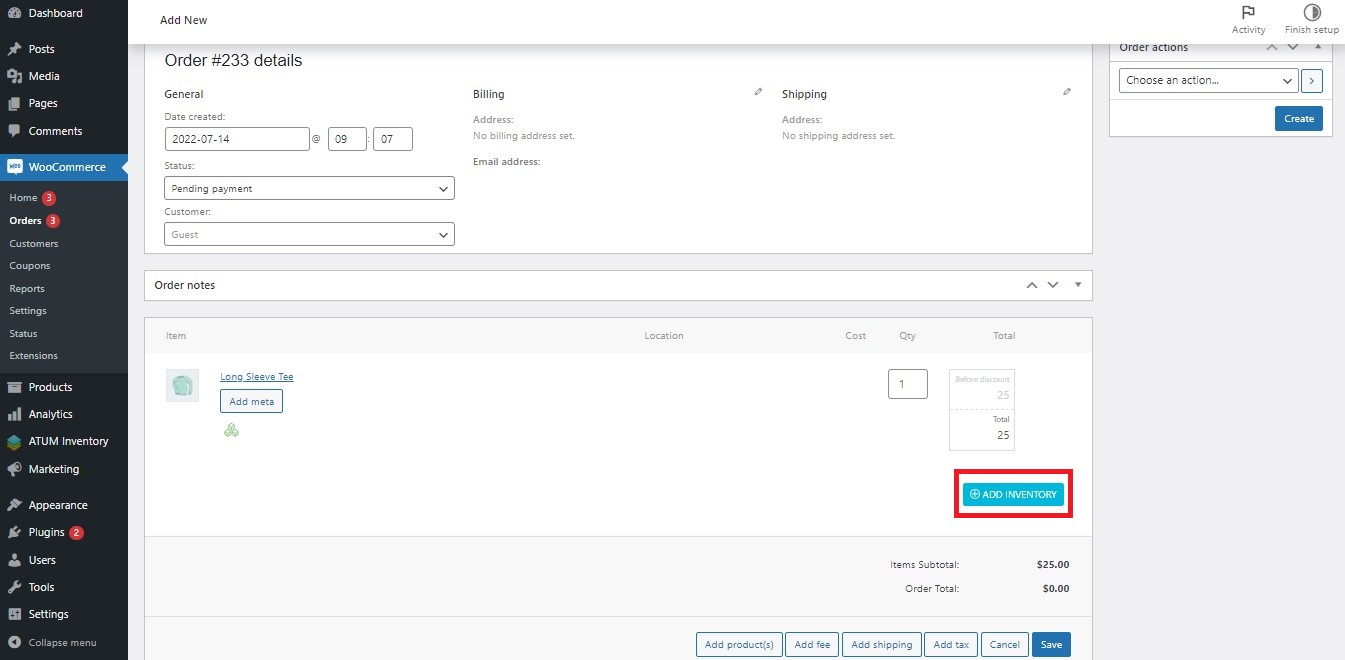
- Hover the cursor over the Multi-Inventory product row. The Edit Item button will be displayed on the right side of the row. Click it to add inventories.
- Click the Add Inventory button.
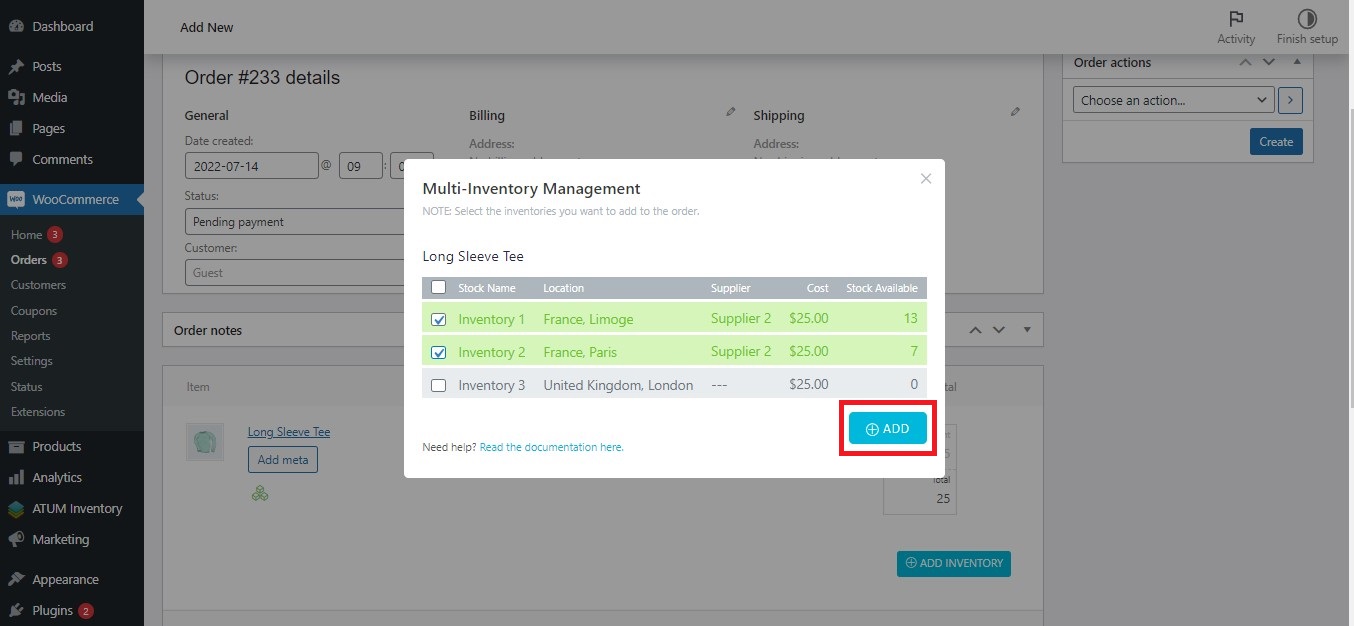
- The Multi-Inventory Management PopUp will open. In PopUp, you will see the product's inventory list. Then select the inventories you want to add and click the Add button.
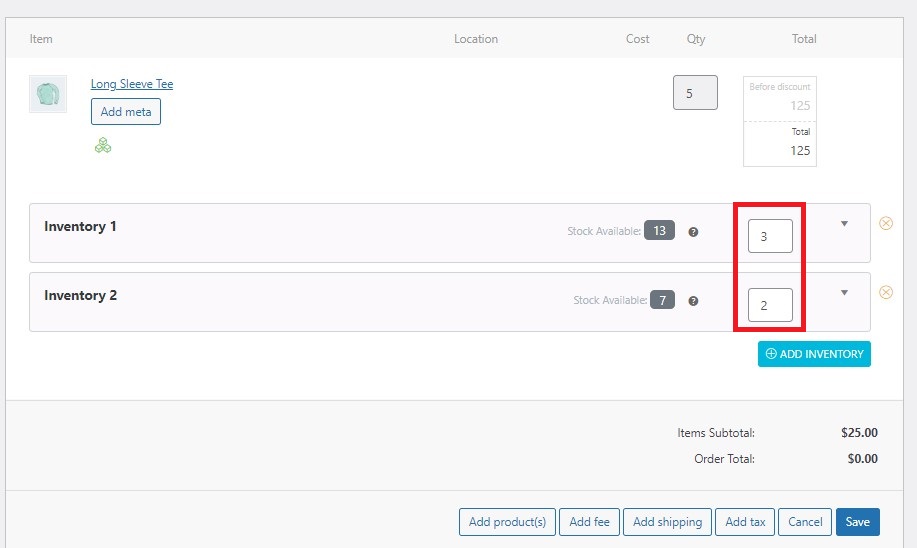
- Type the quantity you want to add to each inventory.
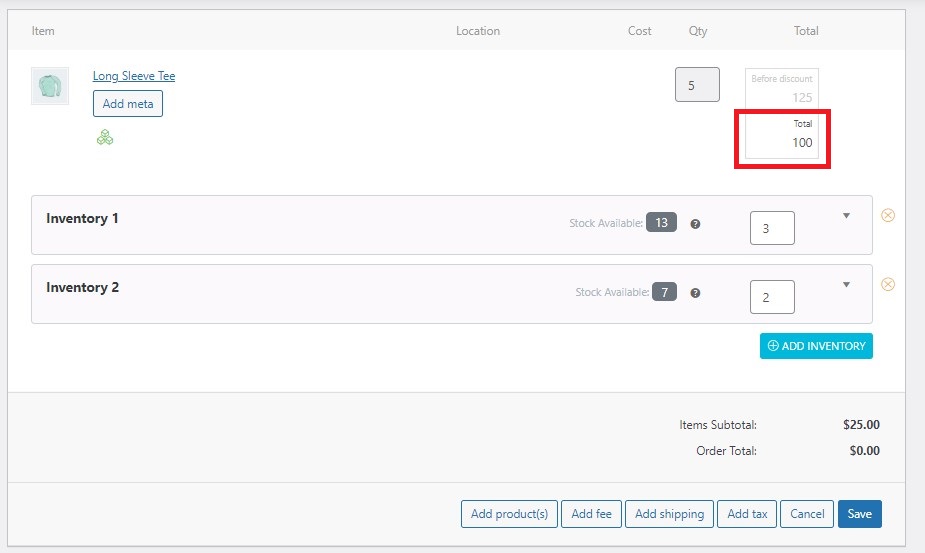
- In case you need to edit the total amount price (to apply a discount, for example), you can do it in the "total" box by typing the price you wish. Once you’ve done this, click the Save button to update the changes.
Please, note that if you have the price per inventory enabled, you will see on each inventory row that the editable total amount field now appears for each inventory: 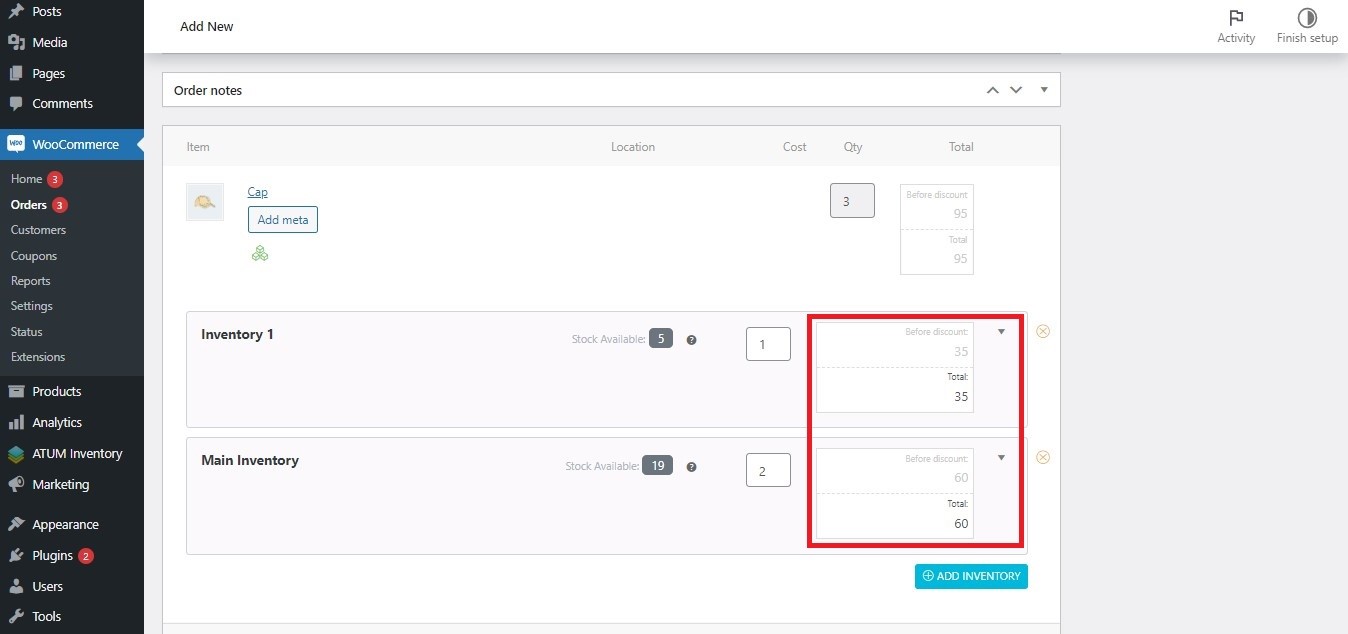 So, you can set the total amount for each inventory:
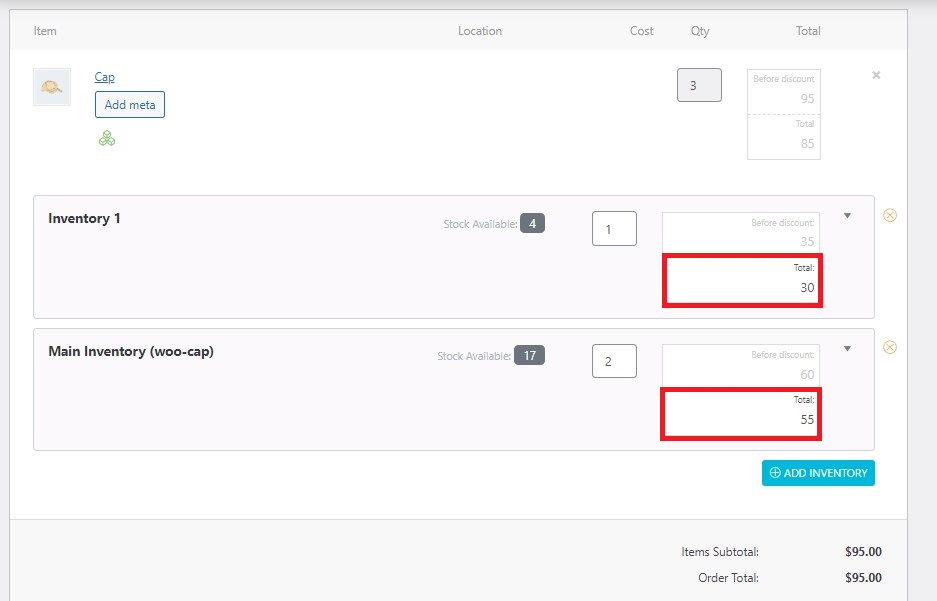
So, you can set the total amount for each inventory: - Click the Create or Update button at the top right to save changes.
Adding a product with Multi-Inventory records to order and assigning an inventory automatically
If you want to assign an inventory automatically to order, just follow these simple steps:
- First, go to ATUM Inventory > Settings > Multi-Inventory and enable the option Auto-assign inventories to WC Orders. Click Save Changes on the top of the screen.
- Now, on the WordPress admin panel go to WooCommerce > Orders and open the order for editing or create a new one.
- Click Add Item(s) button.
- Click Add Product(s).
- The Add Products PopUp appears. Search for the Multi-Inventory product you wish to add and click the Add button.
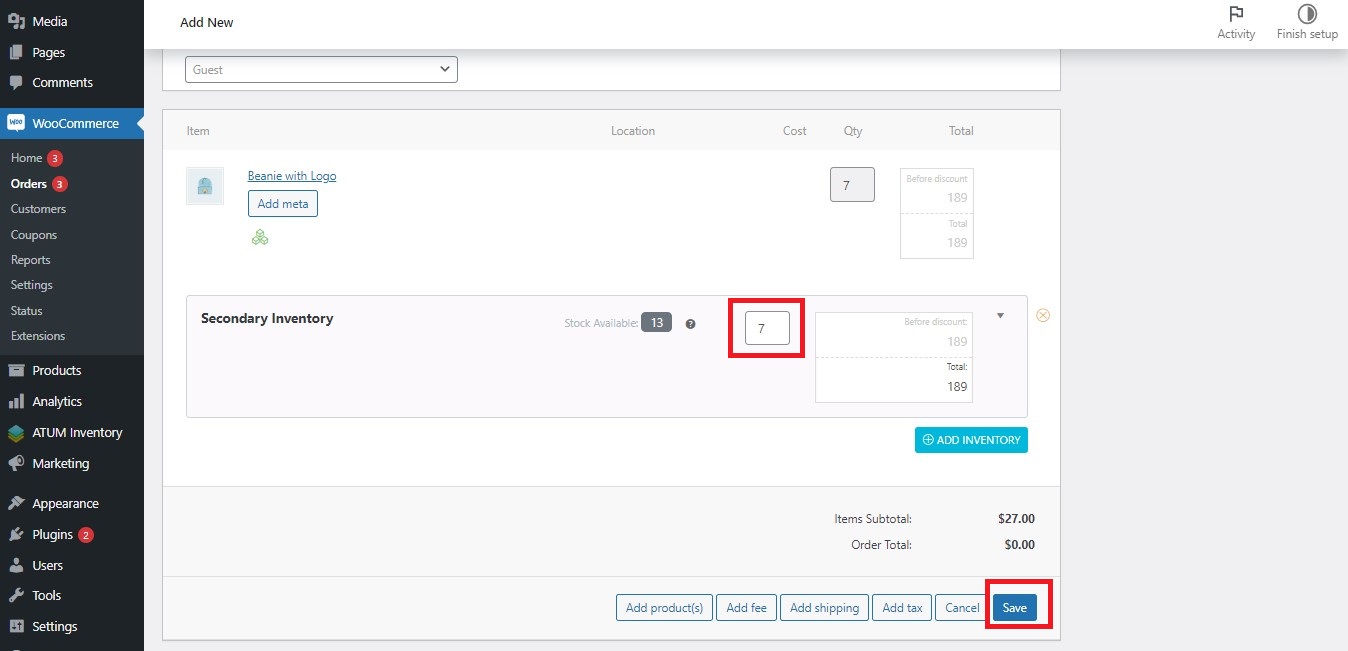
- As you can see in the screenshot below, the inventory was assigned automatically to the product. Edit the quantity you want to add from the inventory and click the Save button.
You can edit, add and remove the inventories easily whenever you need it. Follow this link to see how you can manage the products with Multi-Inventory records on WooCommerce Orders.
- To save the order, click the Create or Update button at the top right.