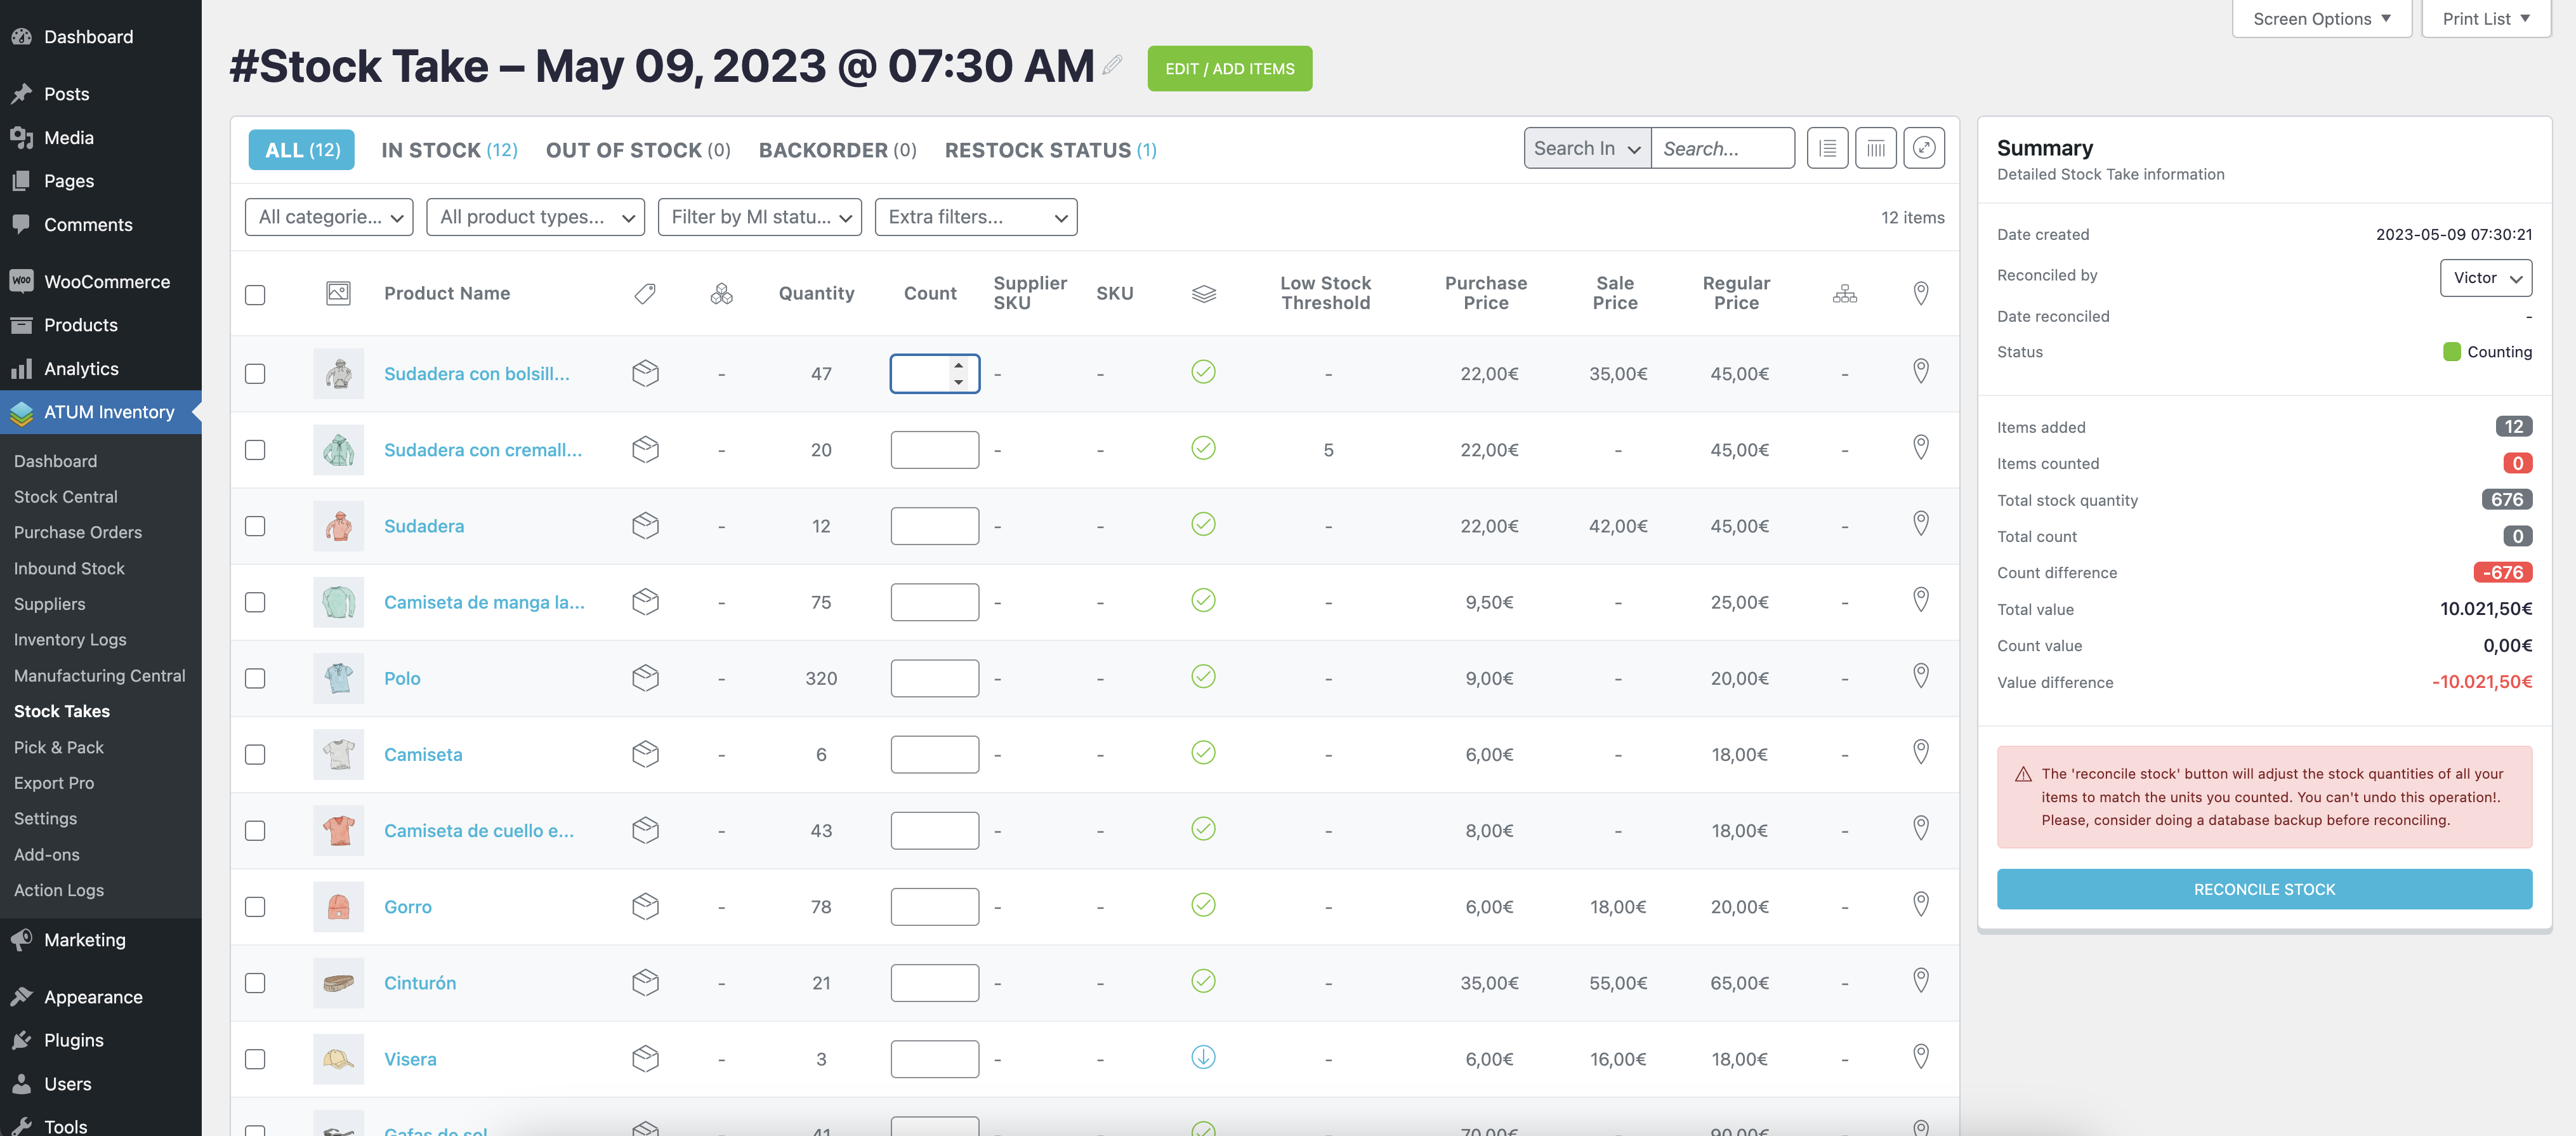
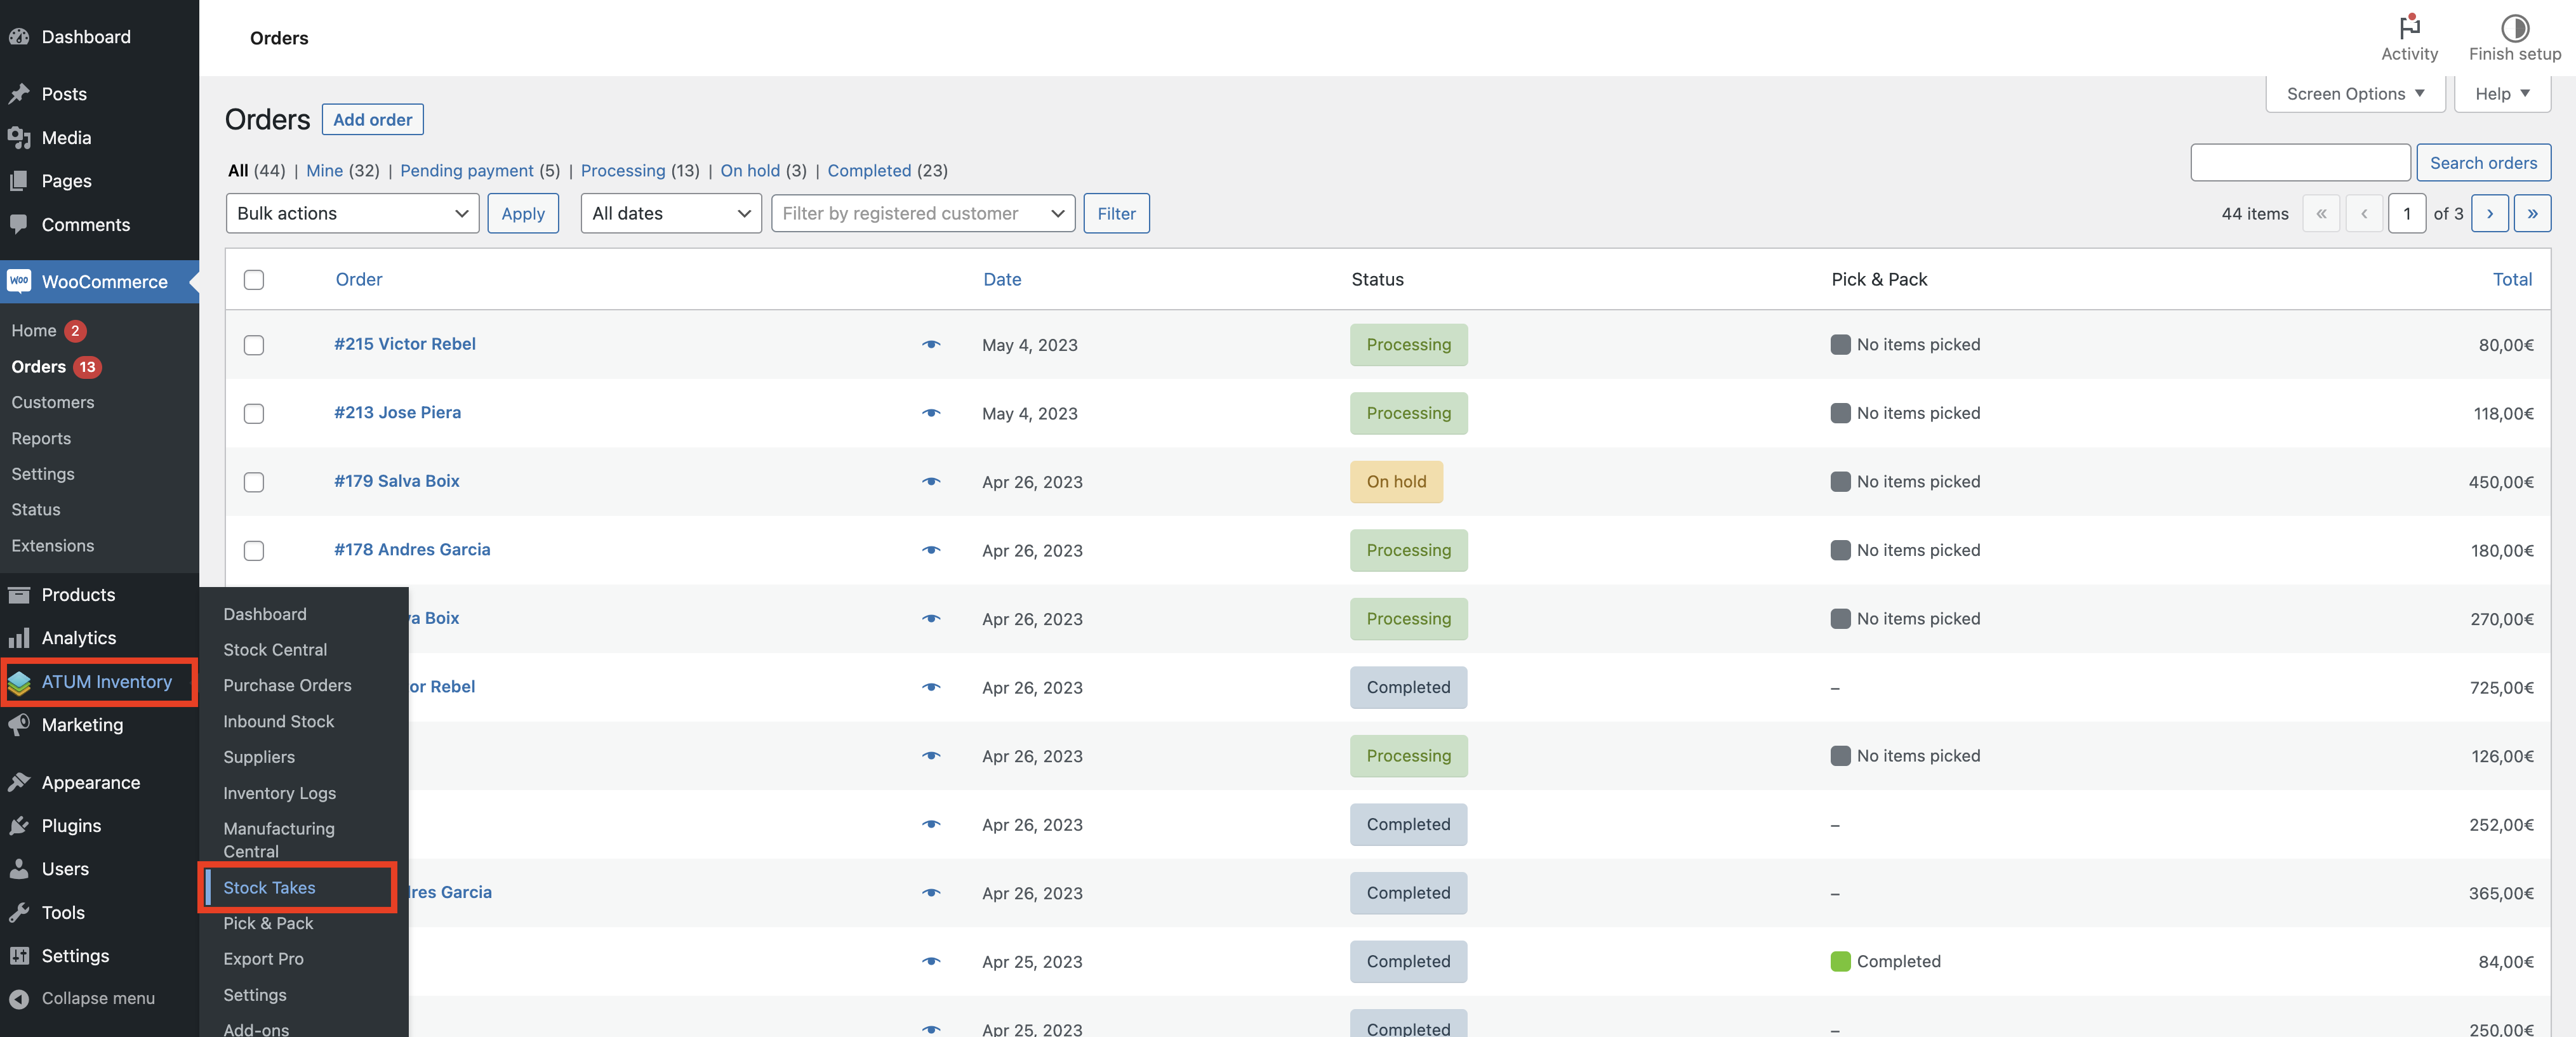
If you want to create a new Stock Take, simply go to the ATUM Inventory >> Stock Takes menu
Click on "ADD NEW".

By default, all your compatible products are displayed on a table in a way similar to Stock Central, with useful filters, sorting options, etc.

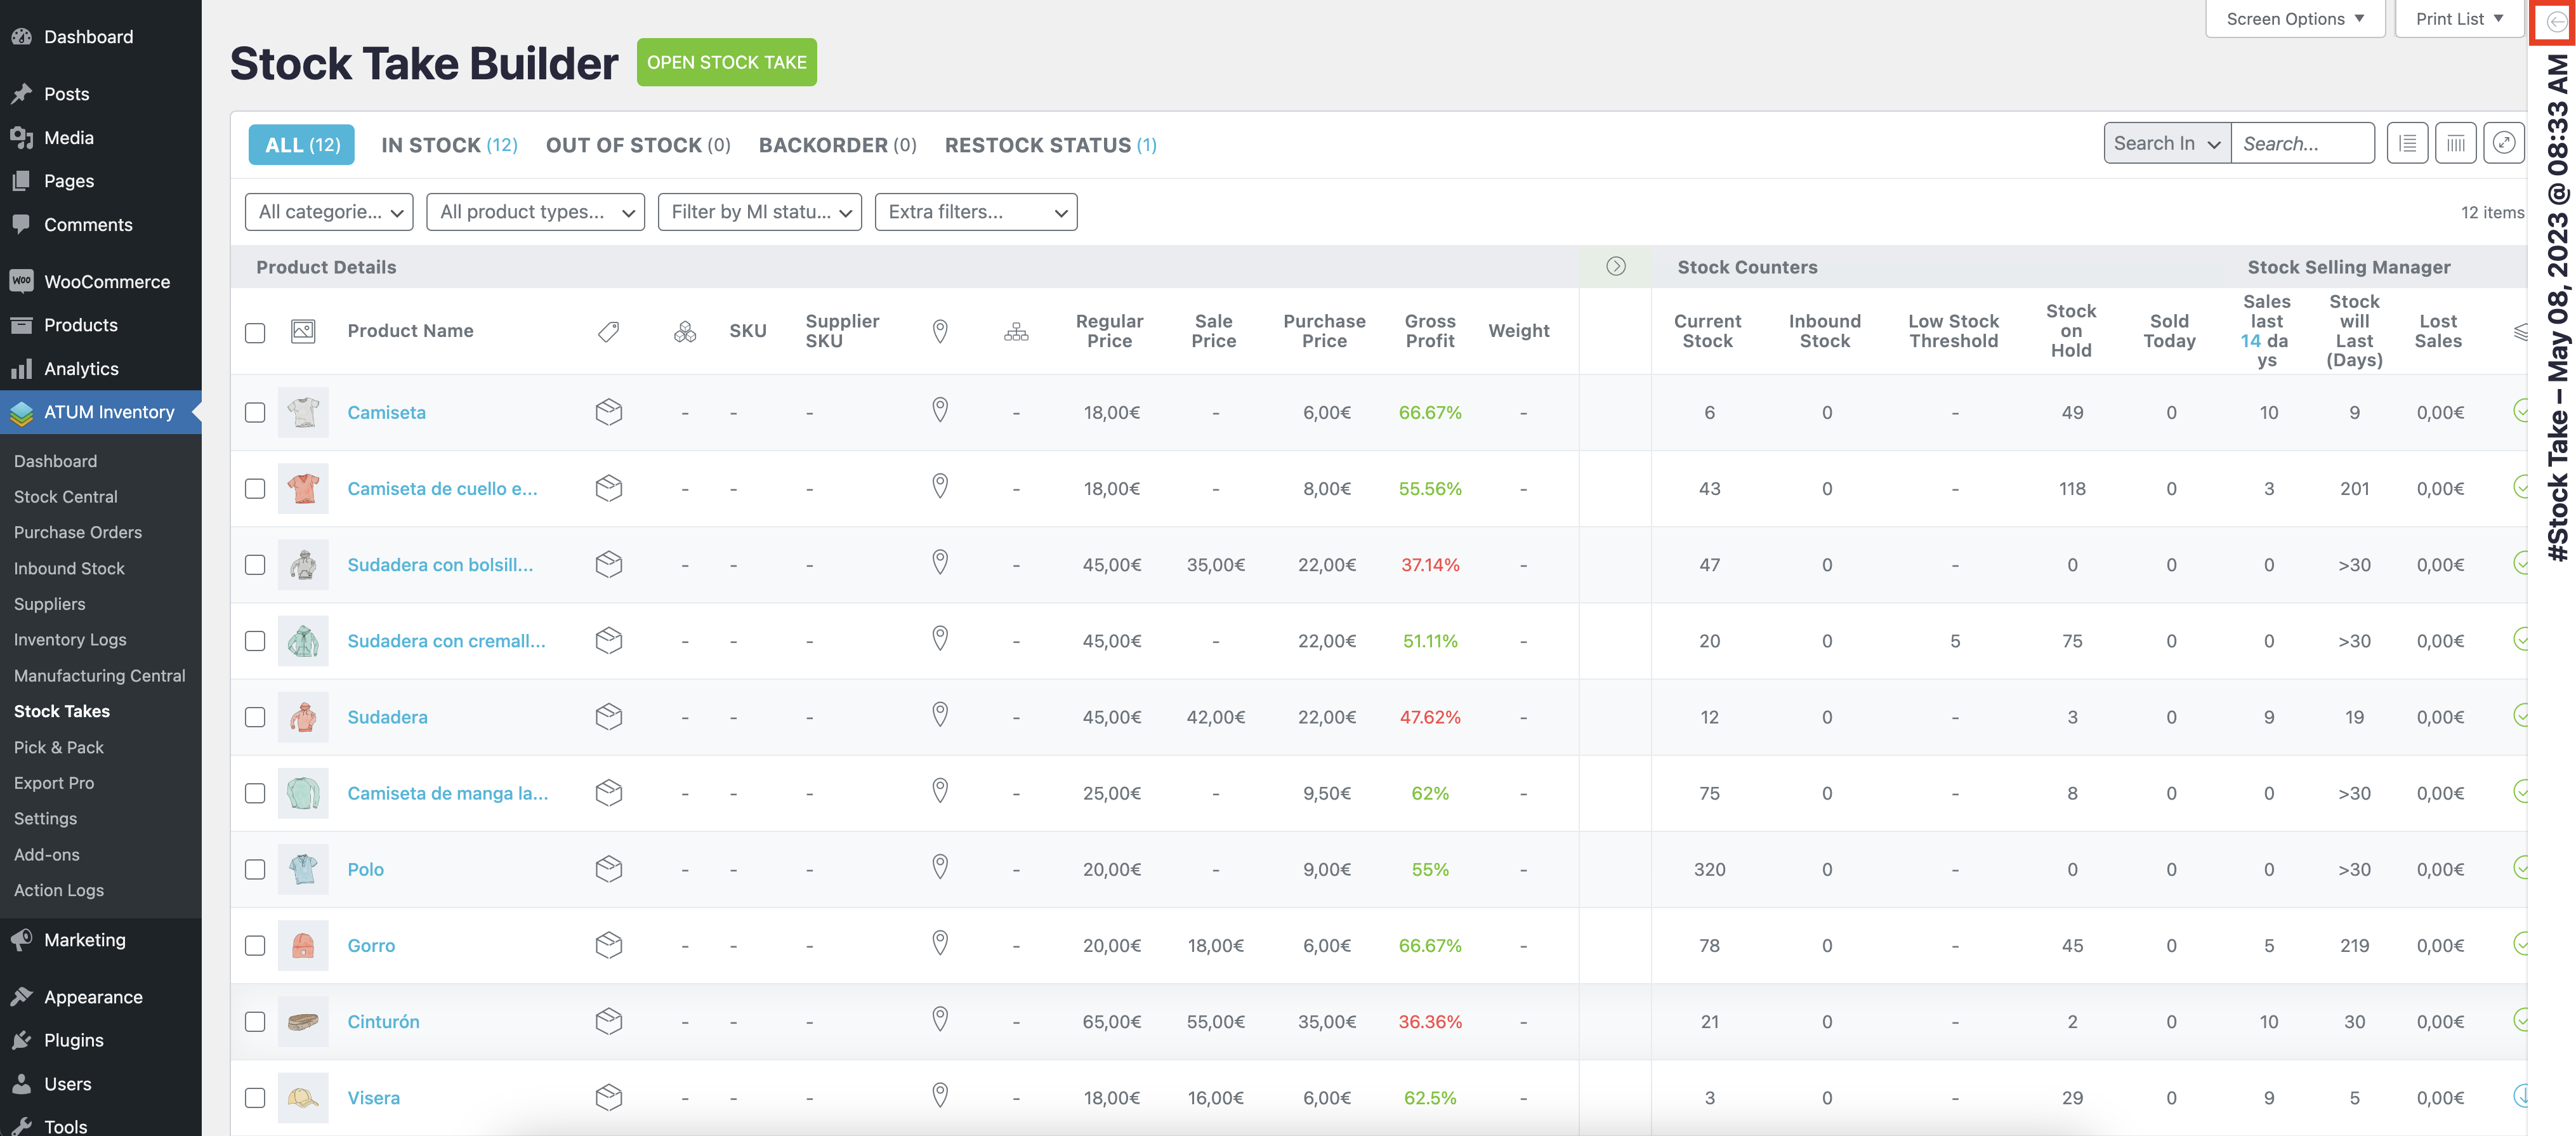
Collapse the sidebar by clicking the top arrow at any time to see the whole table.
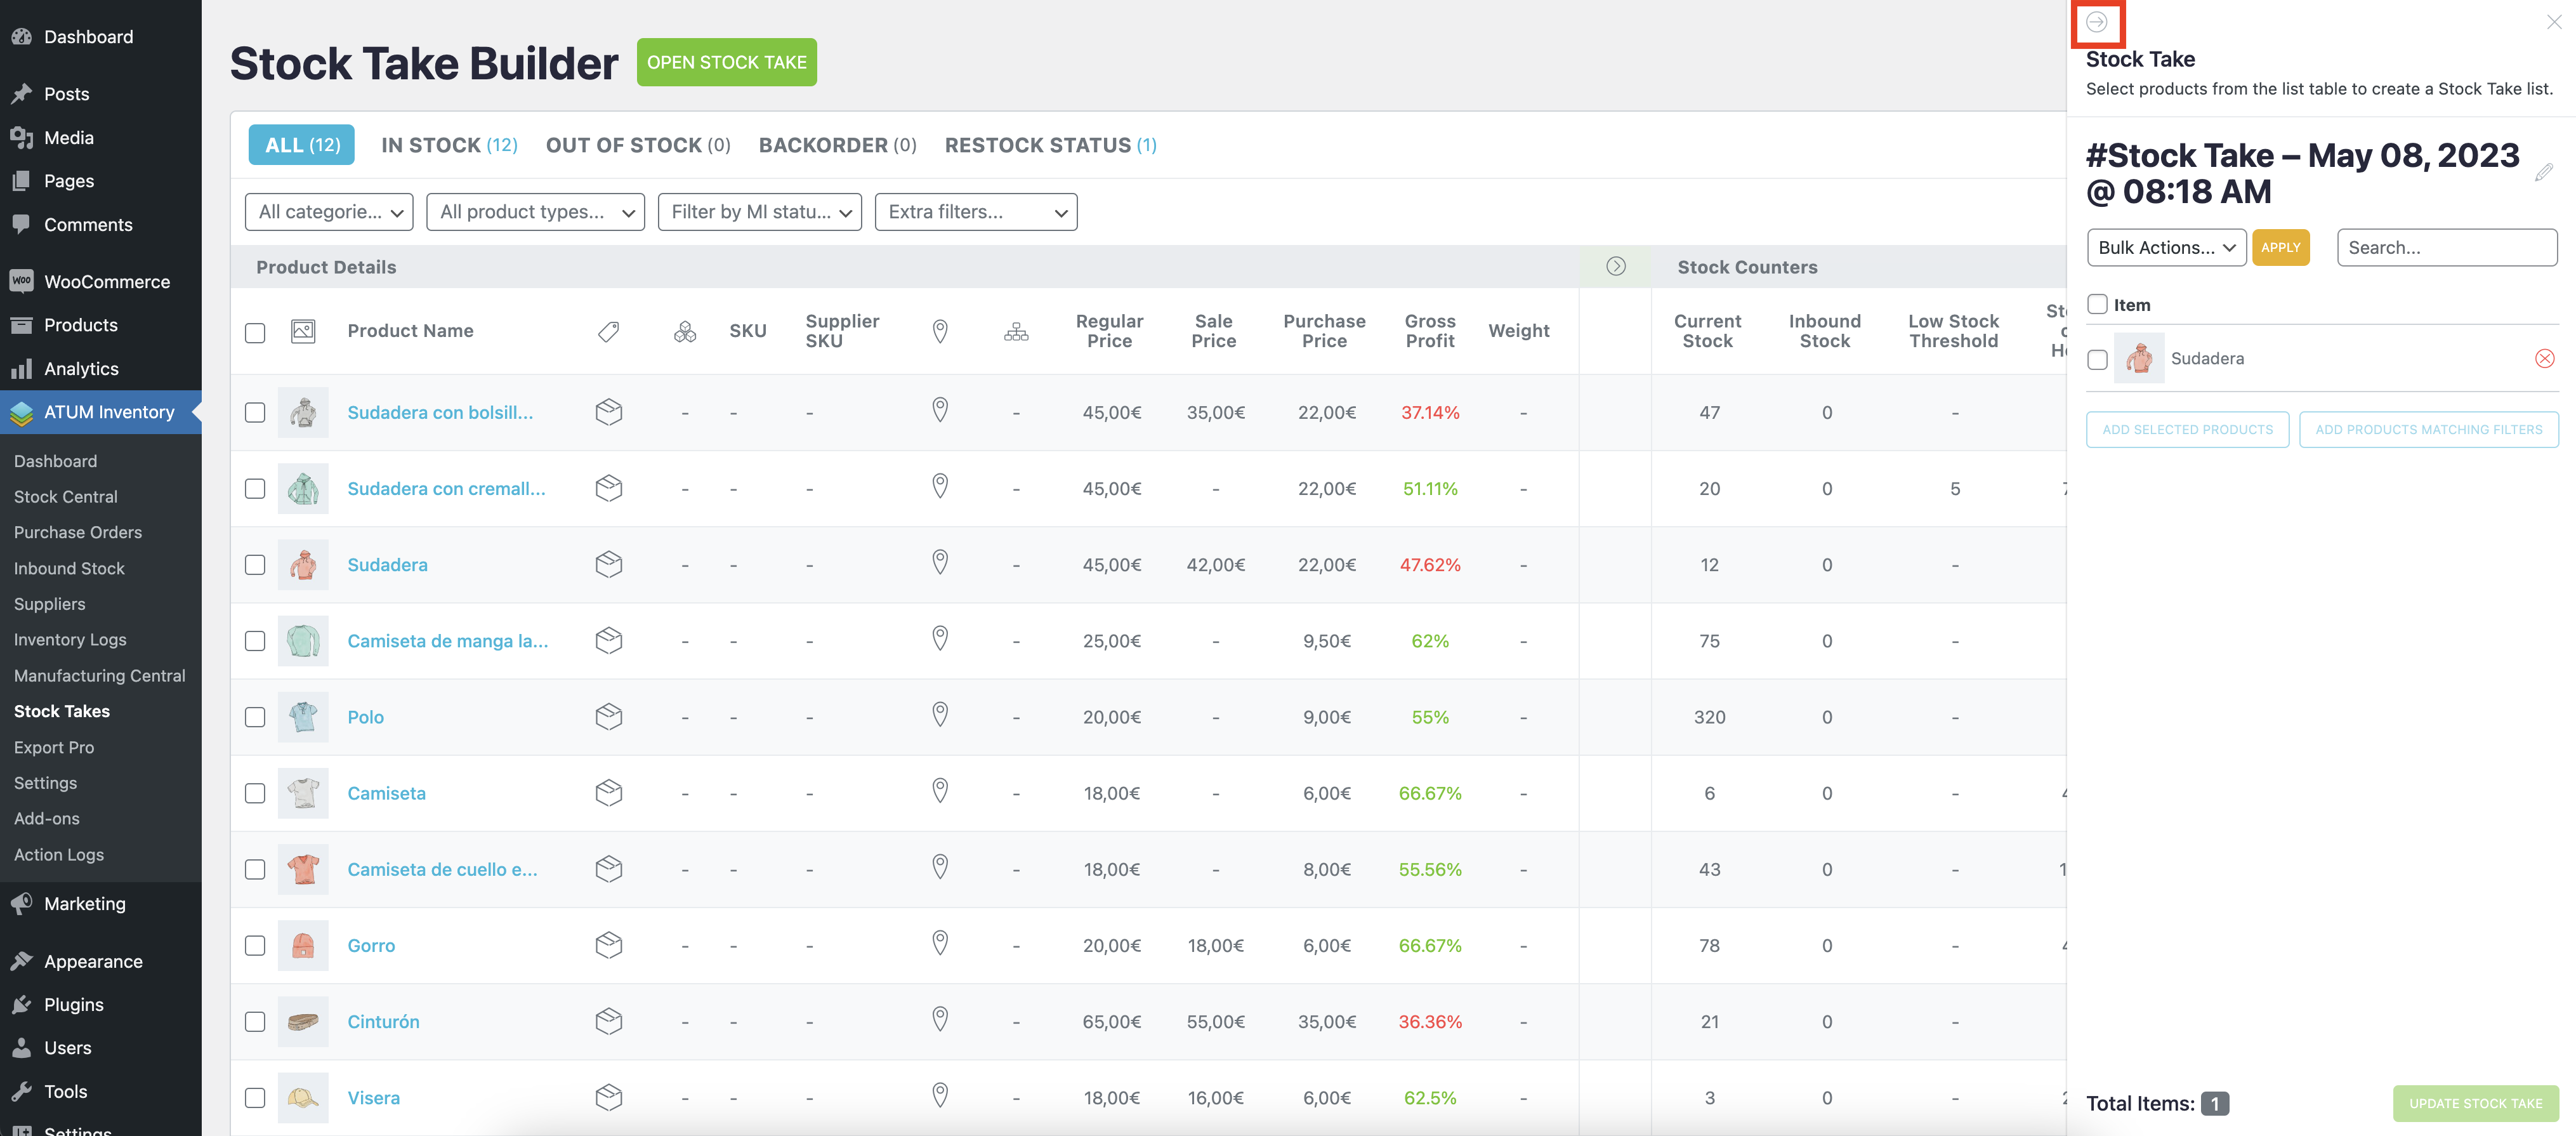
Click it again to expand it.
At this point, there are several ways to add products to the list:
- Drag & drop
- Use the checkboxes
- Apply filters
- Add all products
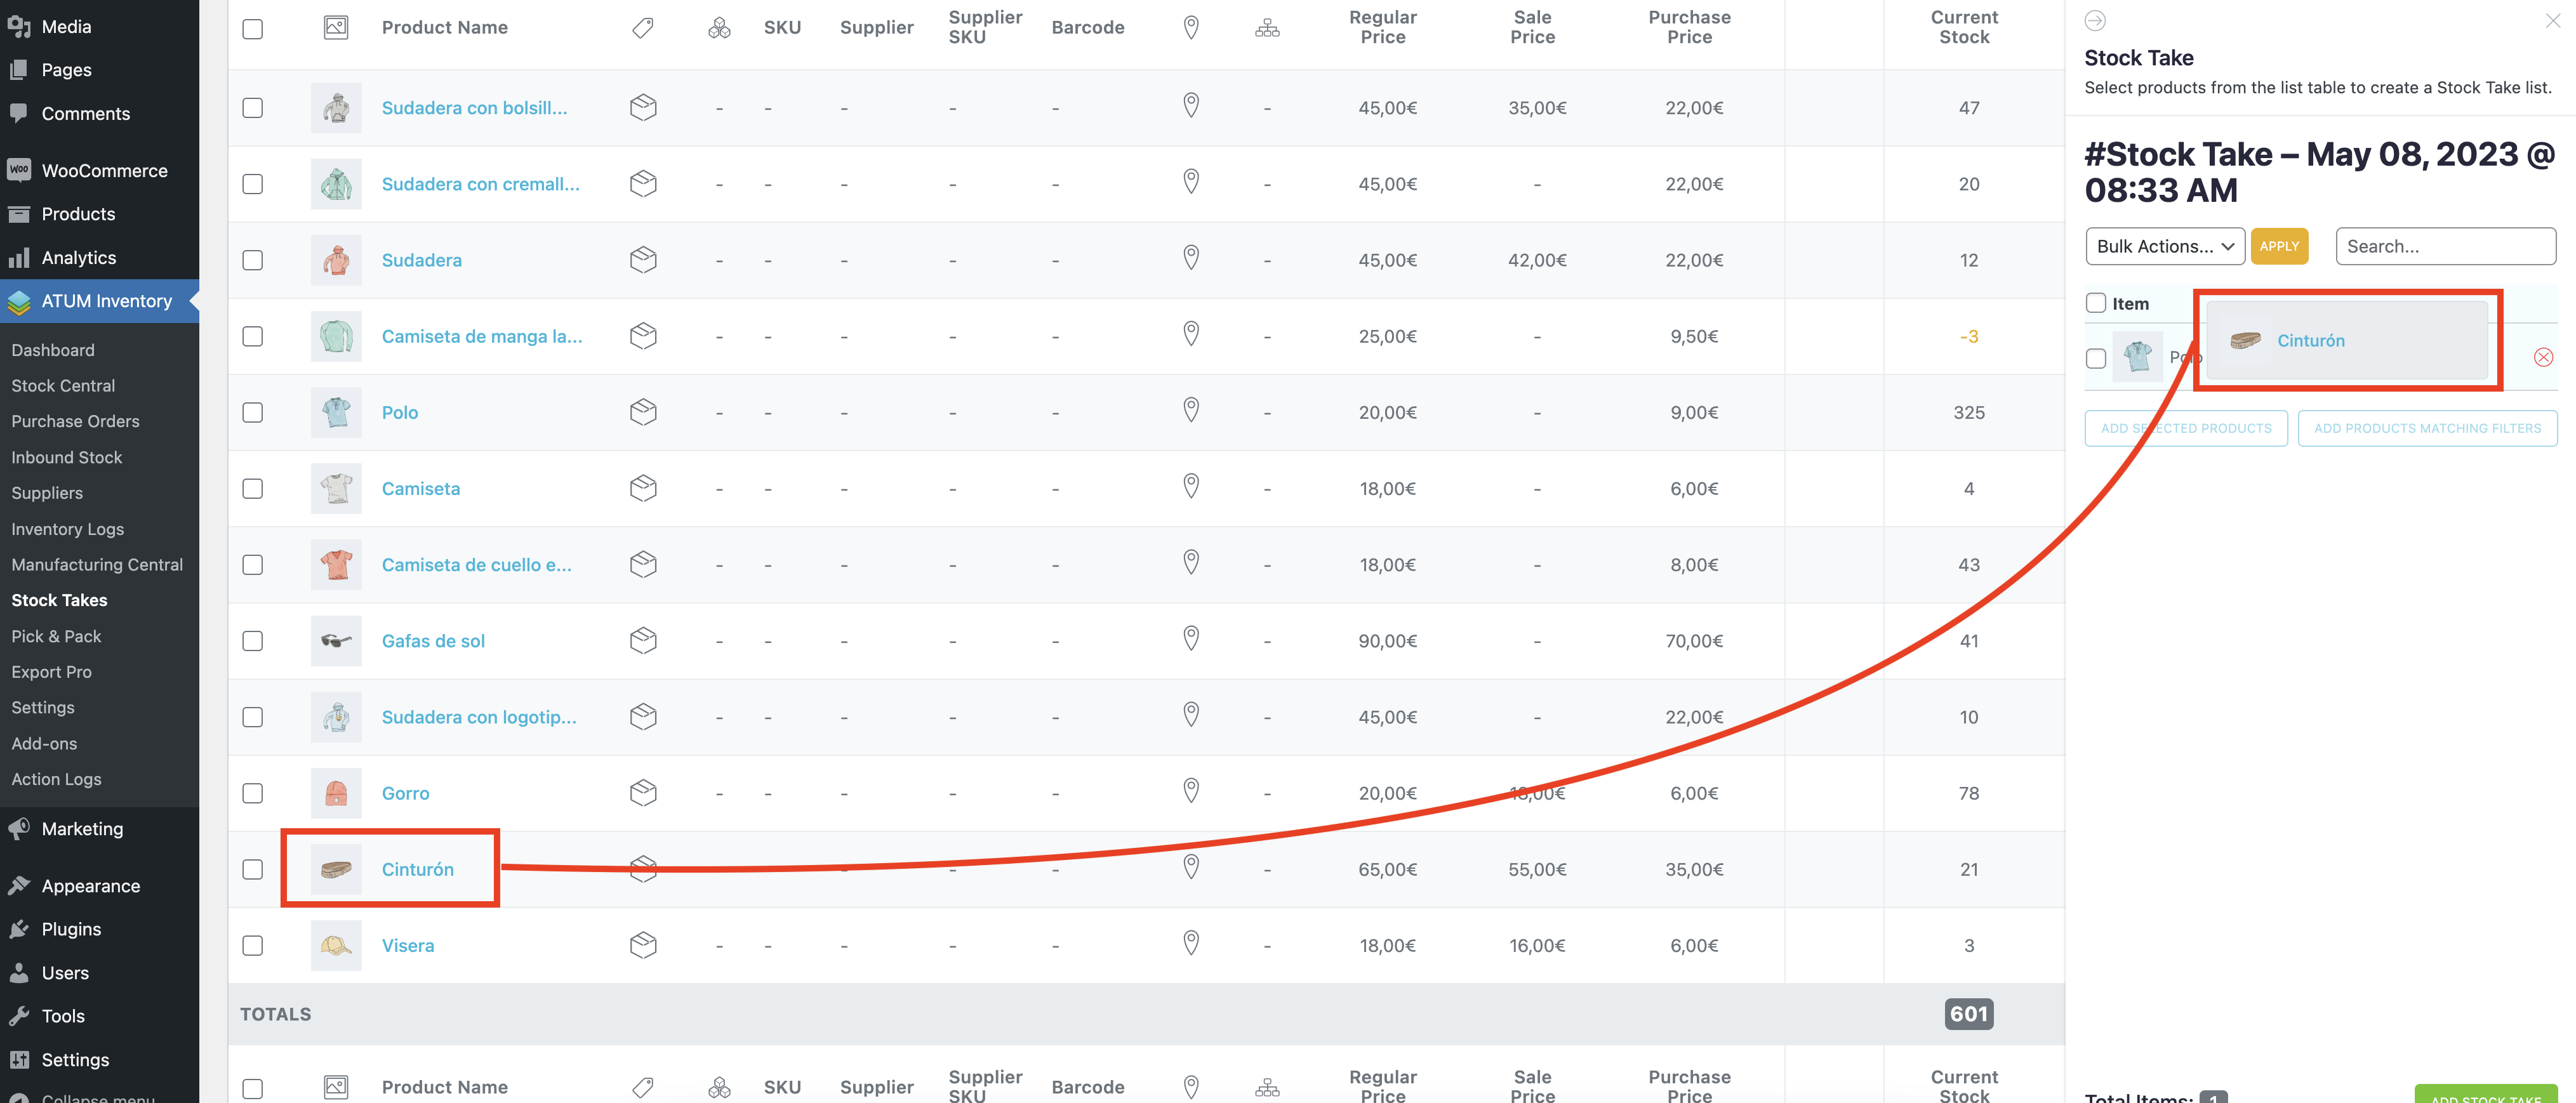
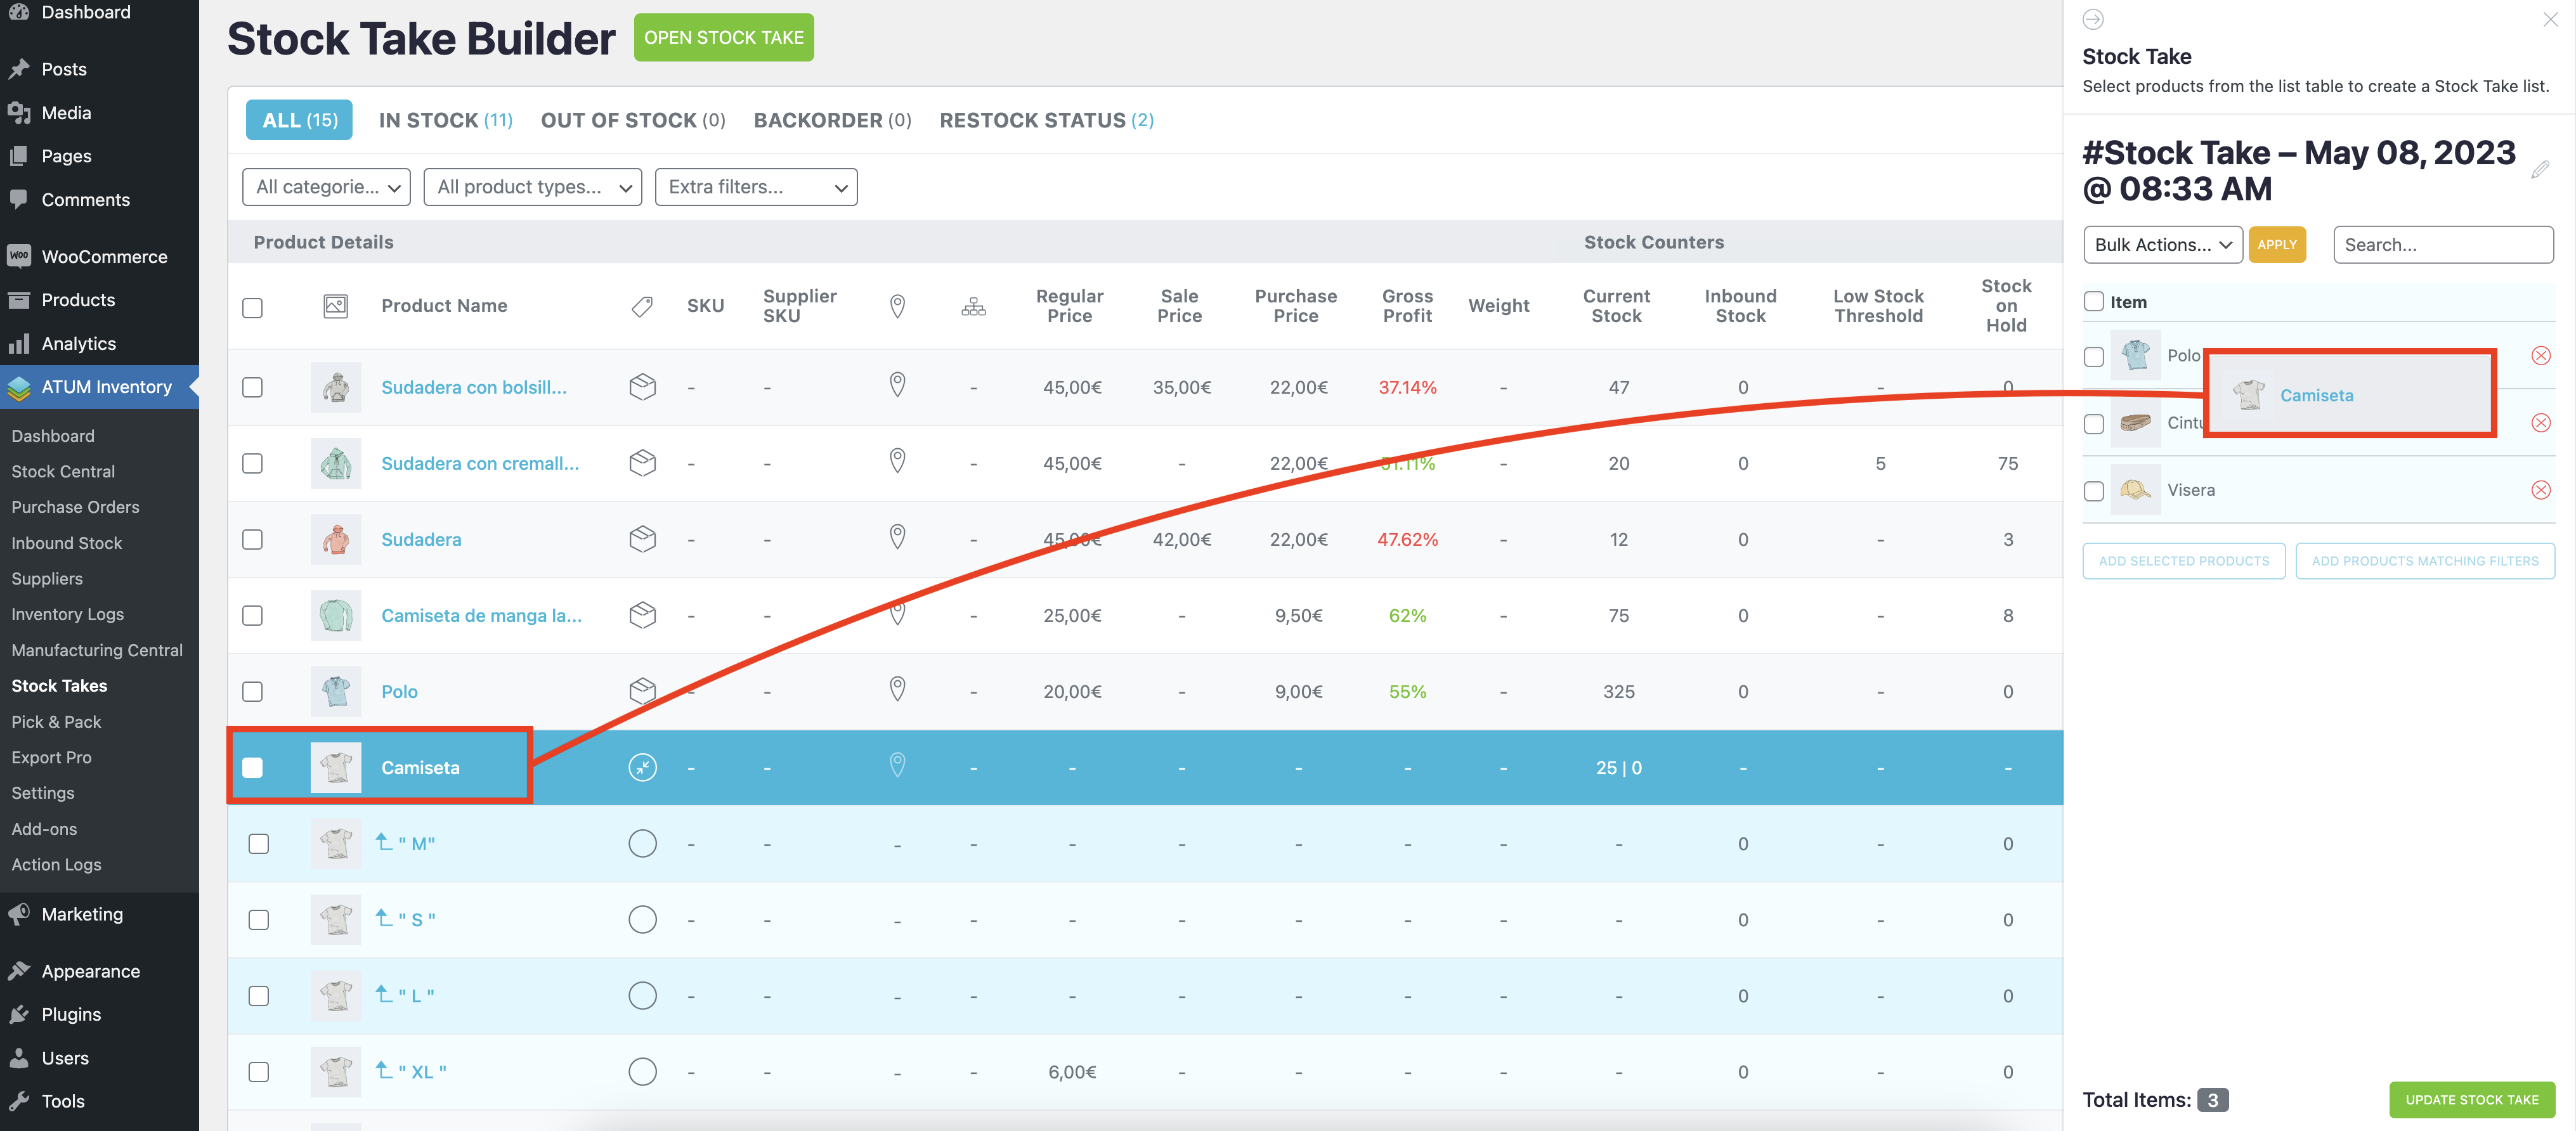
Drag and drop items one by one
Simply drag any item row from the table to the sidebar and the product will be added to the list.

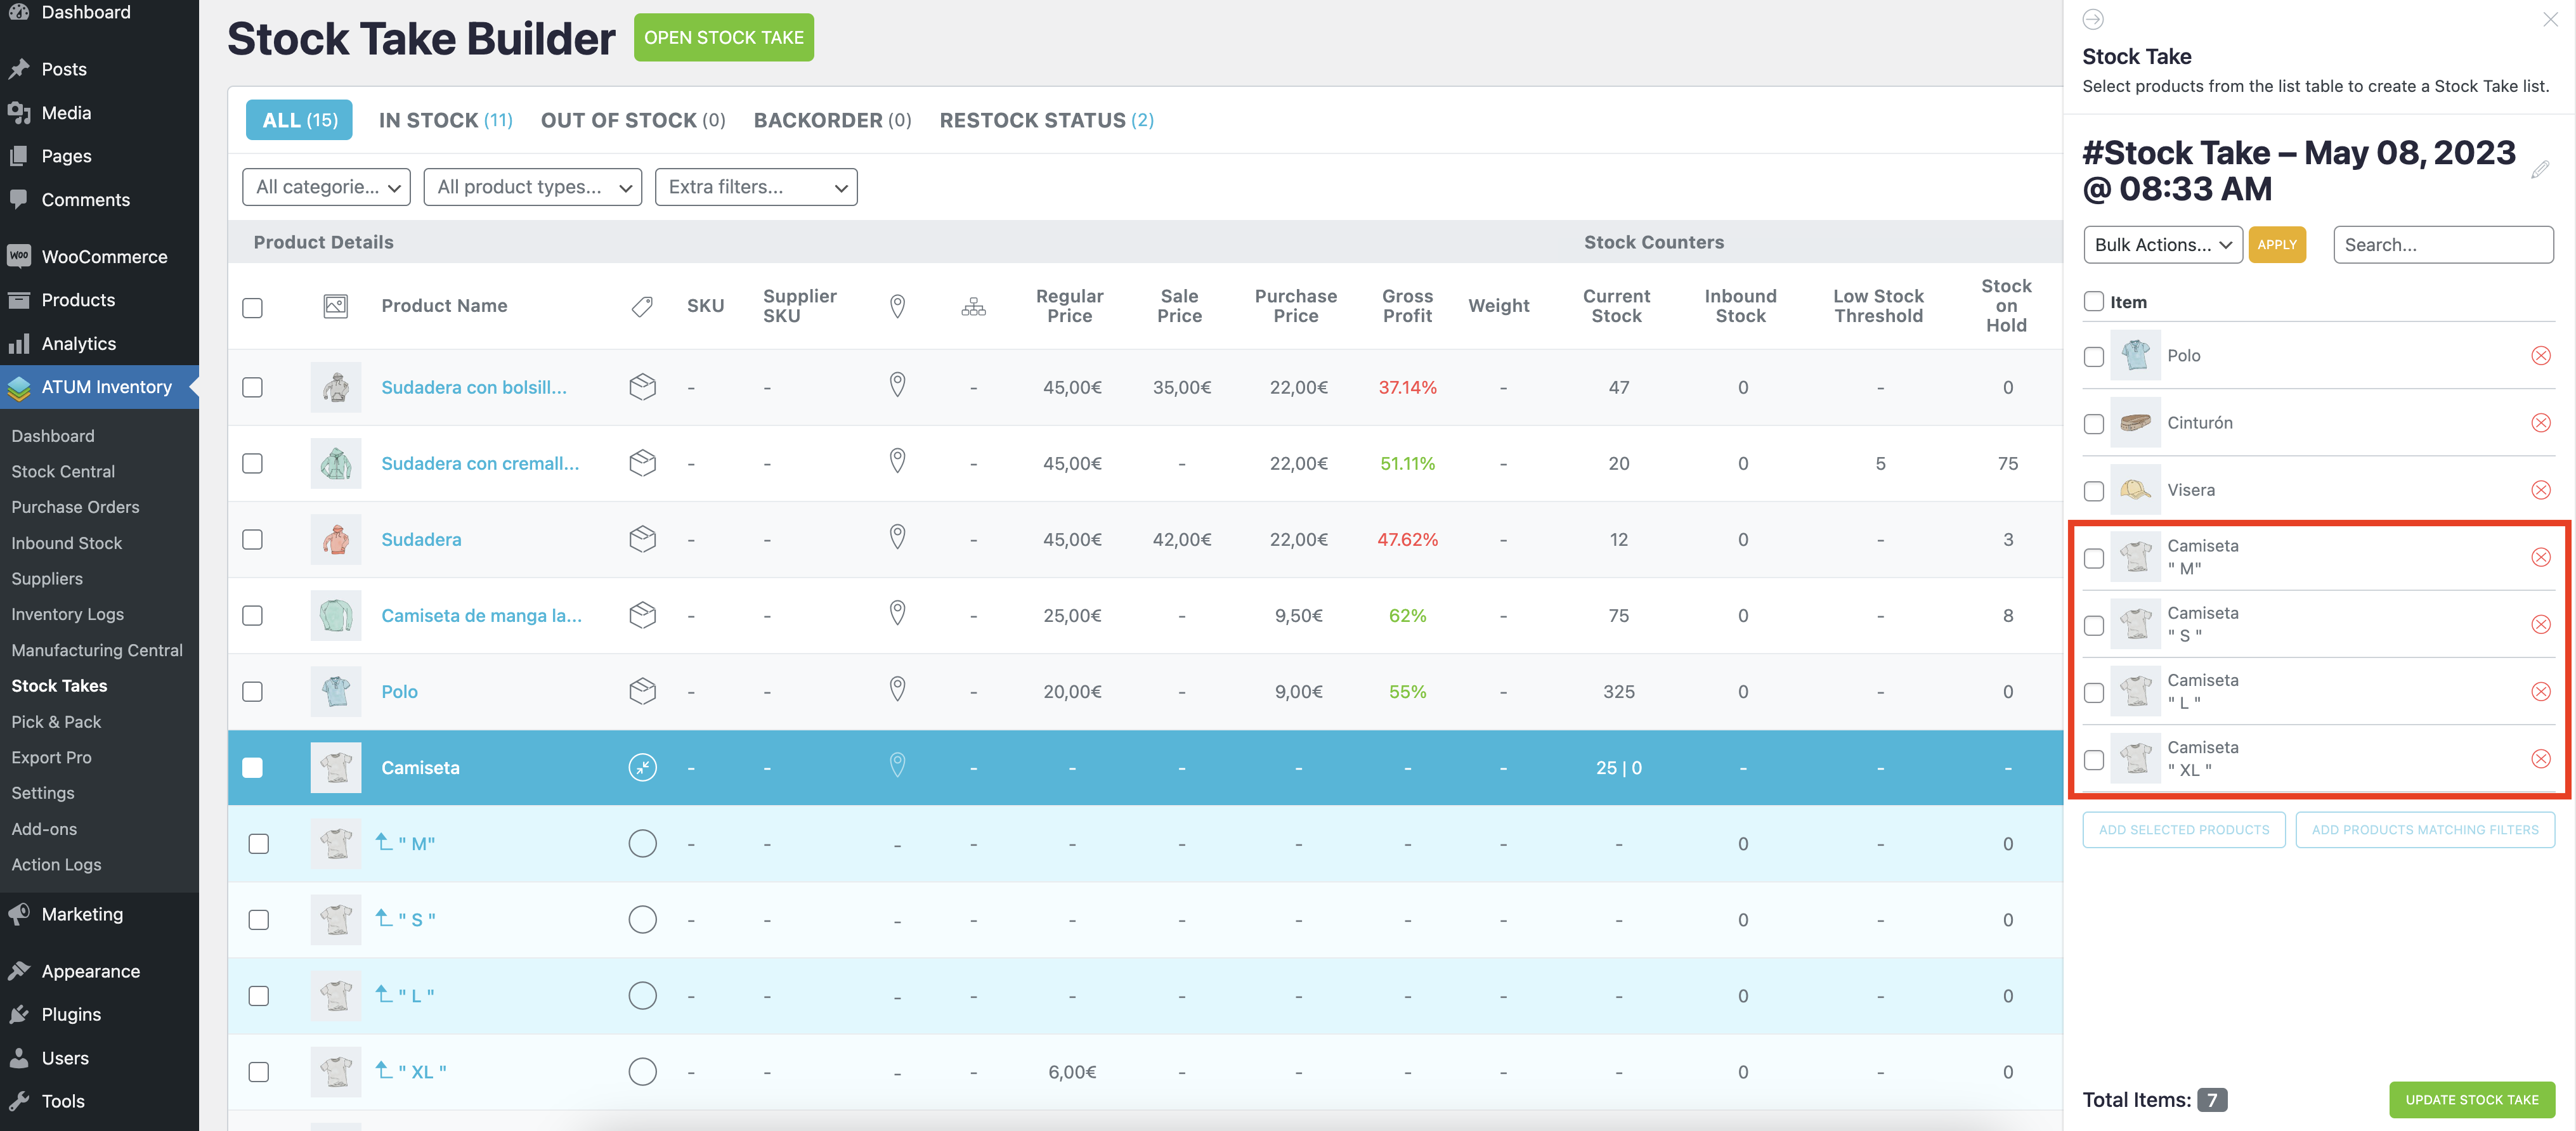
When you are done, click on “ADD STOCK TAKE”.
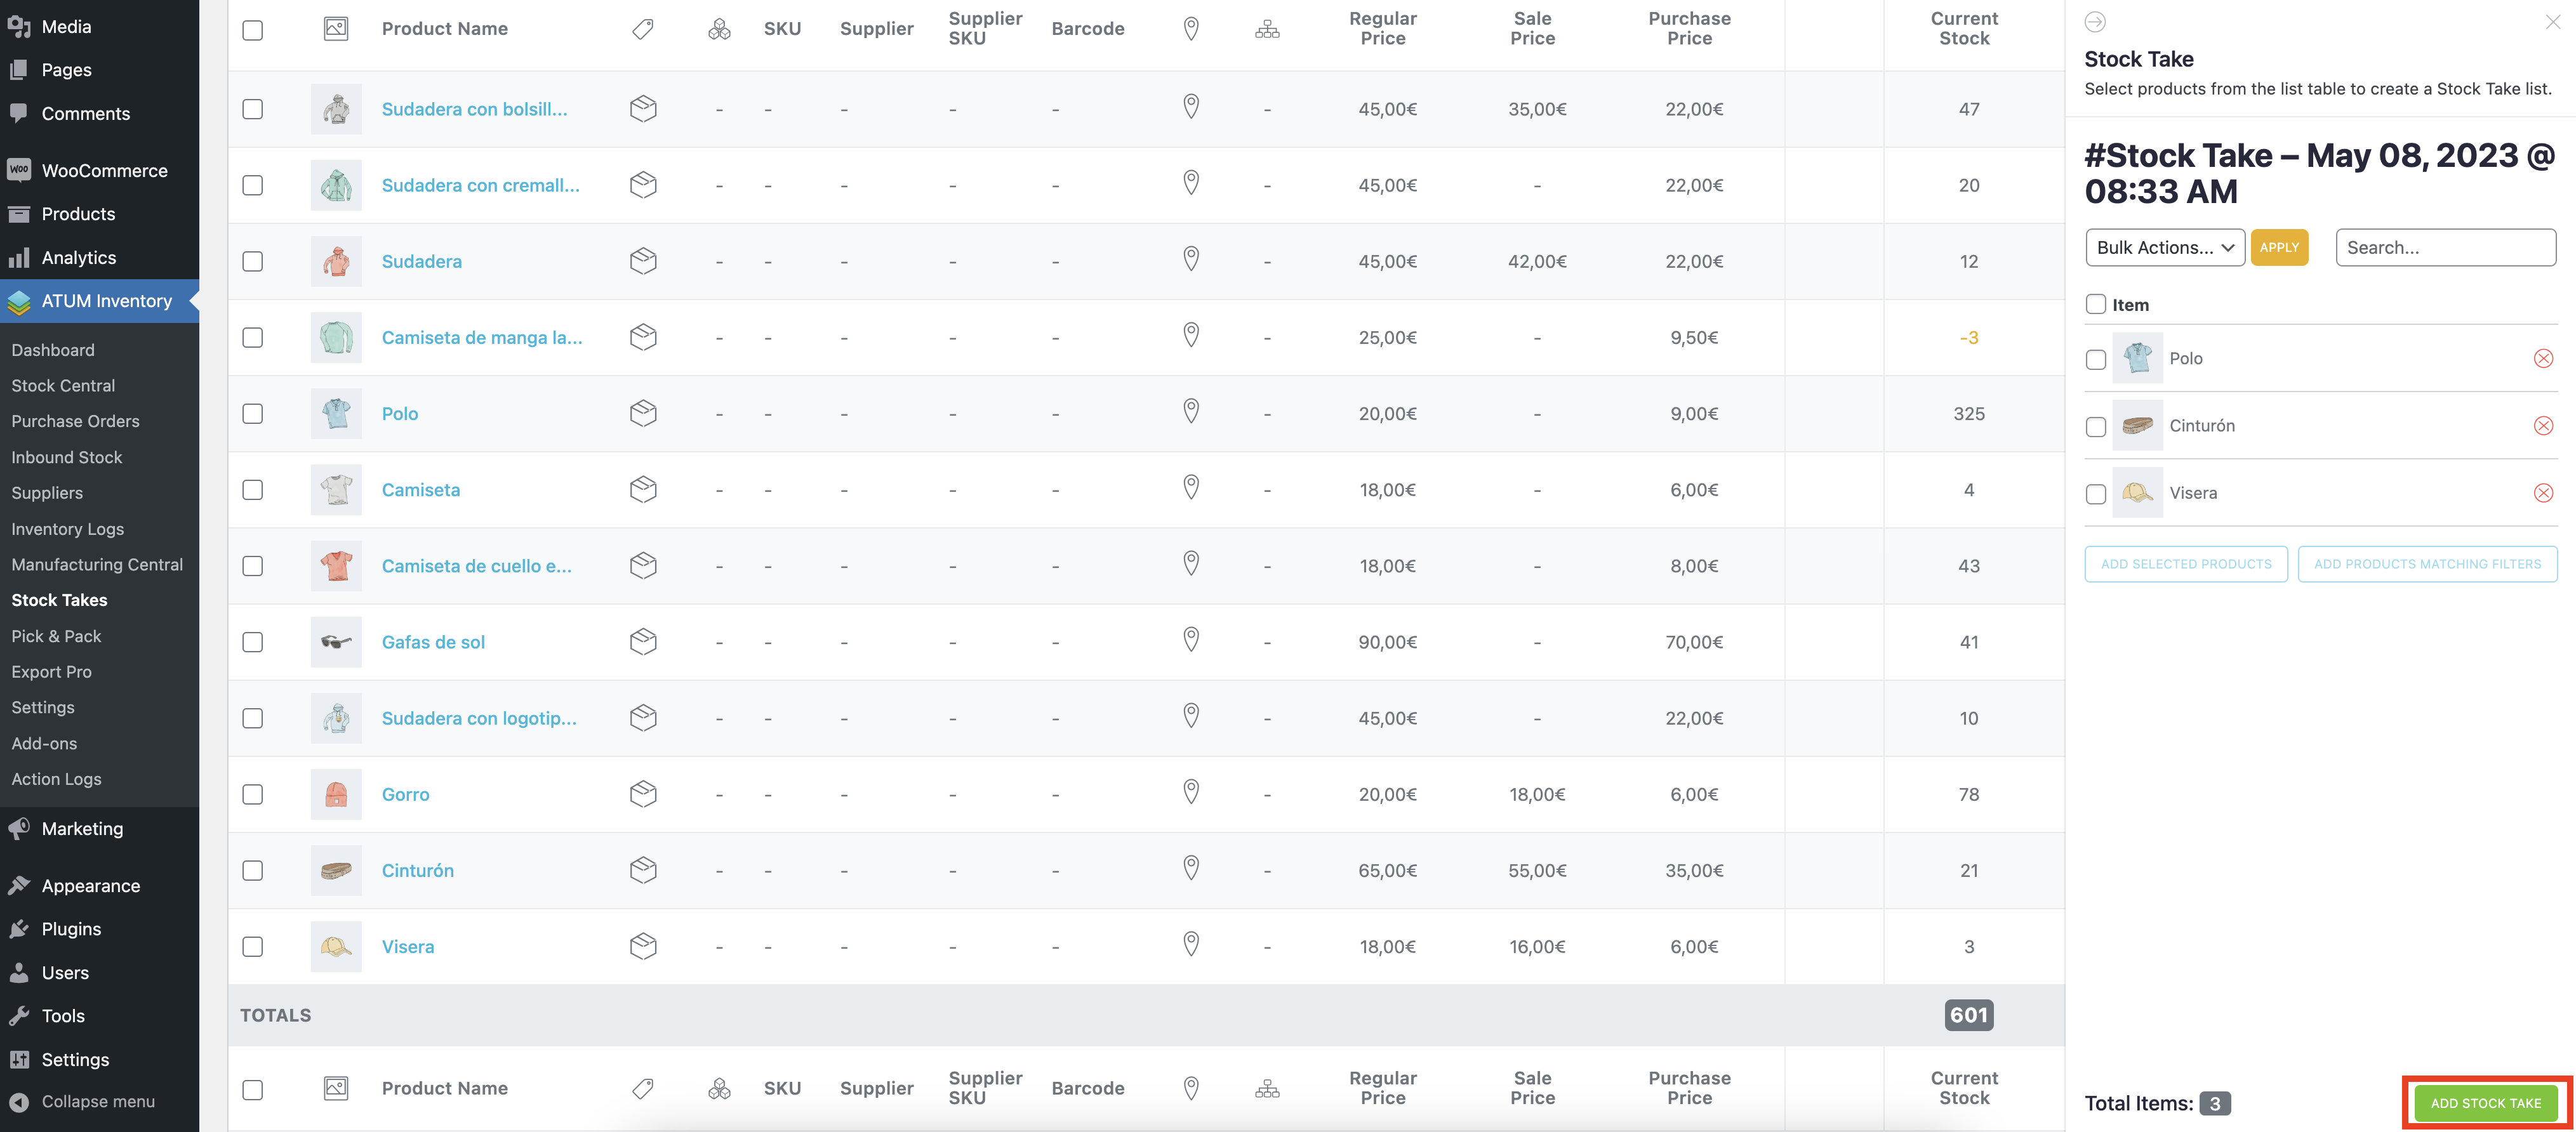
Then open the list to start the stock take.

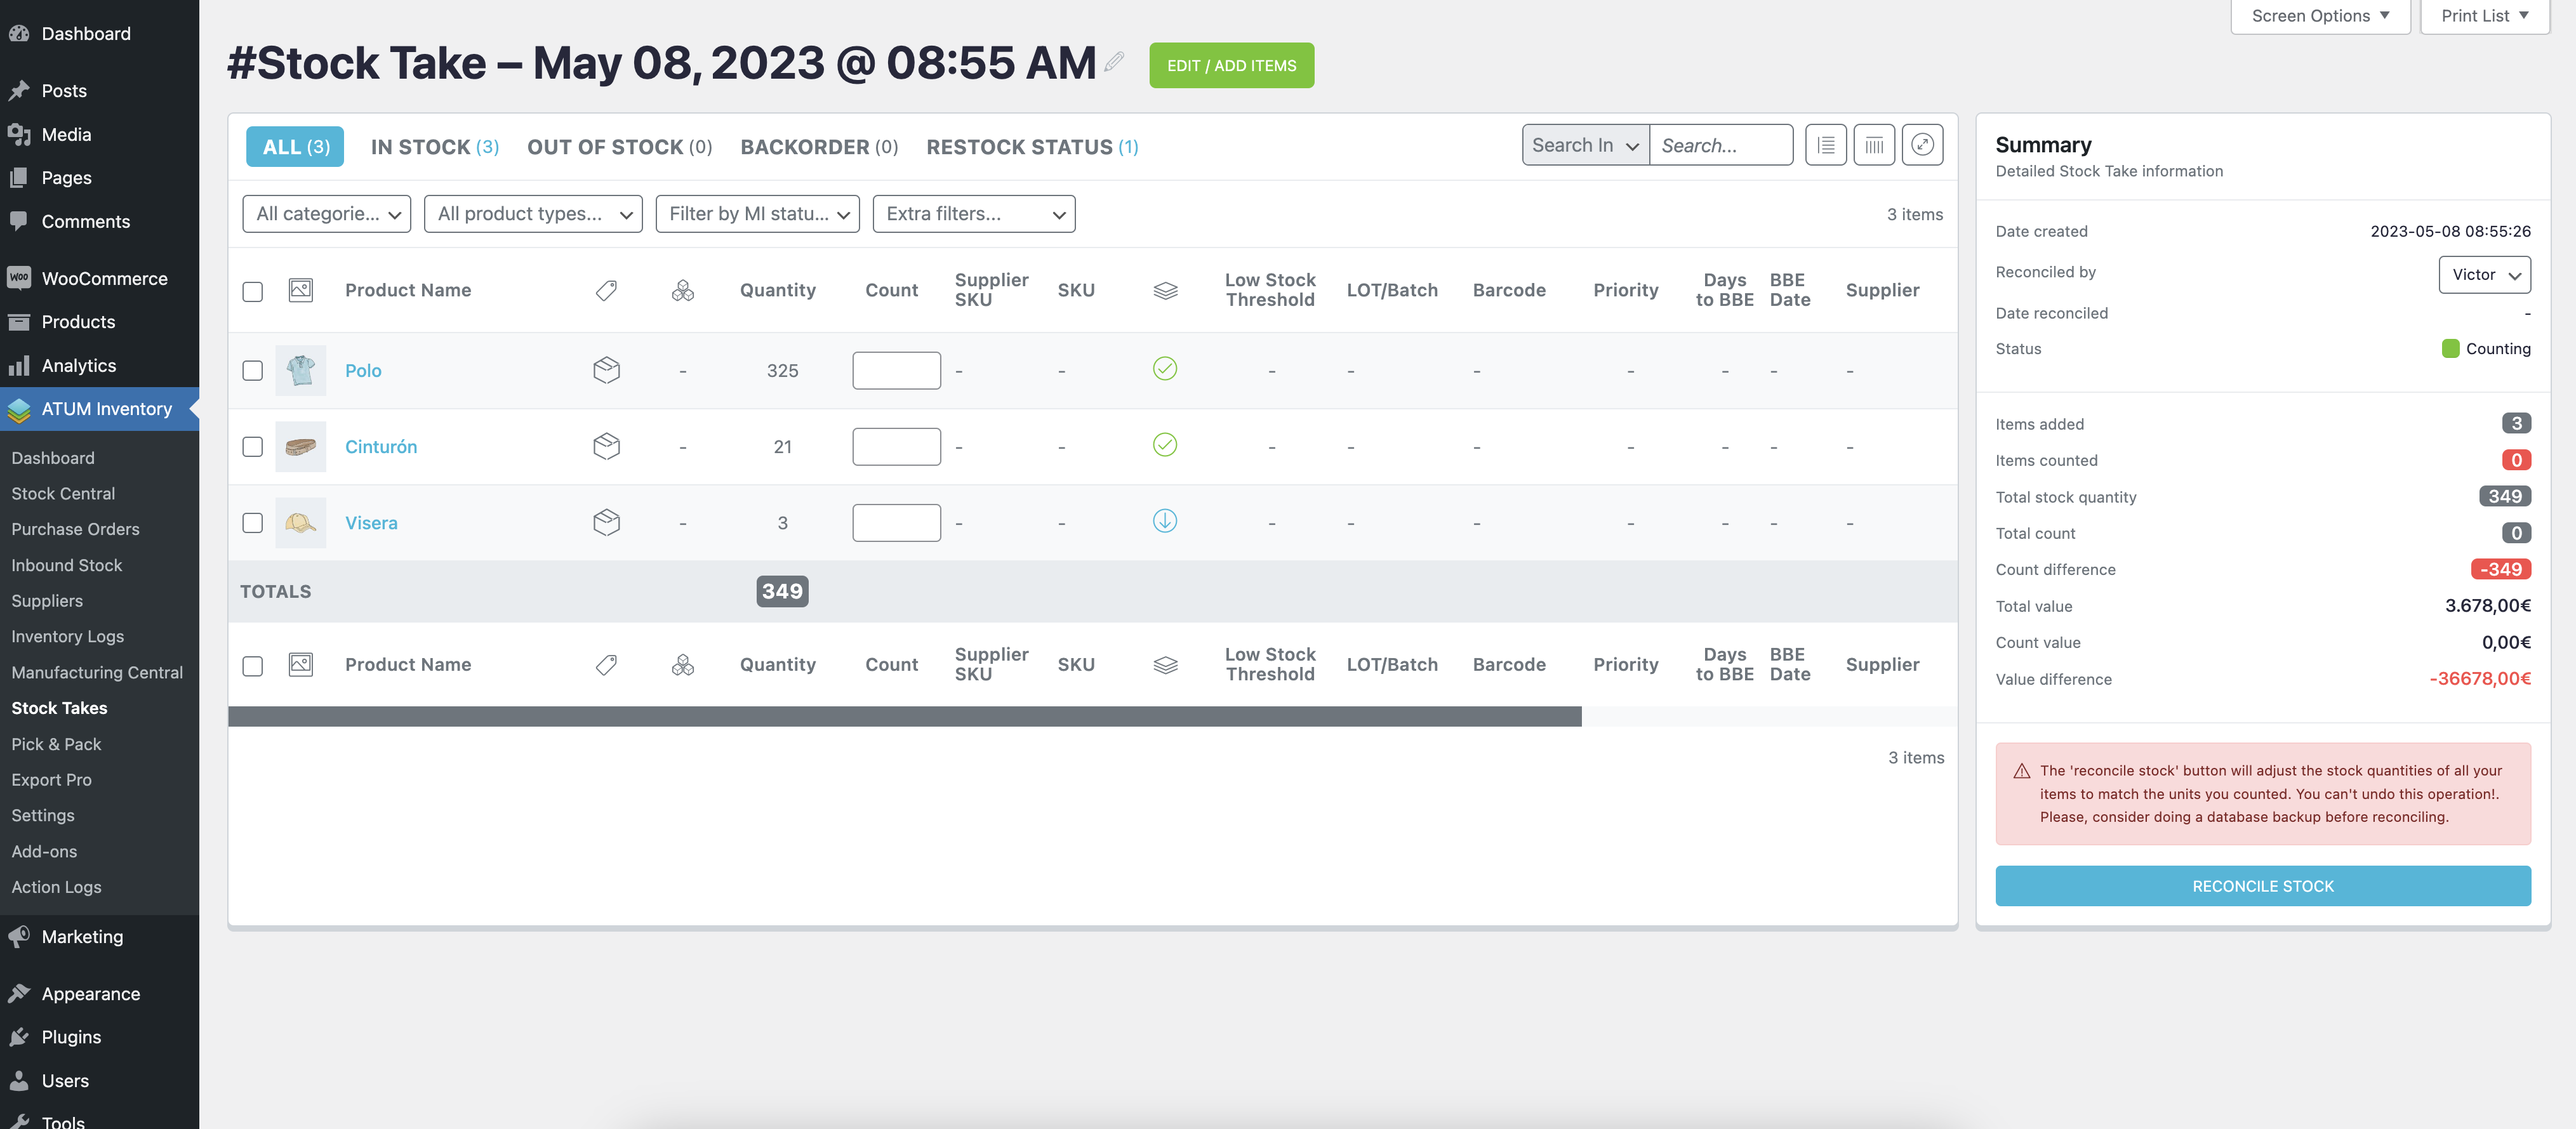
Adding selected products
Multiple products can be added all at once by clicking their checkboxes.

When you are done, click on the “ADD SELECTED PRODUCTS” button in the sidebar at right.
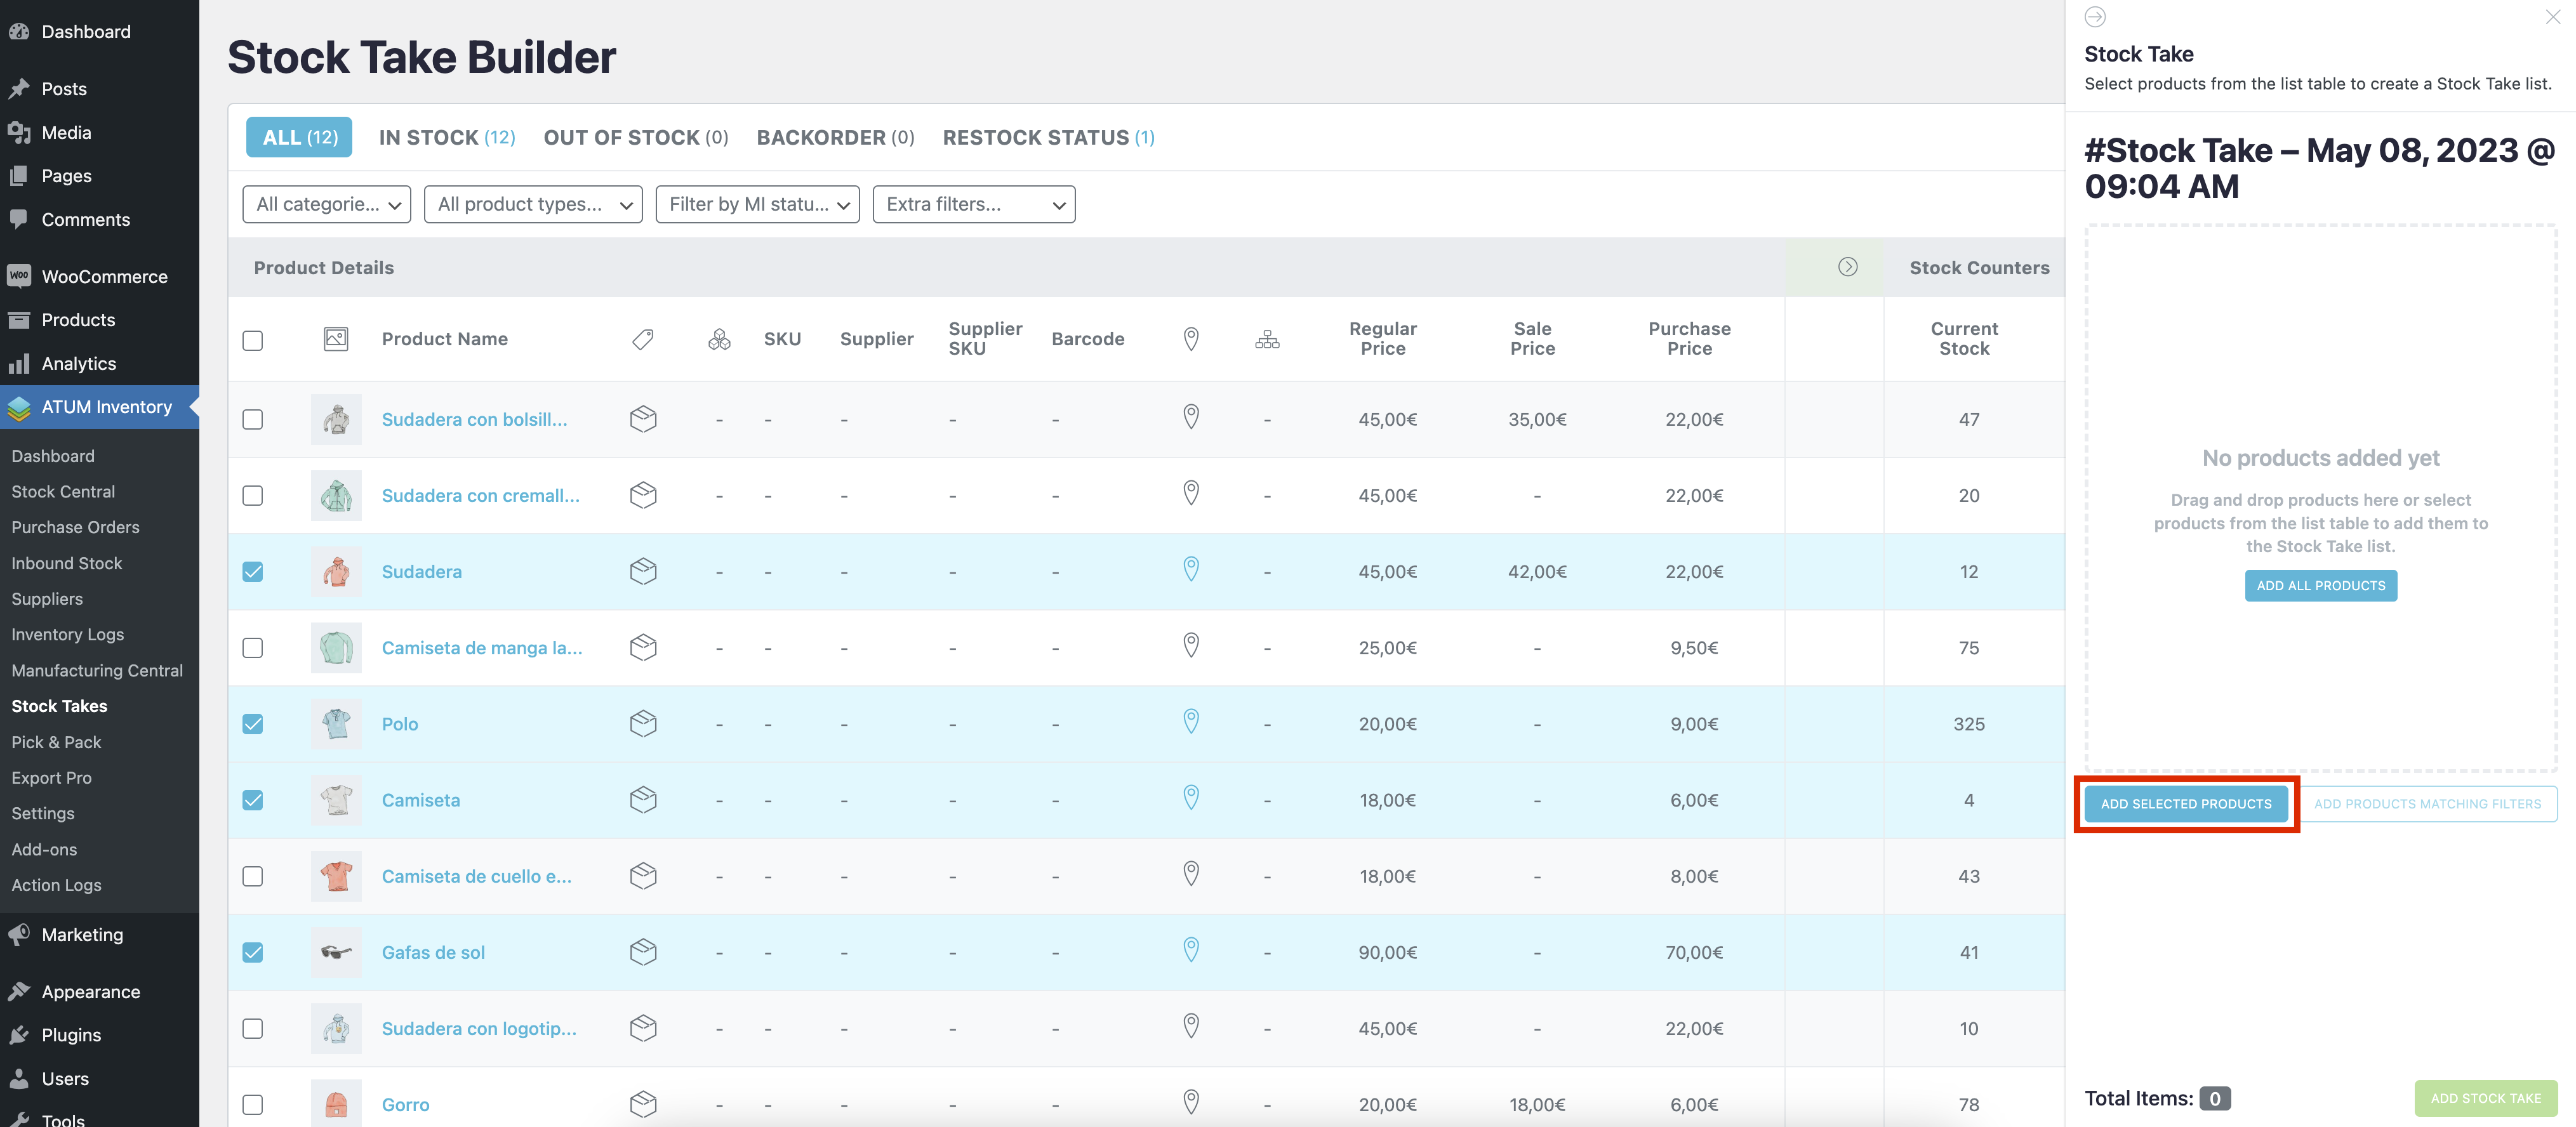
All the products are added at once

Adding products using filters
Alternatively, you can add all the products that match specific filter criteria in a single action.

For example, click the “Categories” dropdown and select any category.
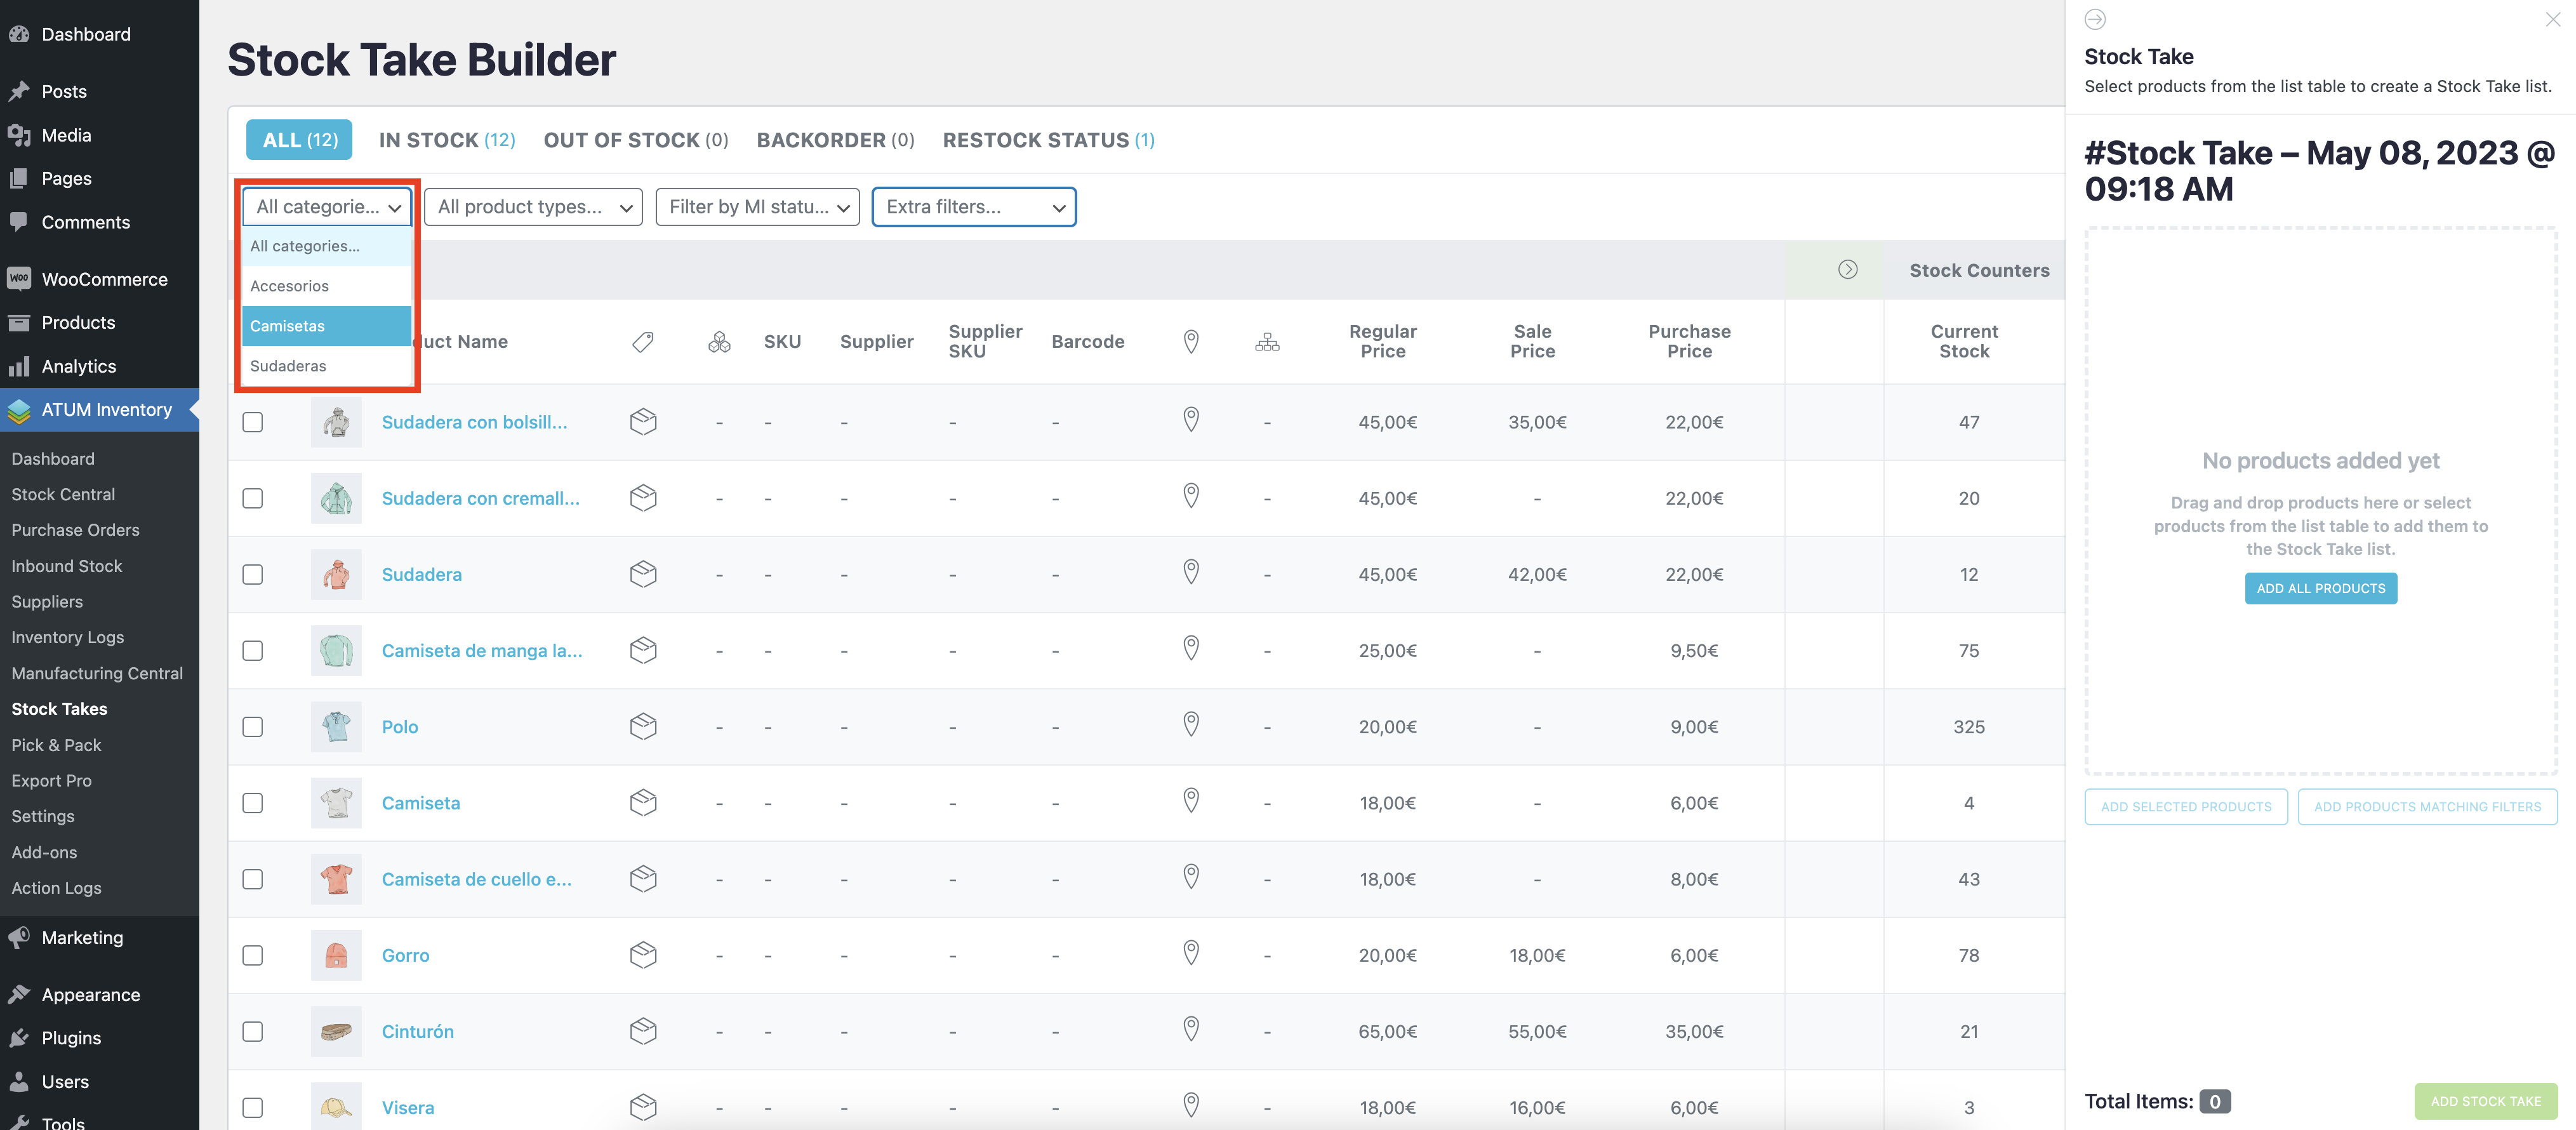
The products will be automatically filtered according to the selected category.
Simply click on the “ADD PRODUCTS MATCHING FILTERS” in the sidebar at right and all the products in that category will be added to the list (regardless of the number of pages of products that are displayed).
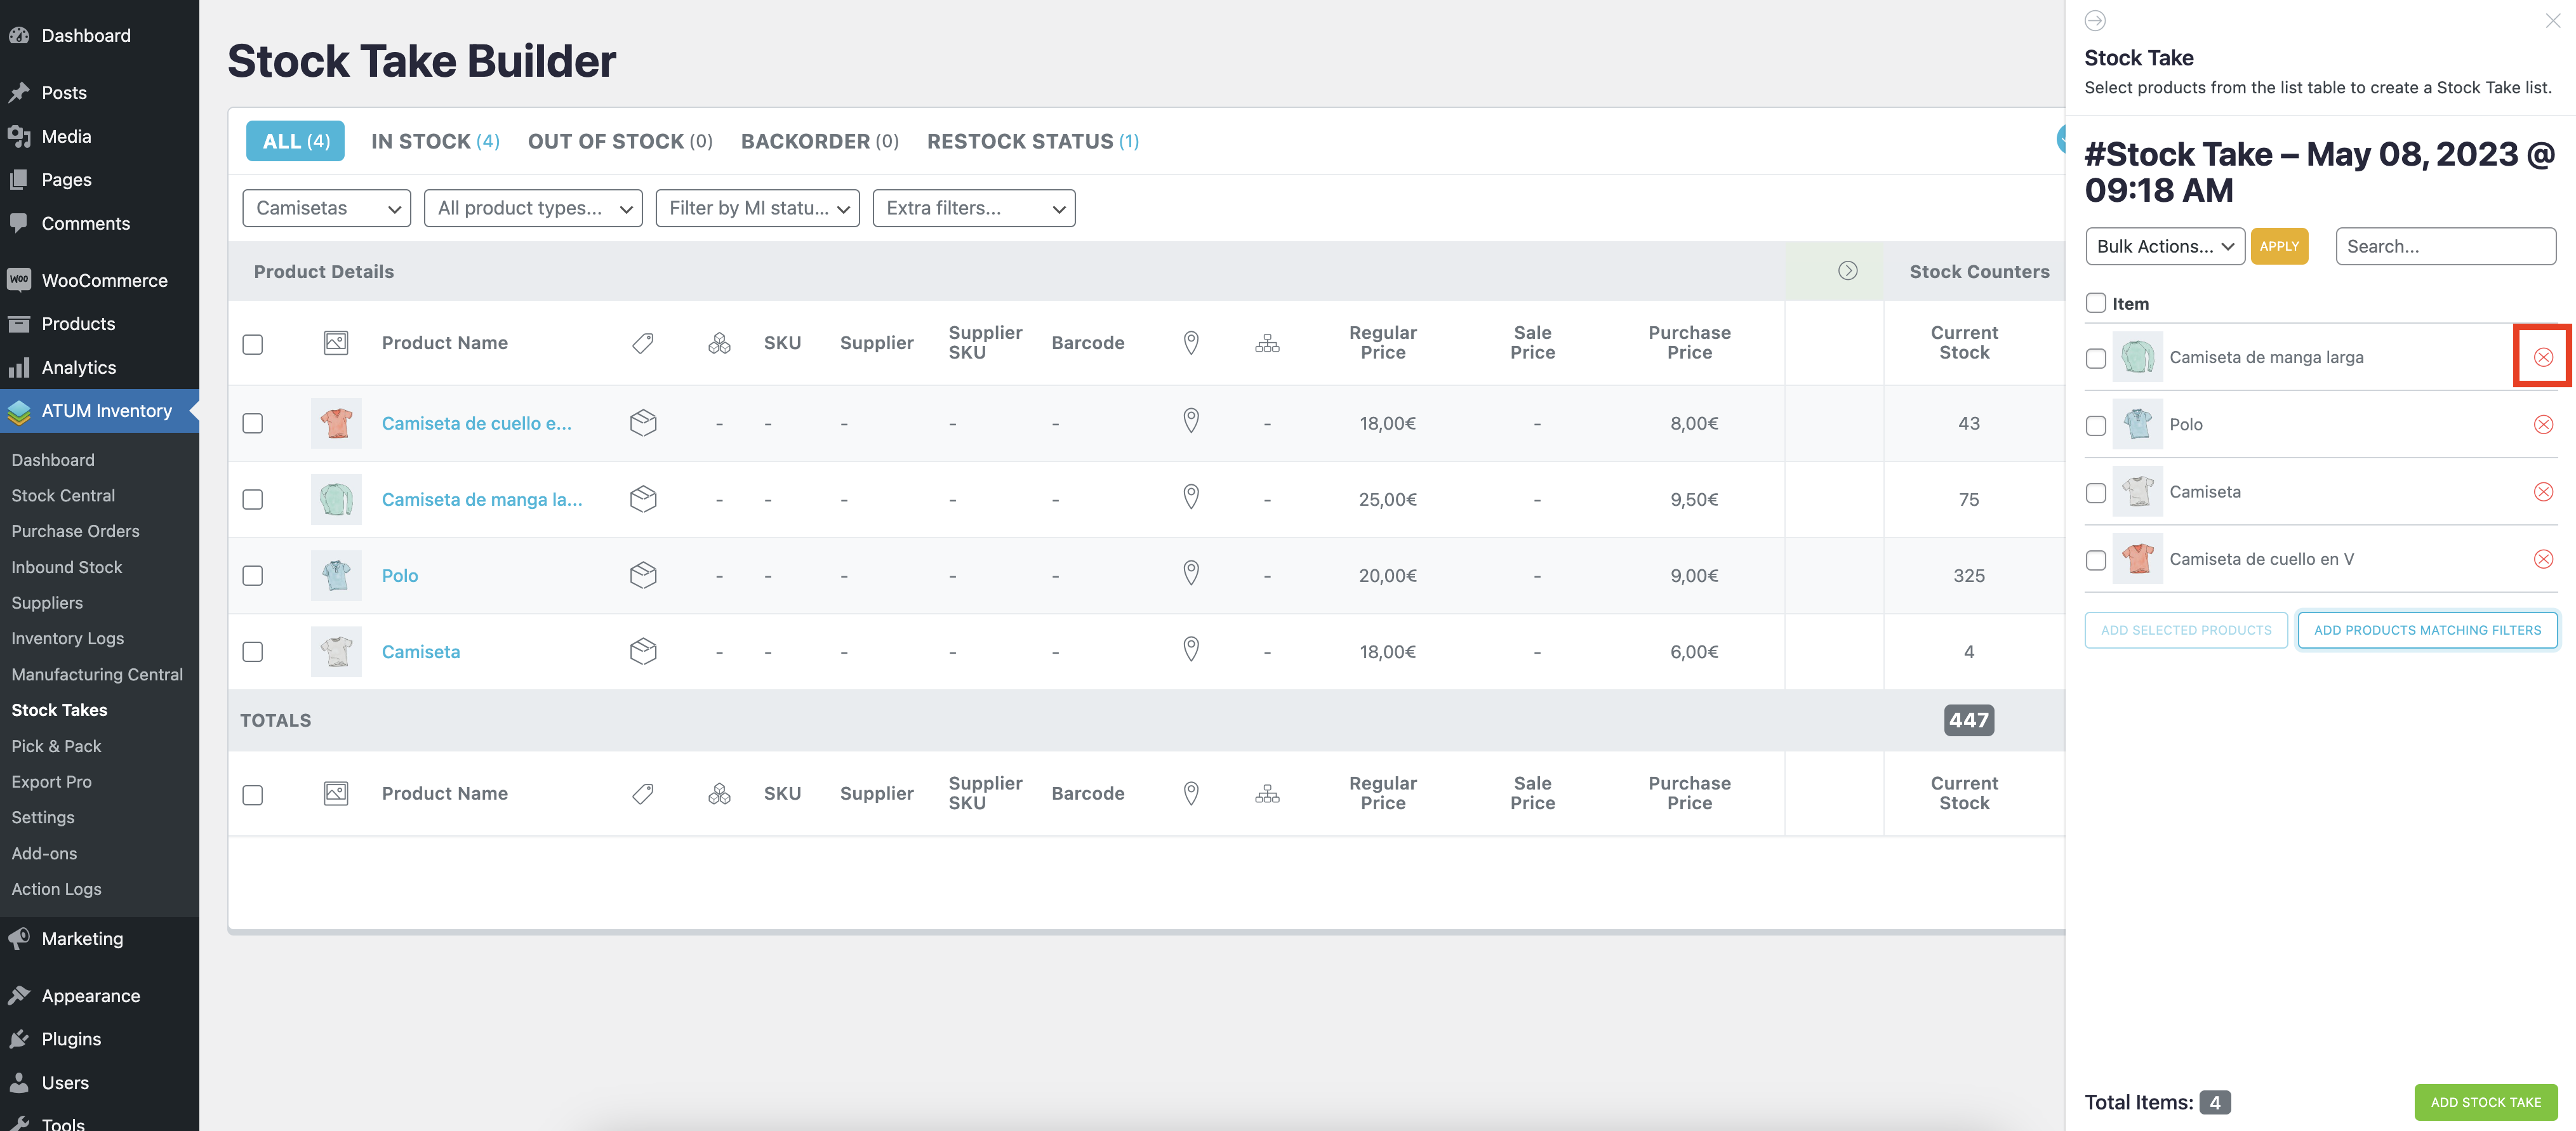
Adding all the products at once
If you do not need to select certain products and want to add all products at once, simply click on the “ADD ALL PRODUCTS” button in the sidebar at right.

A new window with a progress bar is displayed while the products are added to the list.
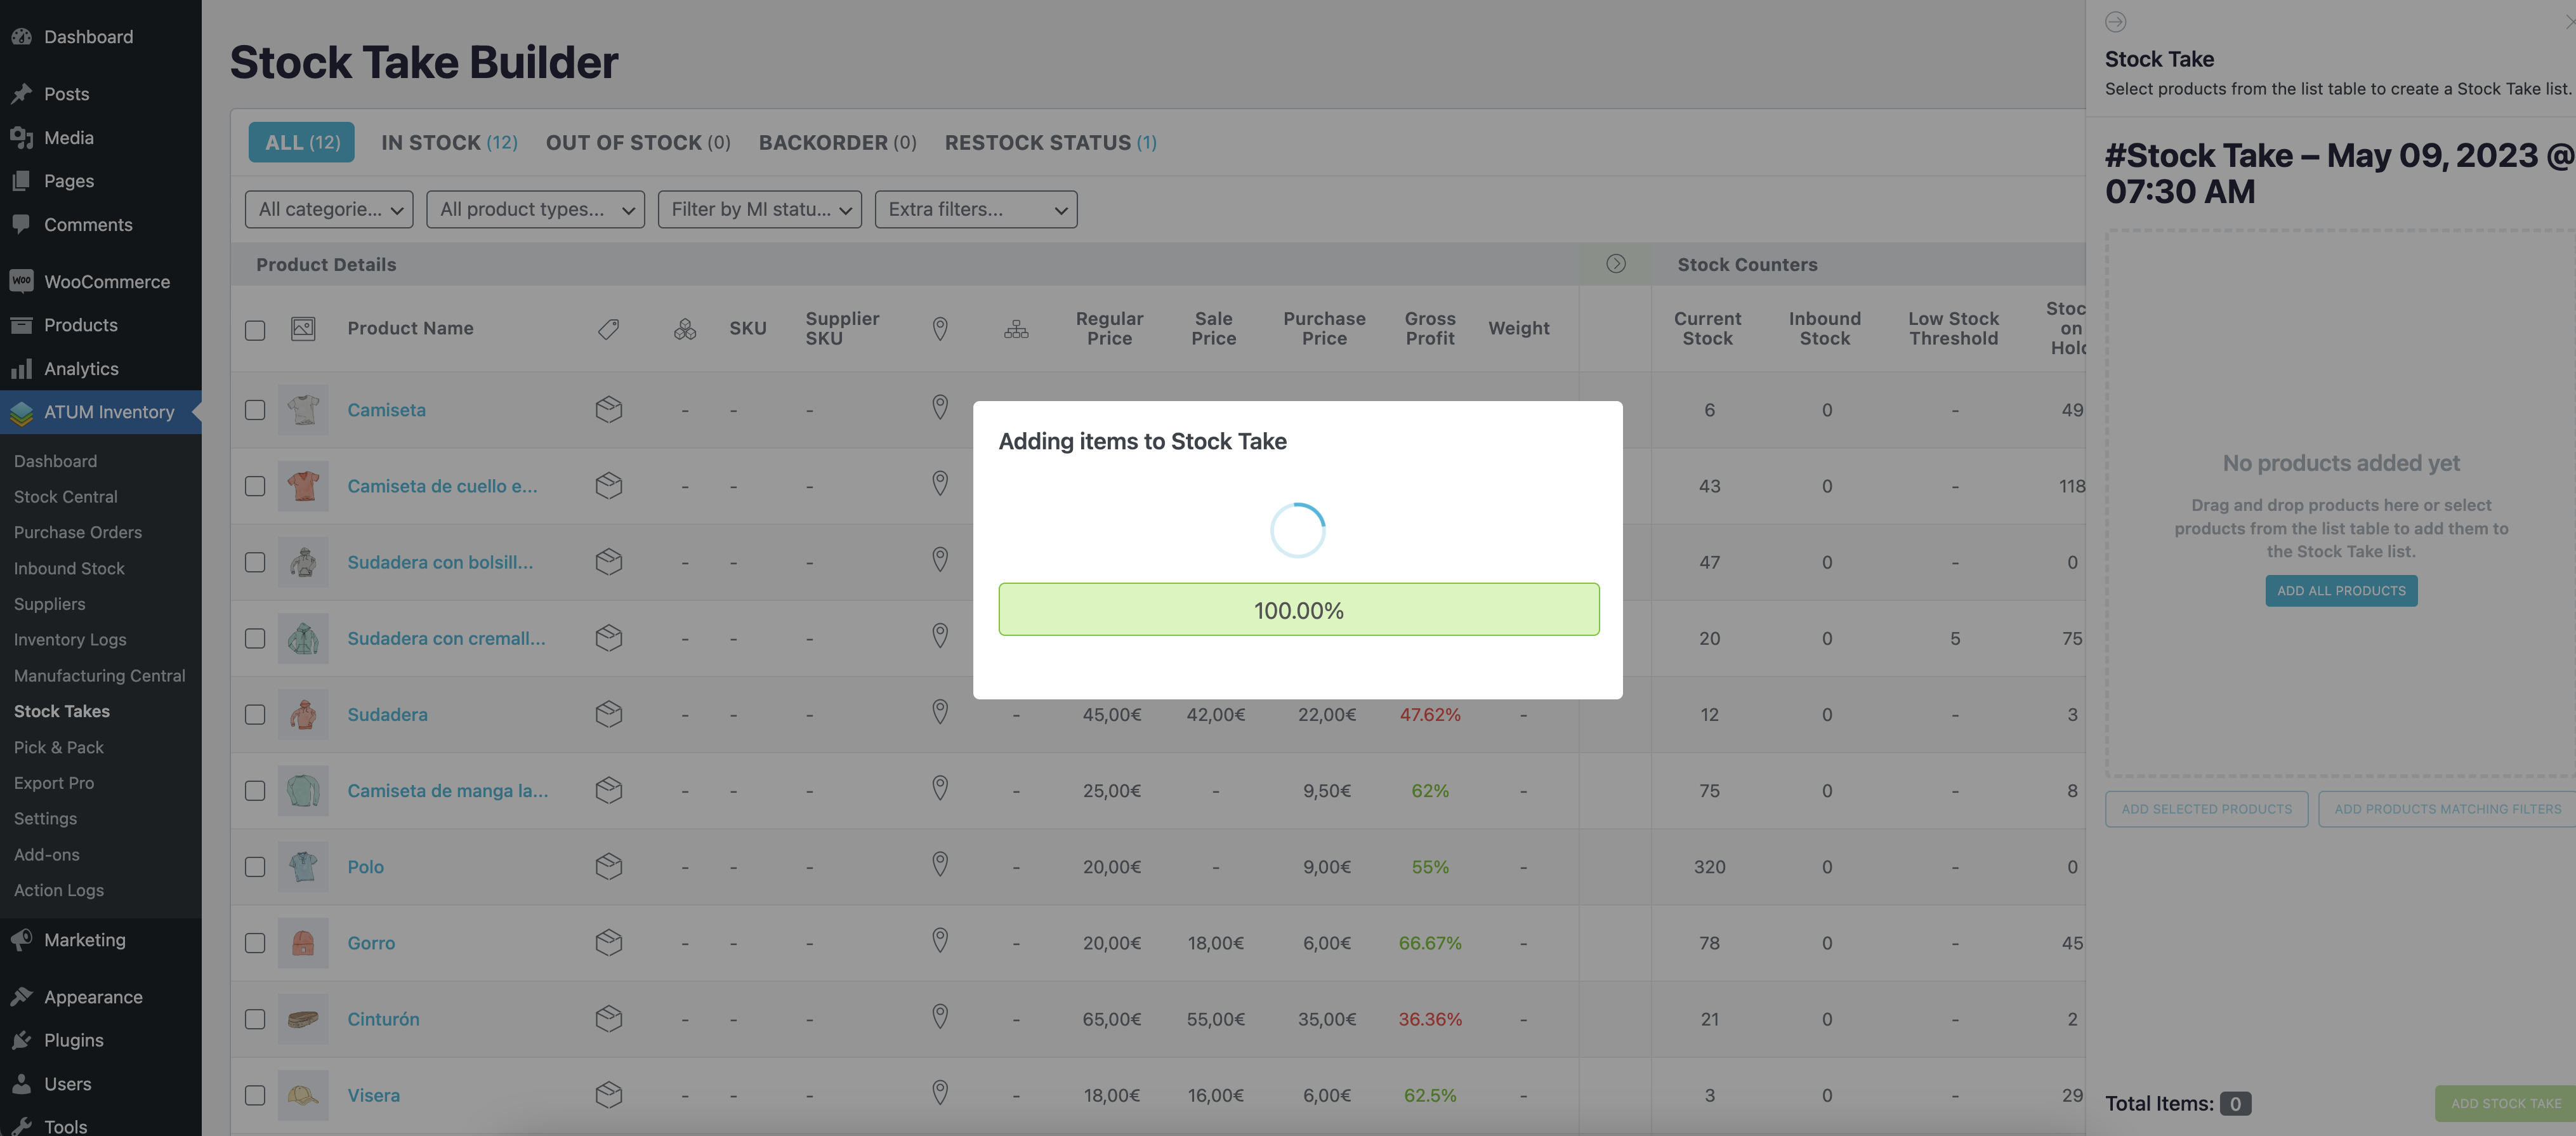
When it finished, your Stock Take list is ready to use.
