Managing your ATUM Barcode settings is simple. From your WordPress Dashboard, navigate to ATUM Inventory >> Settings >> Barcodes

Here, you can configure all the available options for the Barcodes PRO add-on according to your preferences.

BARCODES PRO OPTIONS
DEFAULT BARCODE TYPE

This option allows you to select the default barcode type for all entities.
You can choose from various options, including 1D codes:
- Code 39
- Code 39 + Checksum
- Code 39 Extended
- Code 39 Extended + Checksum
- Code 93
- Standard 2 of 5
- Standard 2 of 5 + Checksum
- Interleaved 2 of 5
- Interleaved 2 of 5 + Checksum
- Code 128 Auto
- Code 128 A
- Code 128 B
- Code 128 C
- EAN 8
- EAN 13
- UPC-A
- UPC-E
- 5-Digits UPC-Based Extention
- 2-Digits UPC-Based Extention
- MSI
- MSI + Checksum
- Postnet
- Planet
- RMS4CC
- KIX (Klant index - Customer index)
- IMB (Intelligent Mail Barcode - Onecode - USPS-B-3200)
- Codabar
- Code 11
- Pharmacode
- Pharmacode Two-Tracks
Several 2D codes are also available:
- QR Code
- PDF417
- DATAMATRIX
Select your preferred default barcode type from the dropdown menu.

SHOW BARCODE TEXT
Enable this option to display the barcode number beneath the generated barcode image.


BARCODE COLOR

This setting lets you change the color of the barcodes.
Click the field with the current color, then select your preferred color.

Once updated, all barcodes will appear in the selected color.

AUTOMATICALLY CREATED BARCODES FOR ORDERS

If activated, this feature automatically generates barcodes for all order-related entities (e.g., WooCommerce Orders, Purchase Orders, Inventory Logs).
Barcodes are created using their respective IDs or numbers, but you can manually edit them later if required.
ENTITIES THAT SUPPORT BARCODES

Barcodes can be assigned to various entities:
-
Products
-
Suppliers
-
Purchase Orders
-
Inventory Logs
-
WooCommerce Orders
-
WooCommerce Refunds
-
ATUM Locations
-
Product Tags
-
Product Categories
You can activate or deactivate barcode support for any of these entities by checking or unchecking their corresponding boxes.
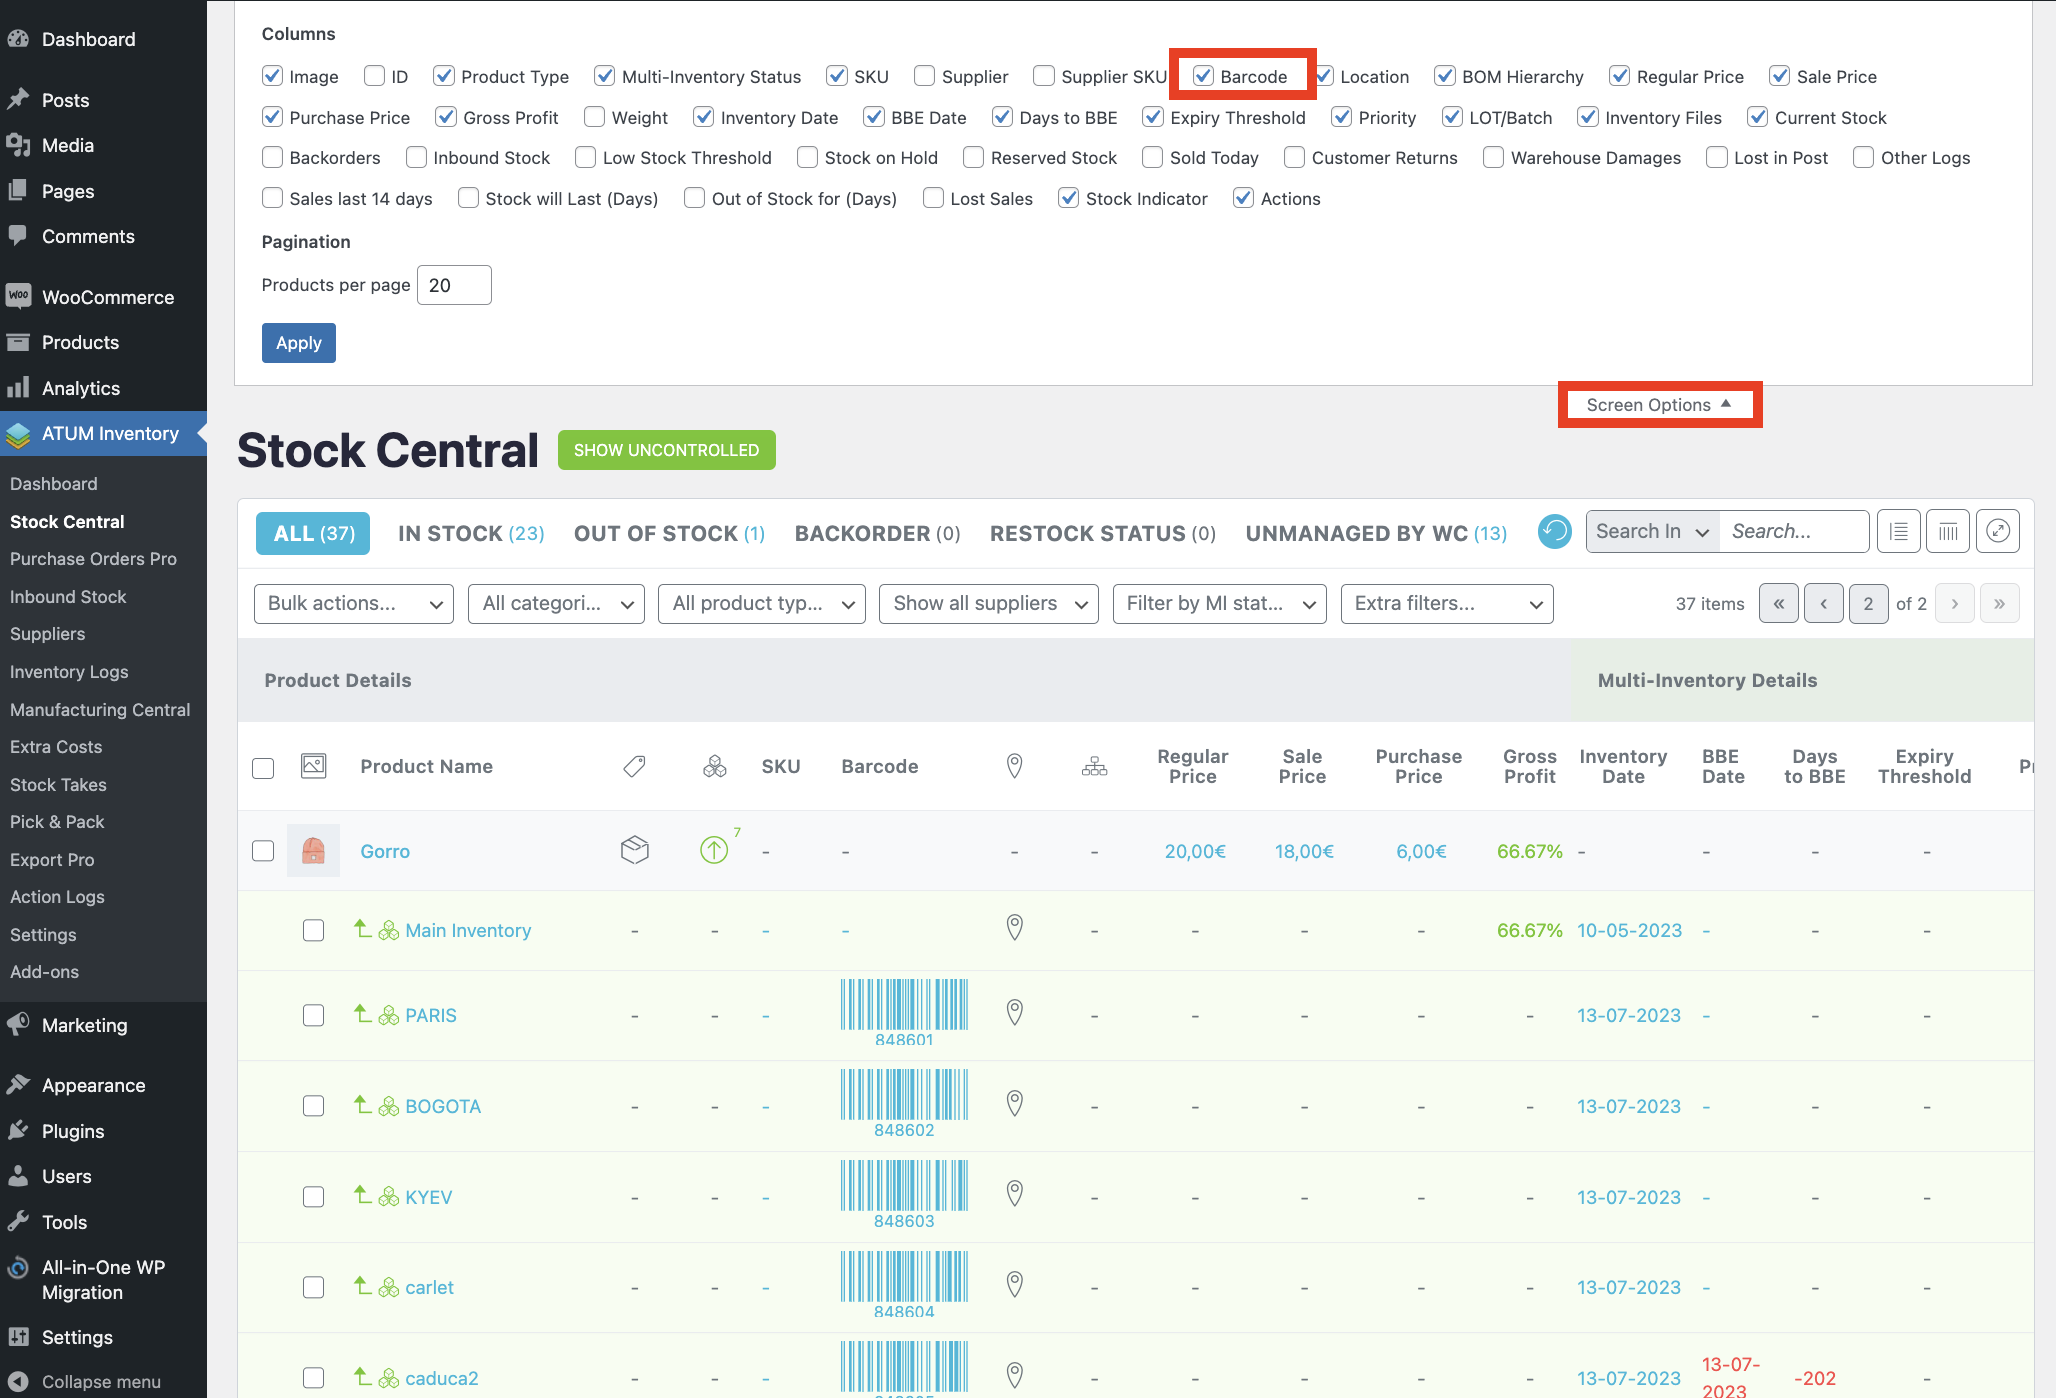
SHOW BARCODES IN LIST TABLES
Enabling this option displays barcode images in all ATUM tables that support this feature.
Ensure the barcode column is visible by navigating to ATUM Inventory >> Settings >> Stock Central.
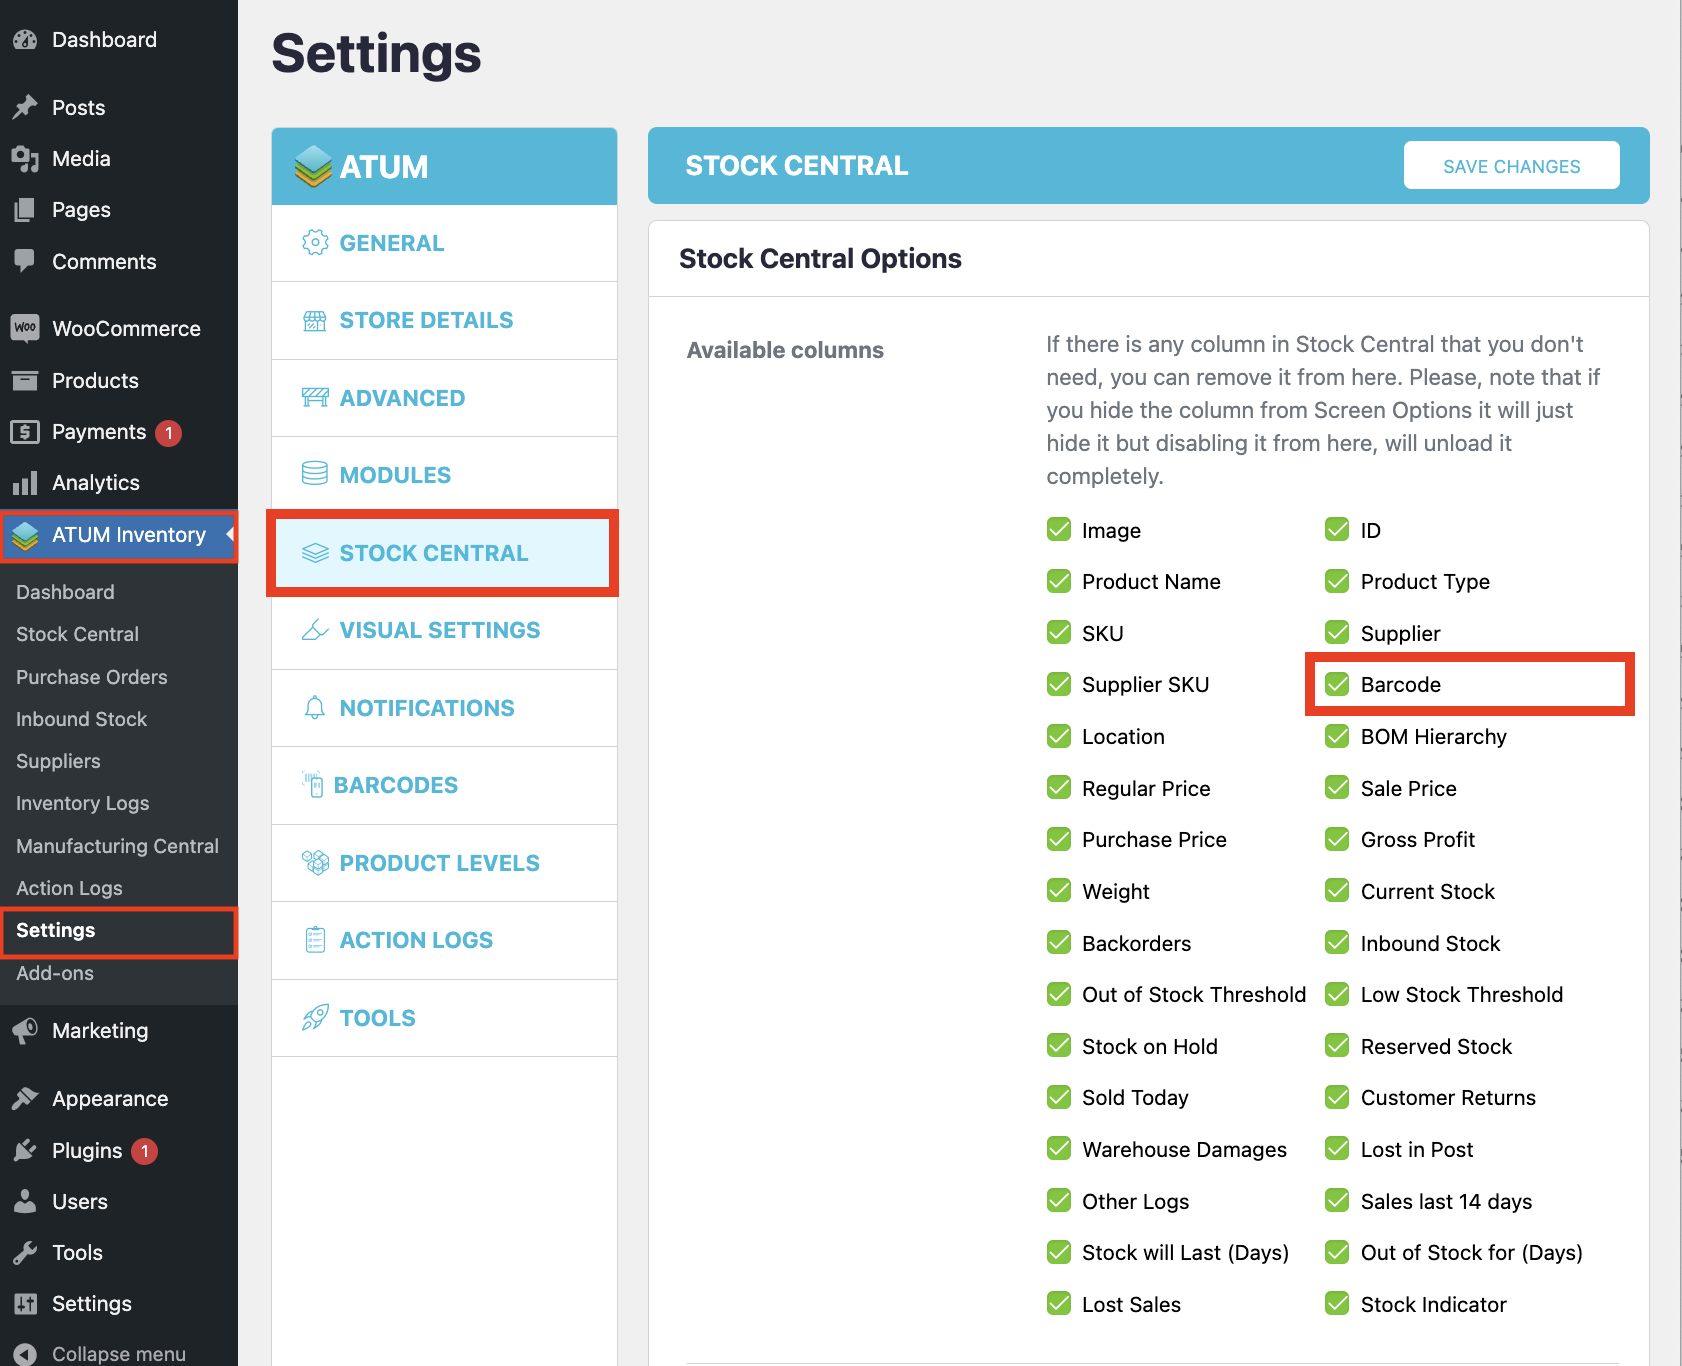

If you cannot see the column, please also check that you have the Barcode column activated in the Screen Options tab at the top.
ADDING BARCODES TO WC ORDER EMAILS

You can choose from the following options for adding barcodes to emails when an order is processed:
- To items and orders – when an order is processed, barcodes are added to both orders and order items on the emails sent by WC.
- To orders only – when an order is processed, barcodes are added to orders only on the emails sent by WC.
- To items only – when an order is processed, barcodes are added to order items only on the emails sent by WC.
- Do not add – no barcodes are added to emails.

In this example, we selected the first option – To items and orders:

ADDING BARCODES TO PURCHASE ORDER PDFs

Similarly, you can choose how barcodes are added to Purchase Order PDFs:
- To items and orders – barcodes are added to orders and order items on the PDFs generated from Purchase Orders.
- To orders only – barcodes are added to orders only on the PDFs generated from Purchase Orders.
- To items only – barcodes are added to order items only on the PDFs generated from Purchase Orders.
- Do not add – no barcodes are added to PO PDFs.

In this example, we selected the first option – To items and orders:
