Import data to your site easily with the import function included in the ATUM Export Pro premium add-on:
LOADING FILE
To import data to your site:
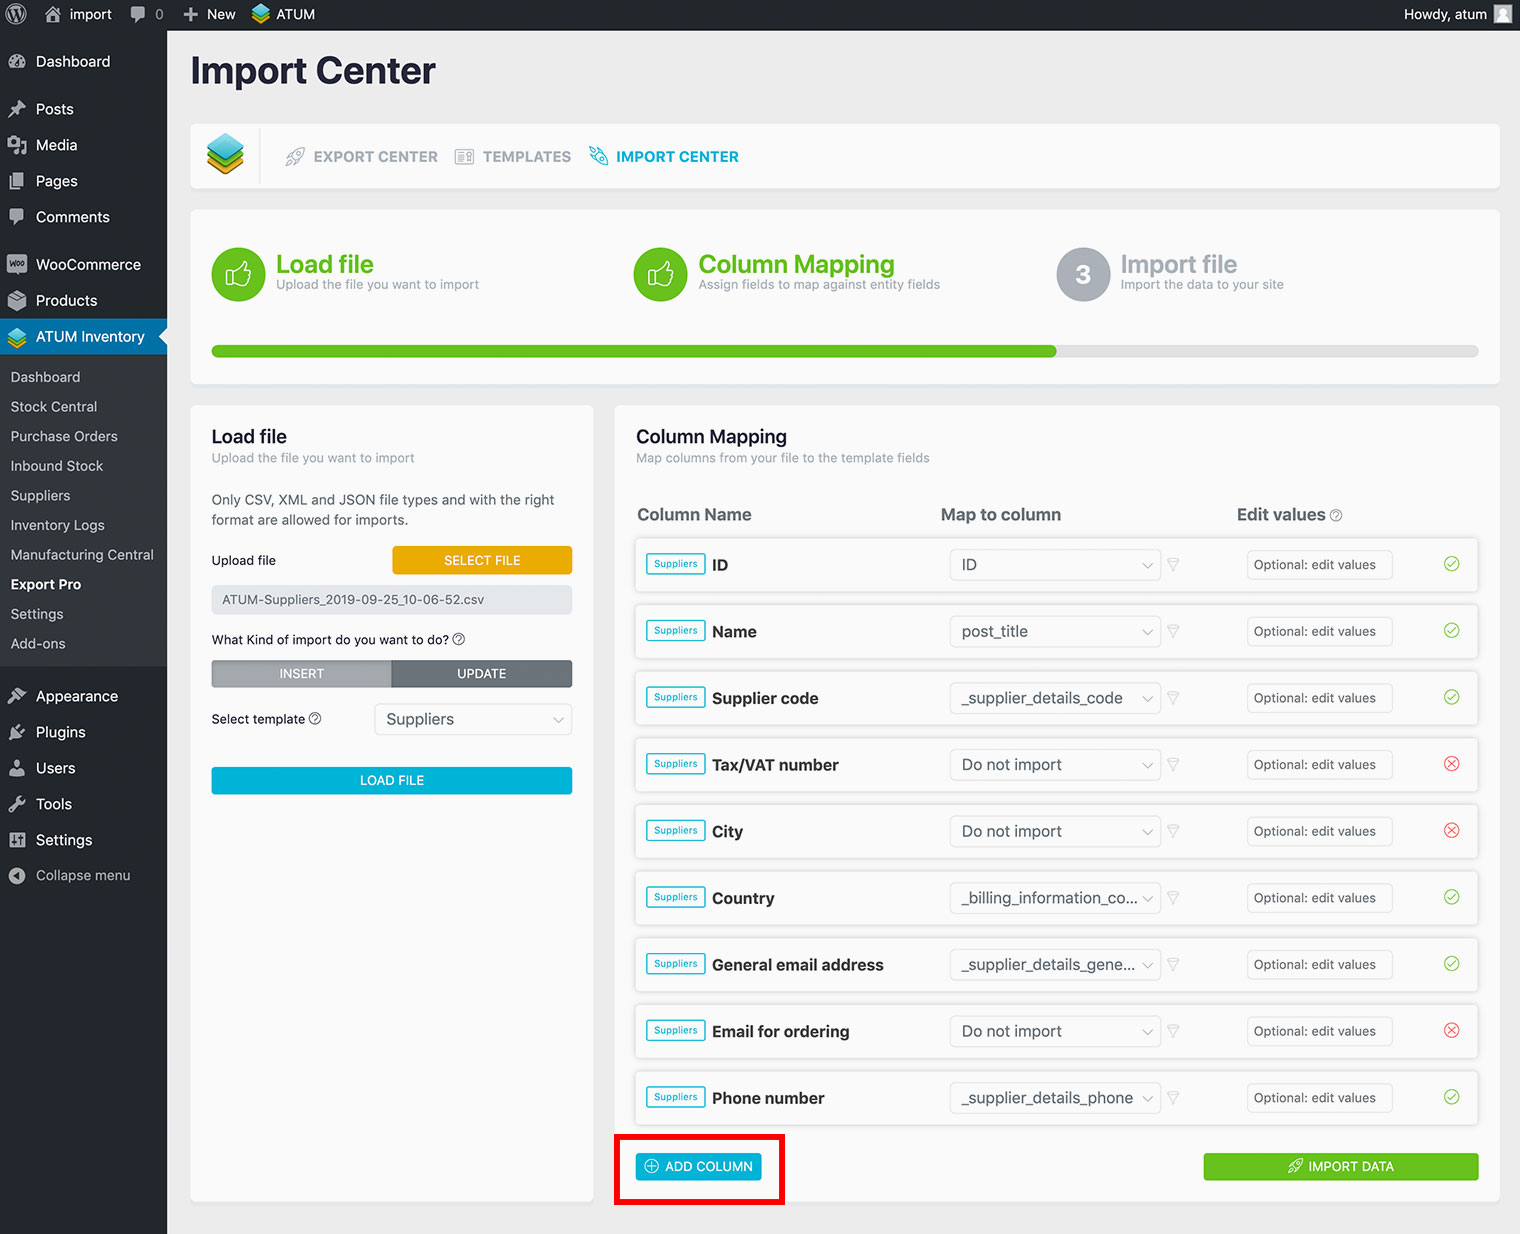
- Go to the Import Center screen.
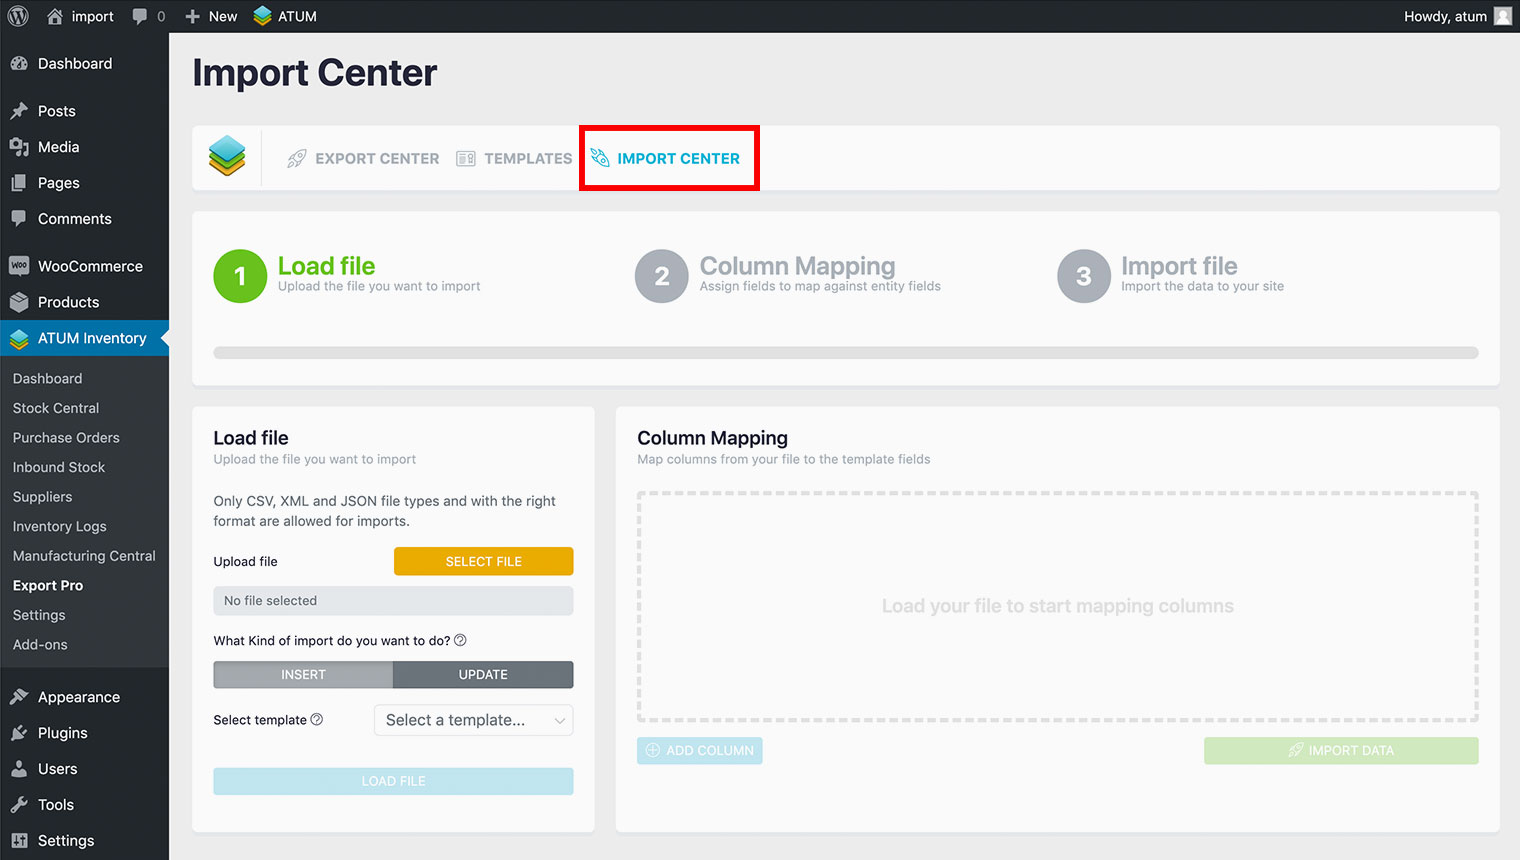
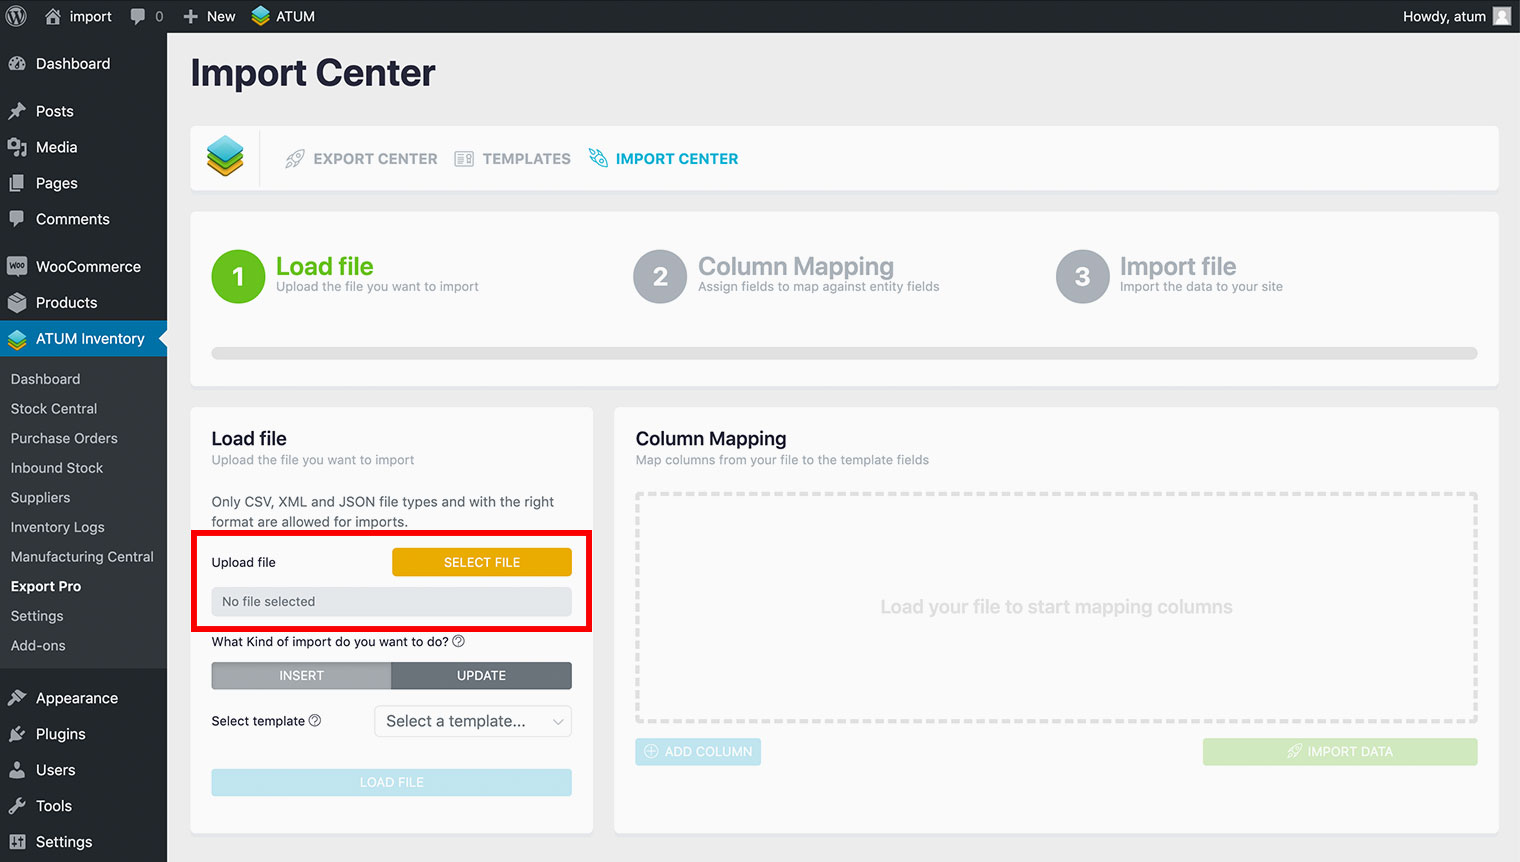
- Upload the file you want to import.
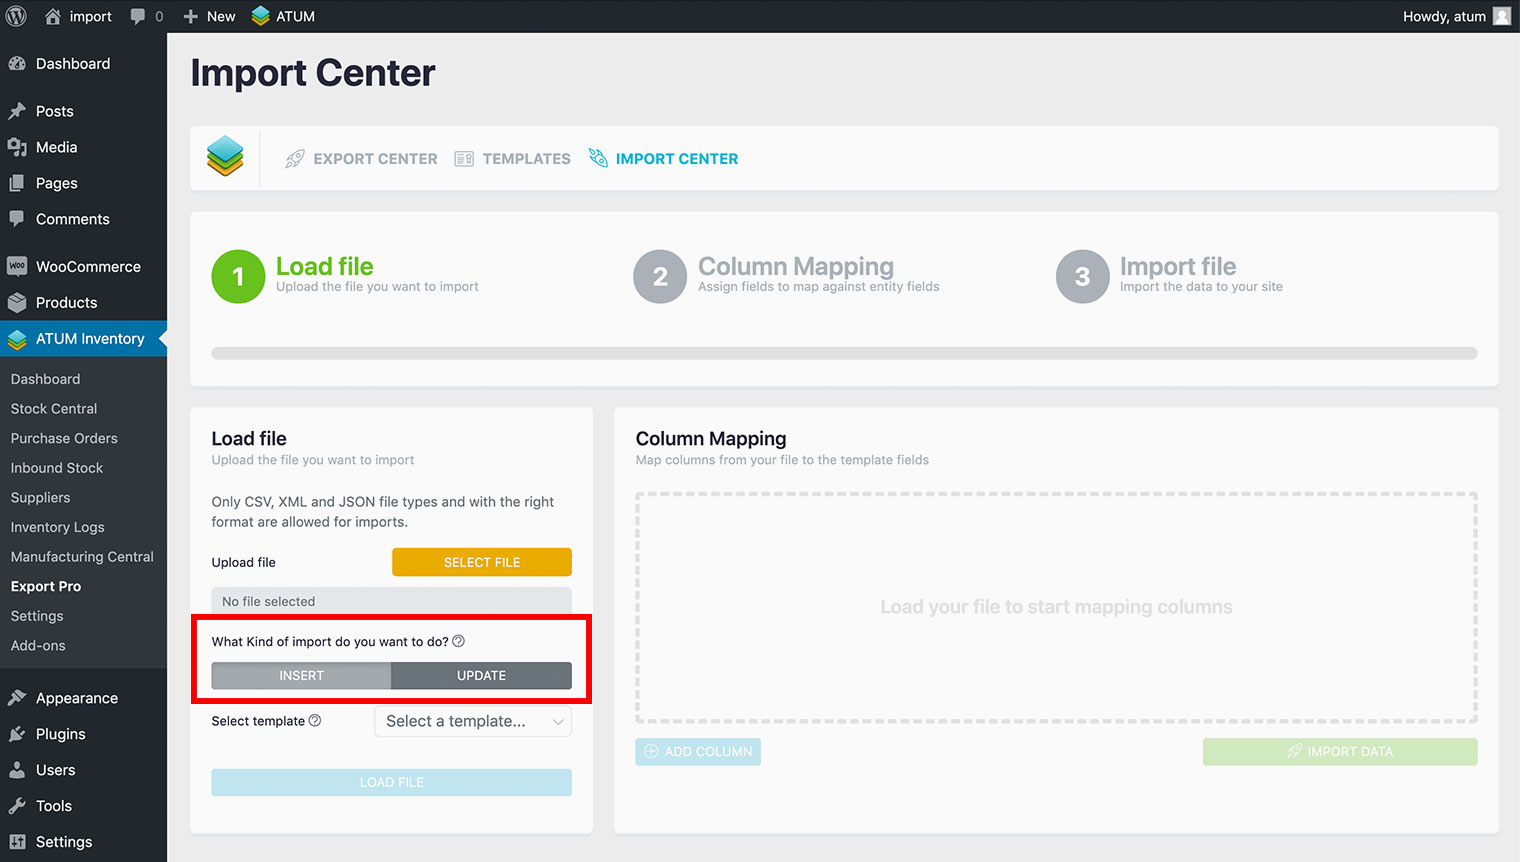
- Select the kind of import you want to do:
-
INSERT: When you enable this option, all the items from the export file will be added as new items (even if any entity ID matches with an entity ID of the database you are importing).
-
UPDATE: When you enable this option, only items where entity ID matches with an entity ID of the database you are importing will be updated. Items, where entity ID doesn't match will be discarded.
Enable the Insert new items option, if you want to insert items where entity ID doesn't match when updating.
- Select the template to use for the column mapping.
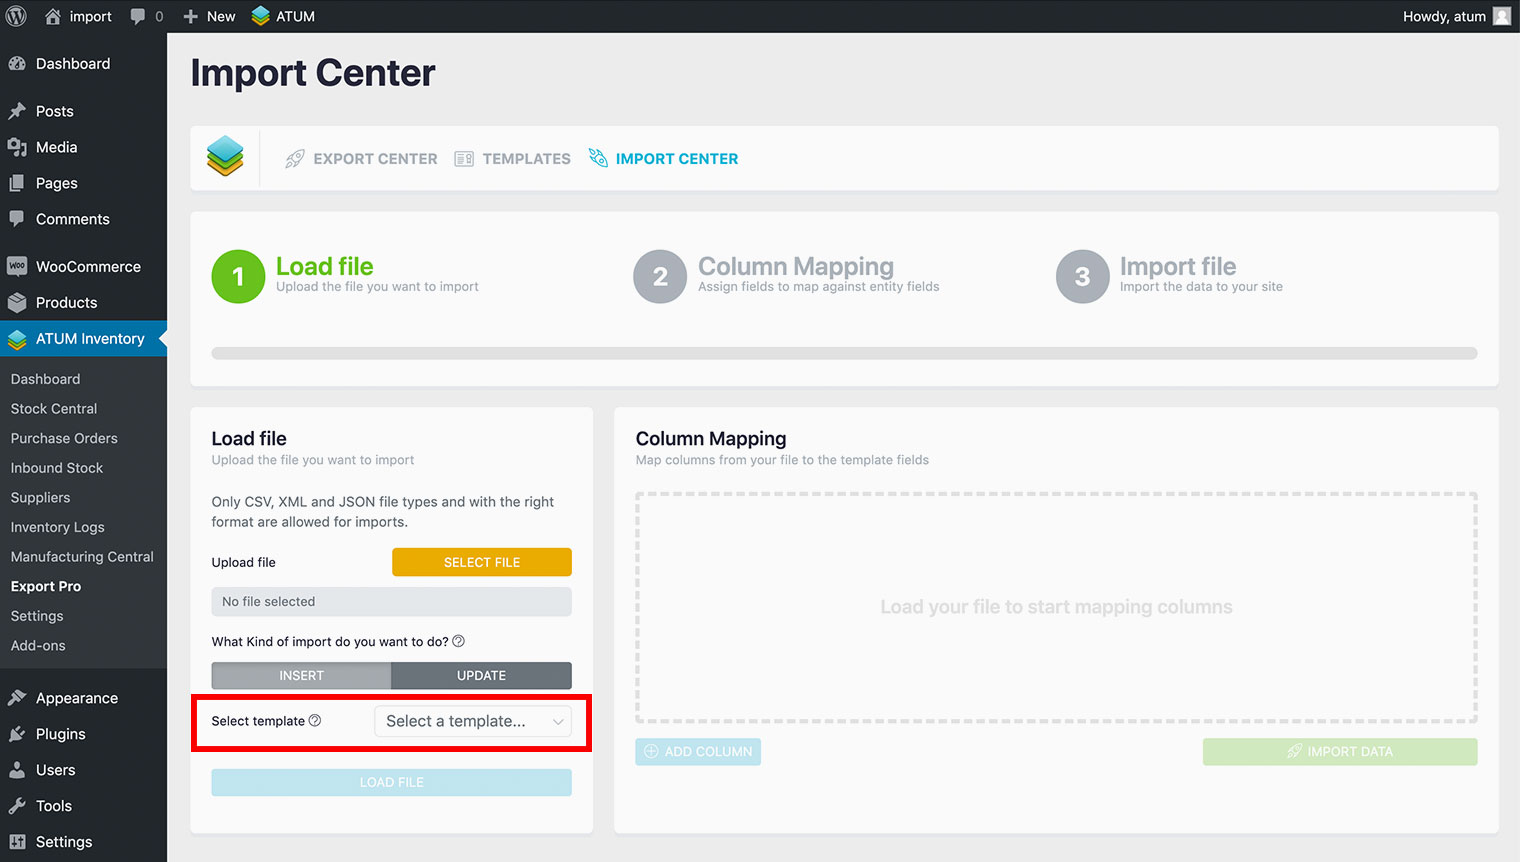
- Click the Load File button.
COLUMN MAPPING
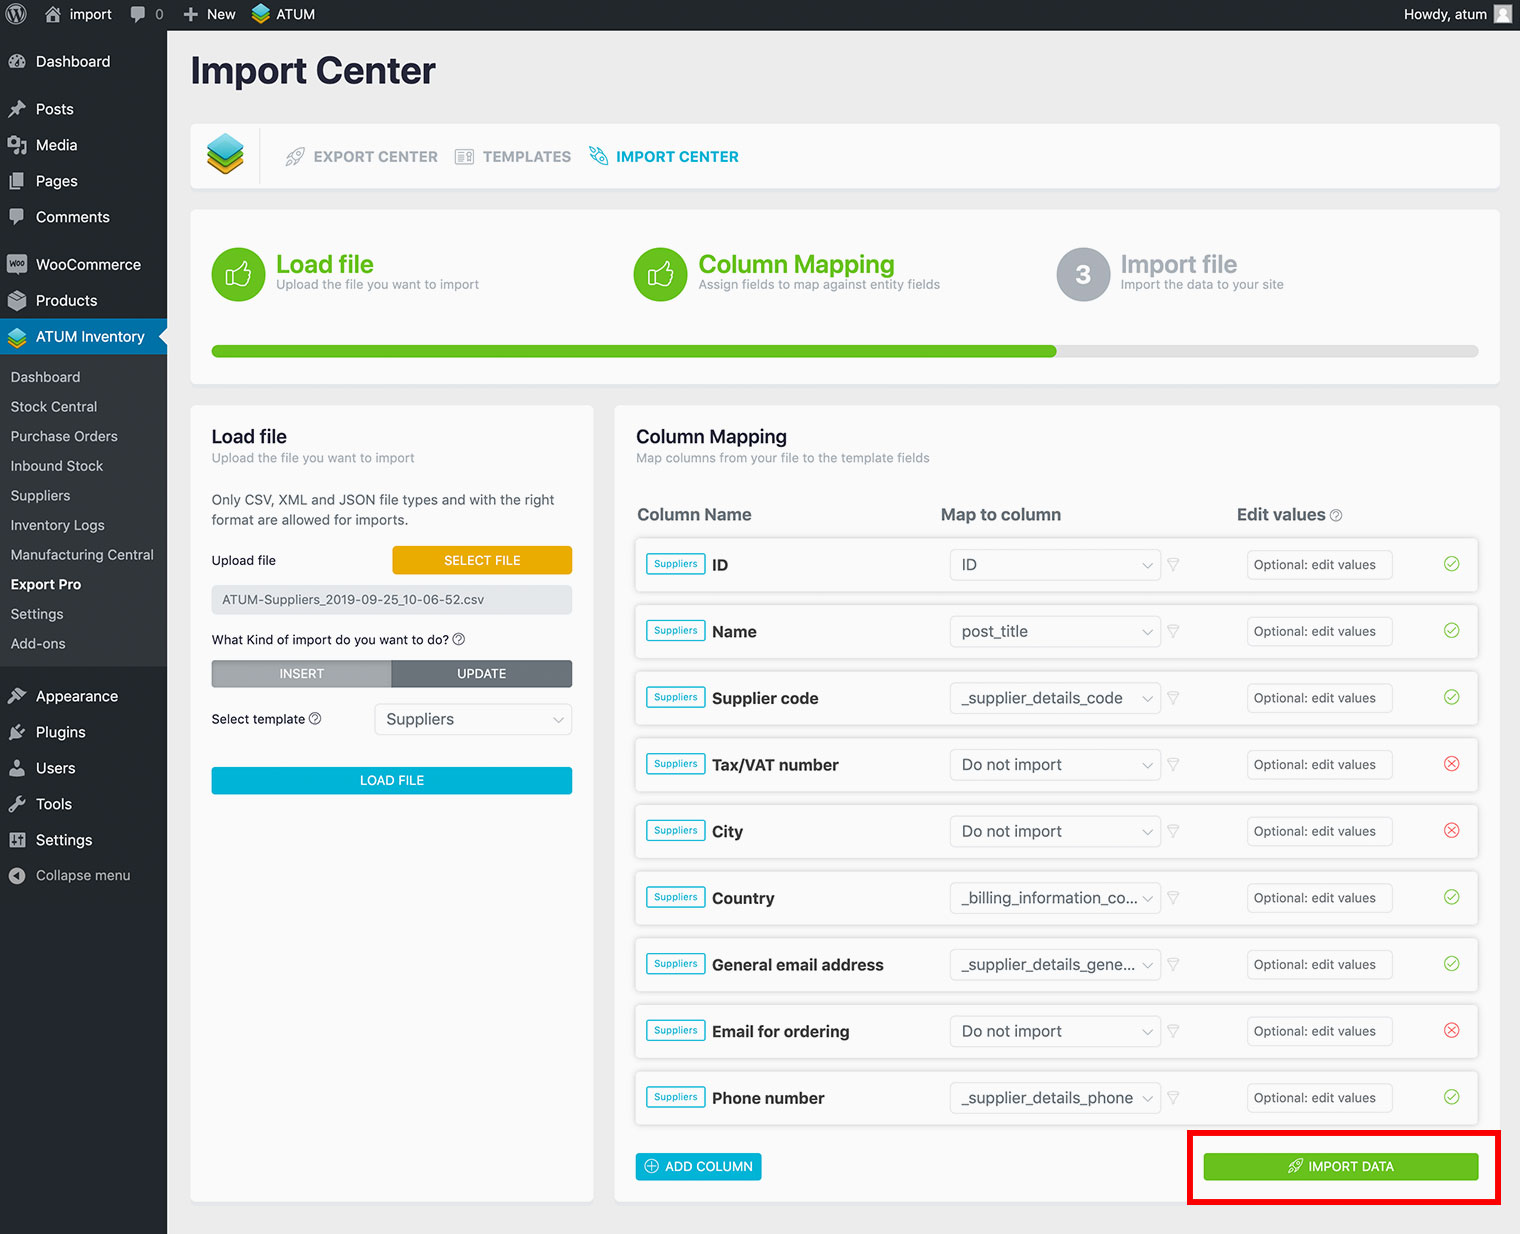
After loading the file, the data will be added to the Column Mapping area.
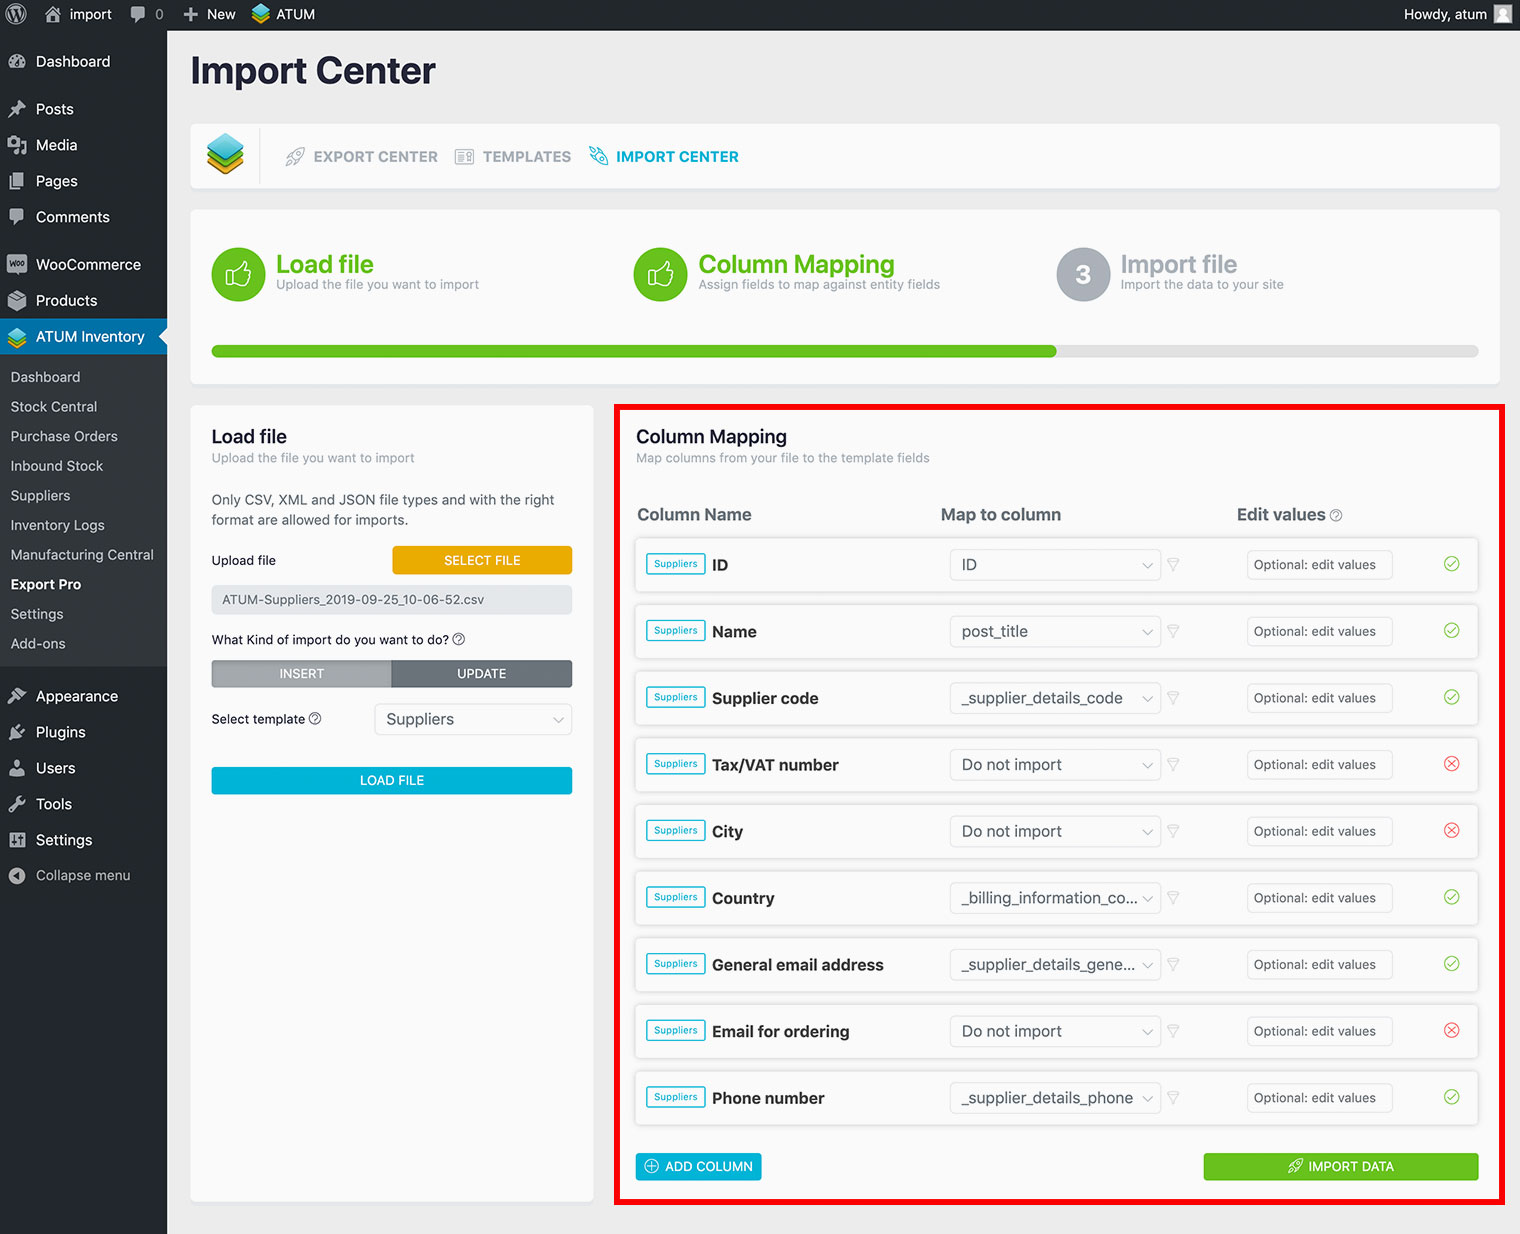
In that area, you can map columns from your file to the template fields.
-
Column Name: This is the column name of the database you are importing (where the imported data will be recorded).
-
Map to column: This is the field name of the loaded file. The system will try to assign the proper field to each column, but if there are no matches found the system will assign a “Do not import” status to those fields.
-
Edit Values: Add text or calculations to the imported values.
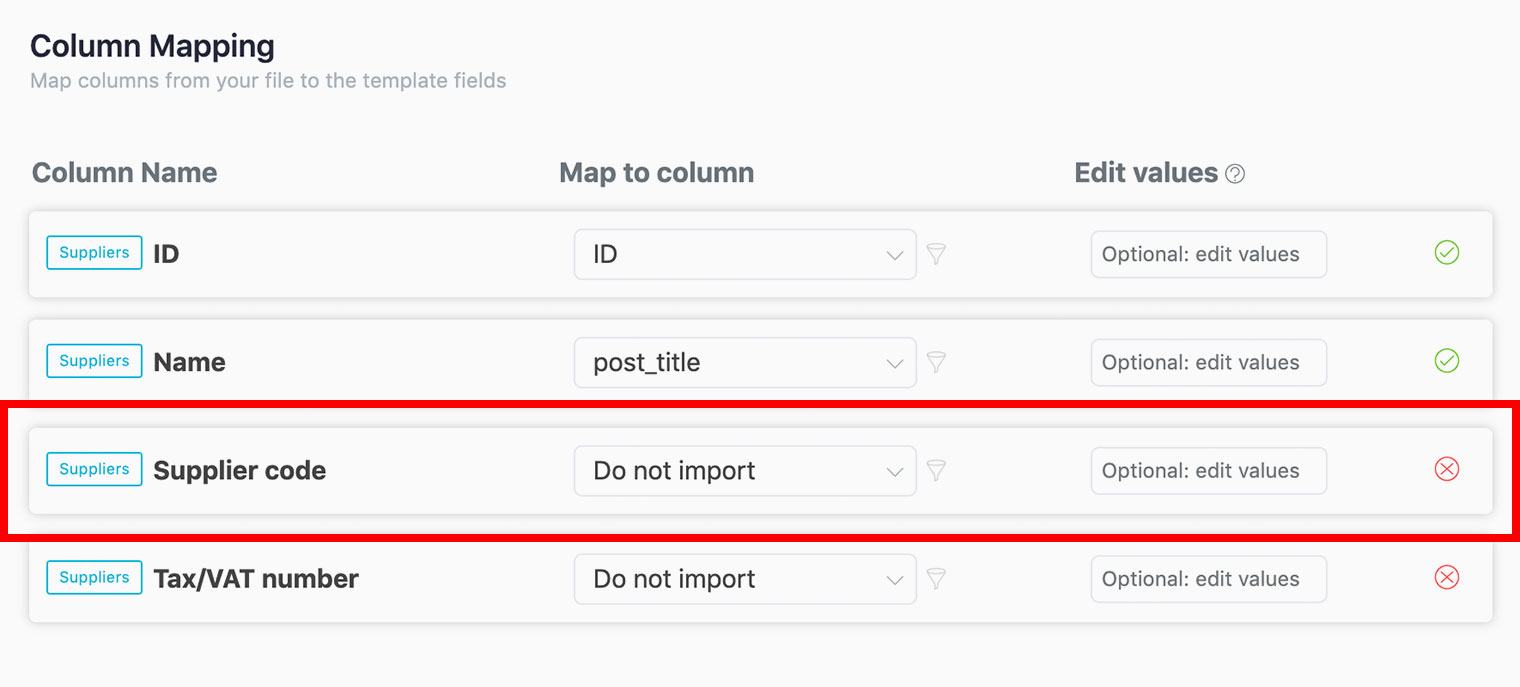
Mapping fields to columns
The system will try to map the proper field to each column automatically, but you can map a field to a column manually, click the dropdown and select the value you wish in Map to column fields.
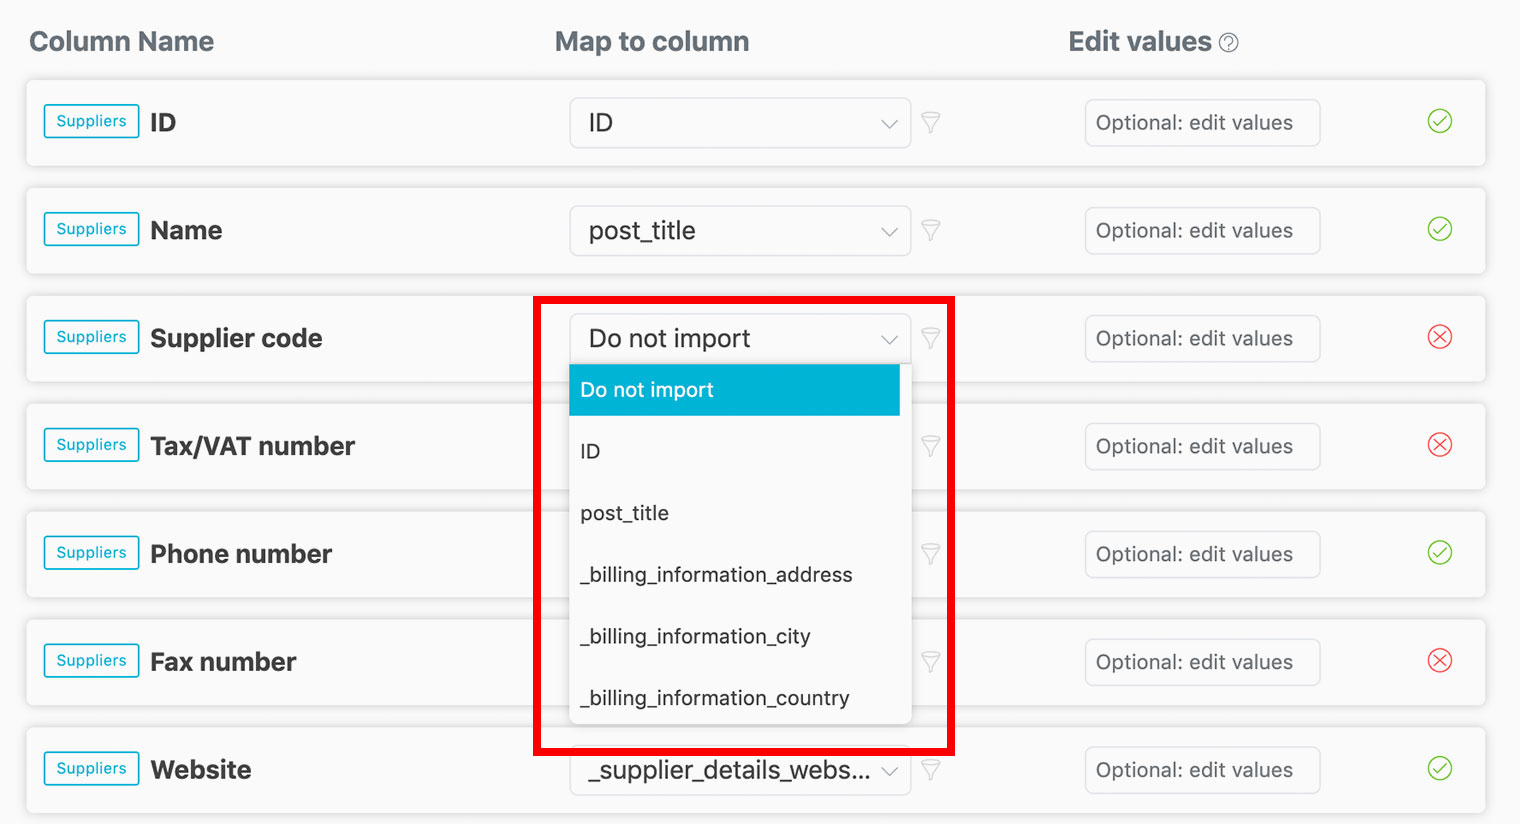
Editing imported values
With the Edit Values field, you can add text or calculations to the imported values. The system allows you to do the following actions:
- Add Text: Use the symbols & and [VAL] to add a text. For example, if you want to add the append EUR to the purchase prices, you have to add &[VAL] EUR to the Edit Values field. To add a prepend would be &EUR [VAL]

- Replace values: Use the symbol = to replace the value. For example, if you want to change all the stock values to 0, you have to add =0 to the Edit Values field.

- Increase values: Use the symbol + to increase value. For example, if you want to add 3 to the purchase prices, you have to add +3 to the Edit Values field.

- Subtract values: Use the symbol - to subtract a value. For example, if you want to reduce 3 to the purchase prices, you have to add -3 to the Edit Values field.

- Multiply values: Use the symbol * to multiply by value. For example, if you want to multiply by 2 the purchase prices, you have to add *2 to the Edit Values field.

- Divide values: Use the symbol / to divide by a value. For example, if you want to divide by 0.5 the purchase prices, you have to add /0.5 to the Edit Values field.

Adding new columns to the import
The system allows you to add new columns to the import. To add a new column:
- Click the Add Column button.
- Select the column type to add. There are two column types:
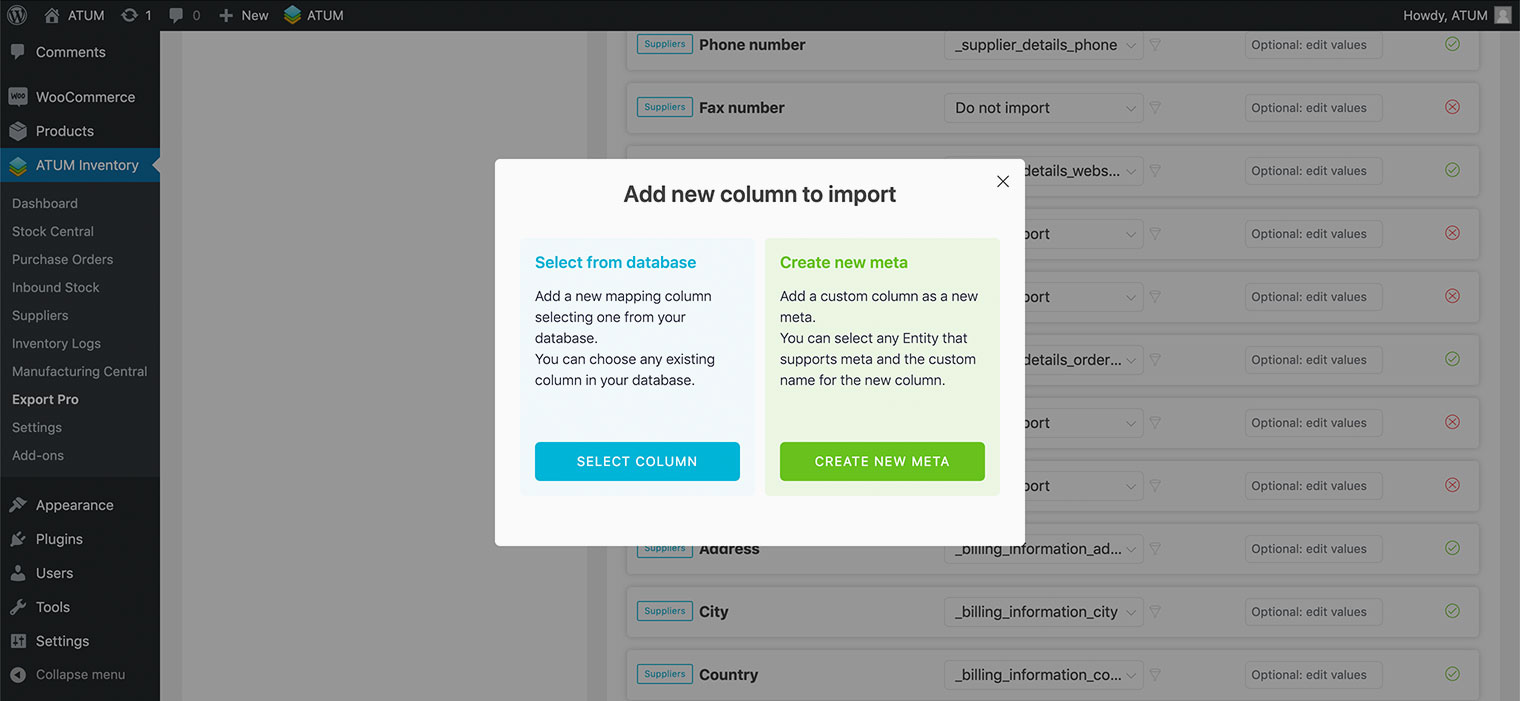
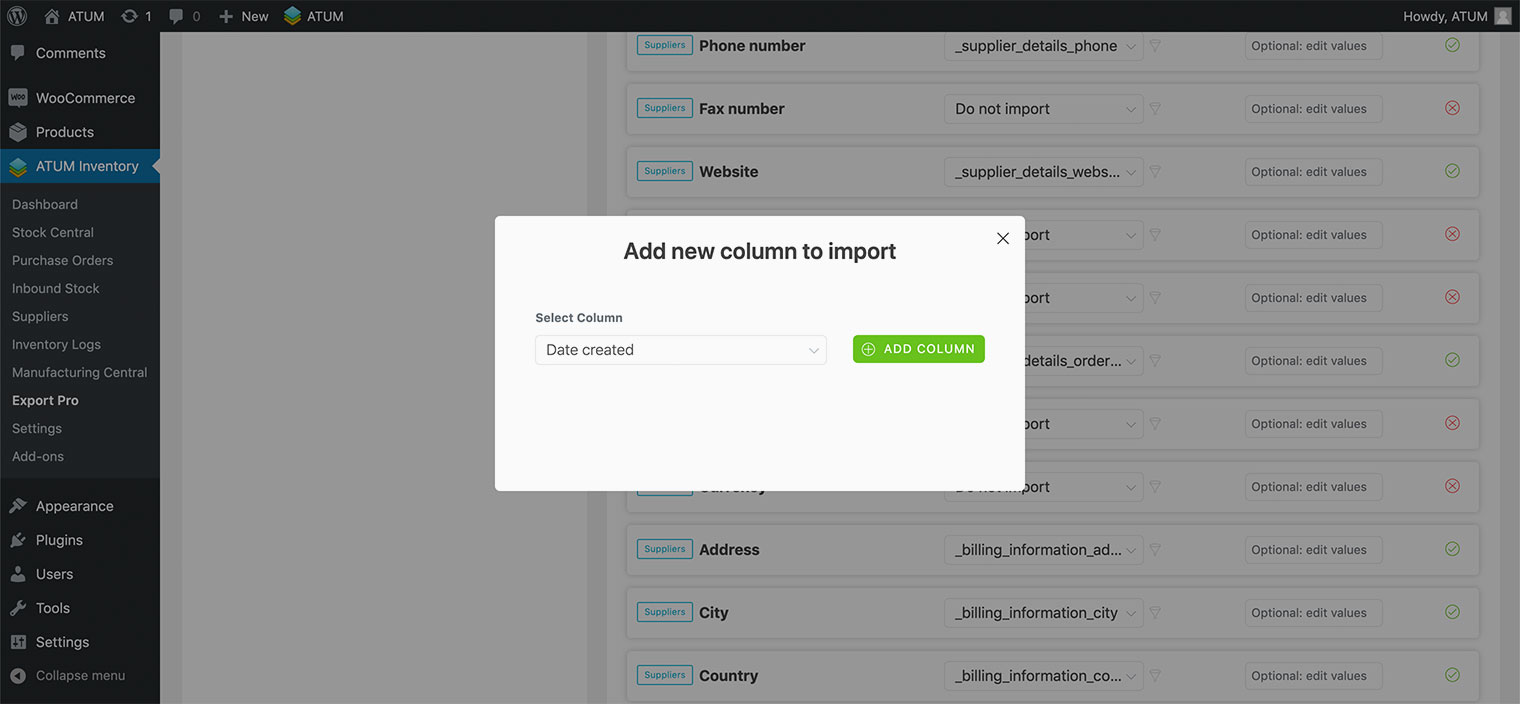
- Select from the database: Add a new mapping column selecting one from your database. You can choose any existing column in your database.
-
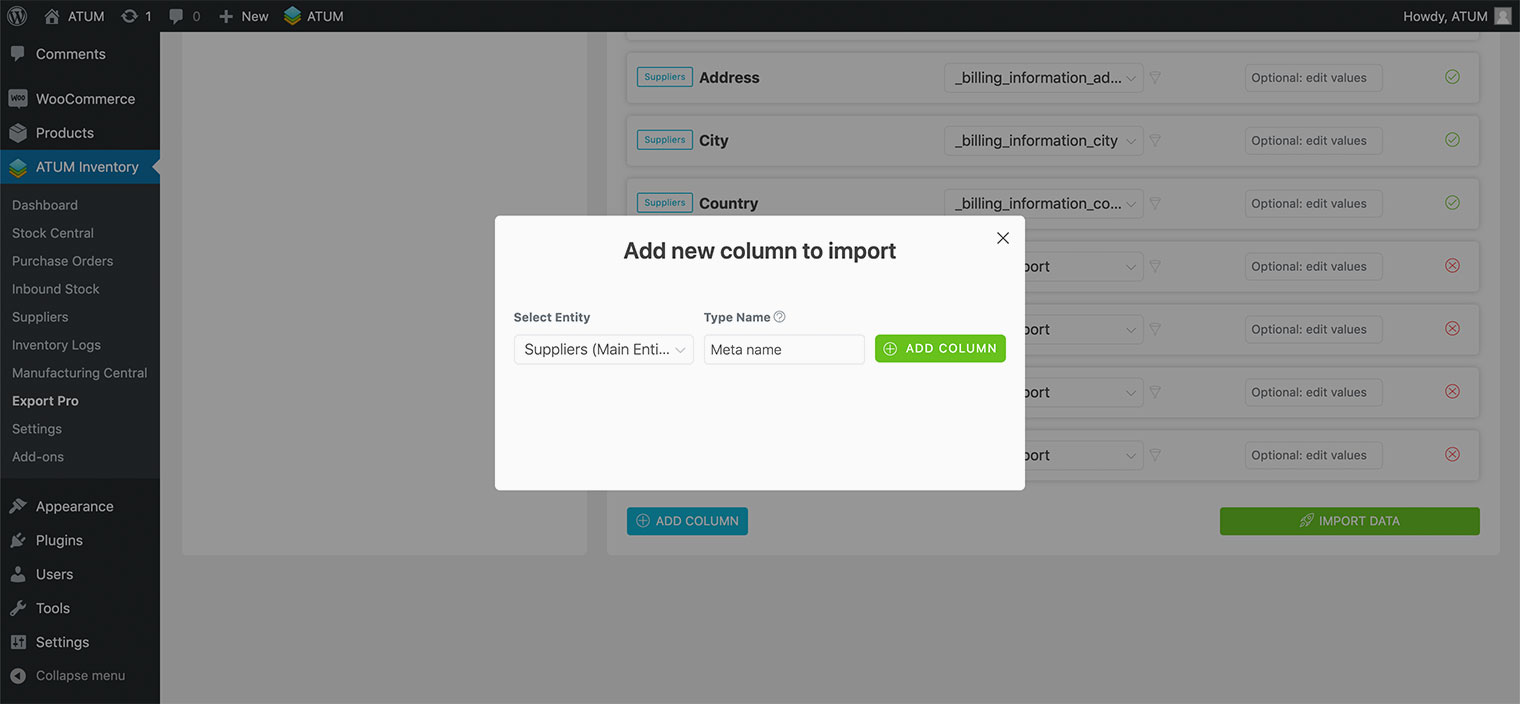
Create new meta: Add a custom column as a new meta. You can select any Entity that supports meta and the custom name for the new column.
IMPORTING DATA
To import the data to your site:
- Click the Import Data button.
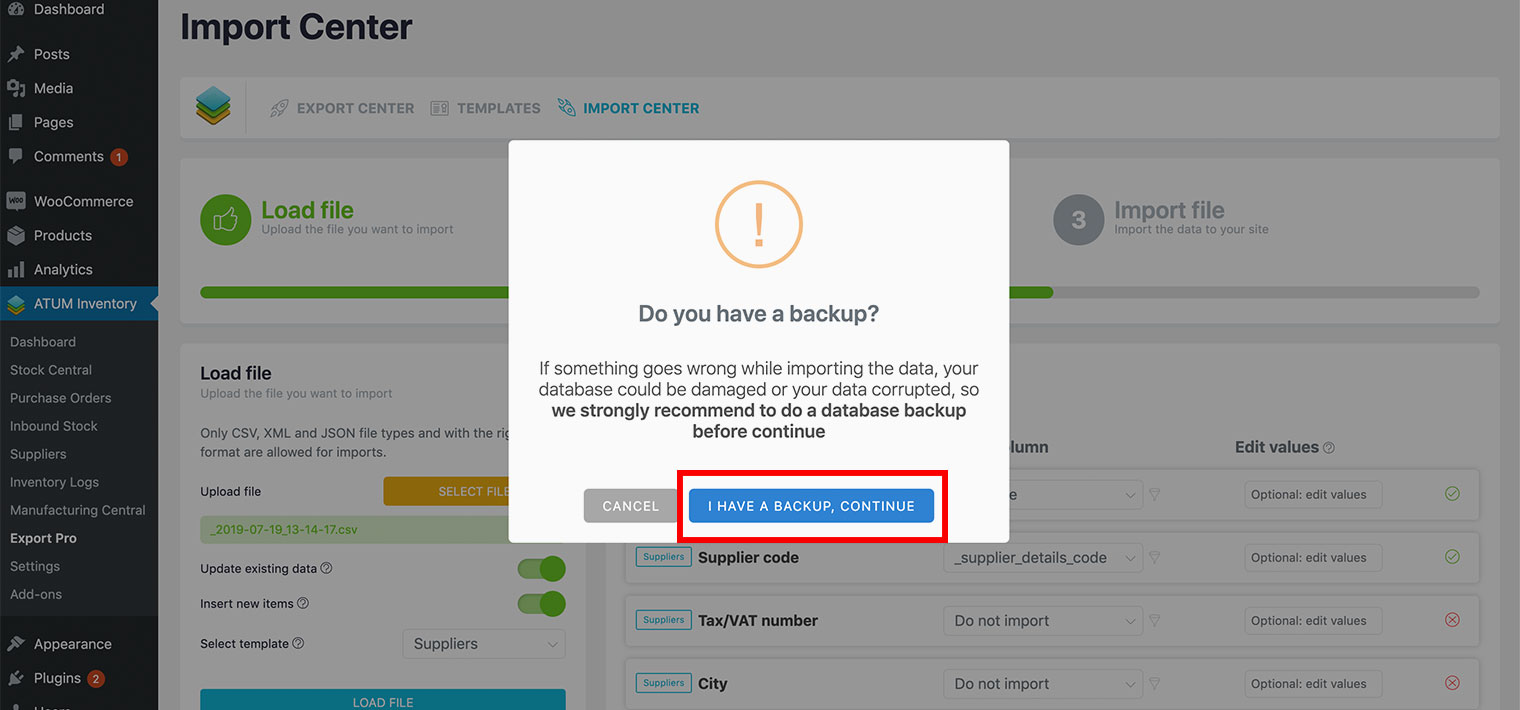
- An Alert Pop-Up will appear, click the I have a backup, continue button to run the import.
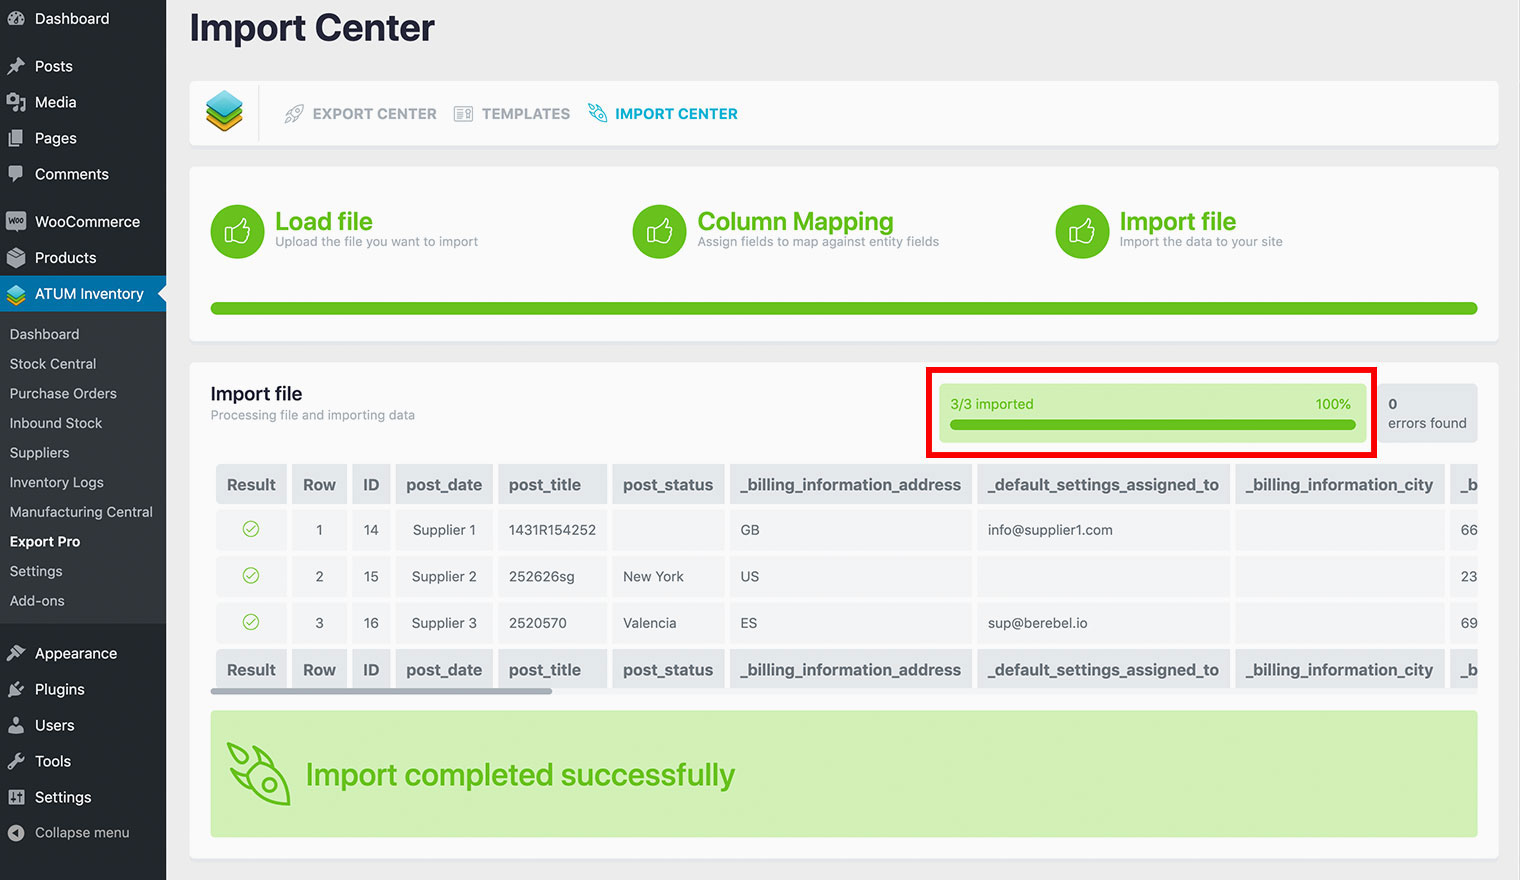
- The system will run the import; you can check the live status within the progress bar.
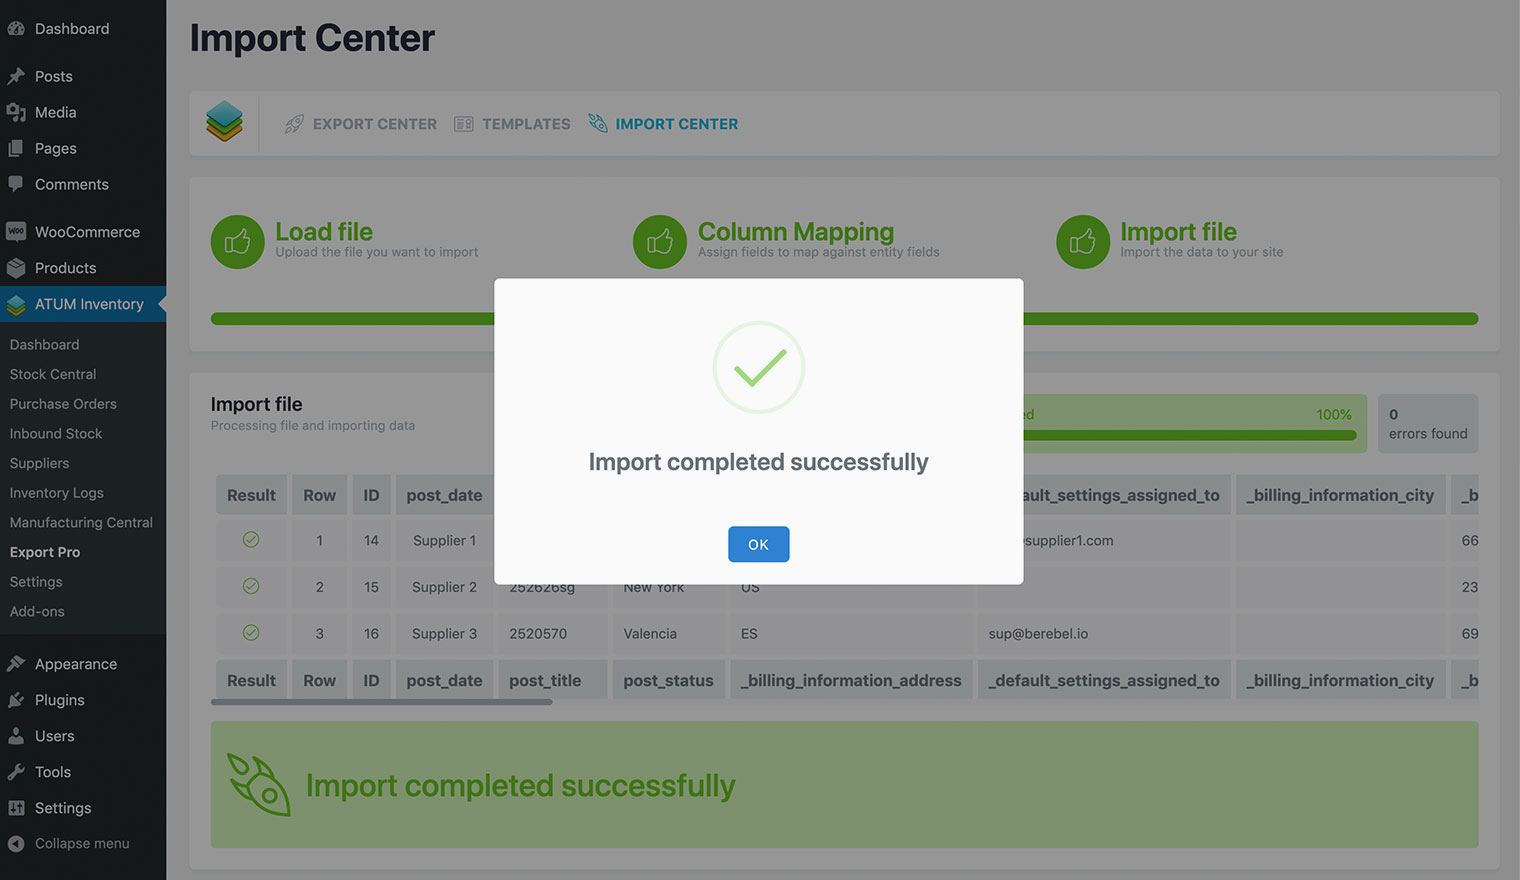
- When the import is completed and there are no errors found, the system will show a success message.
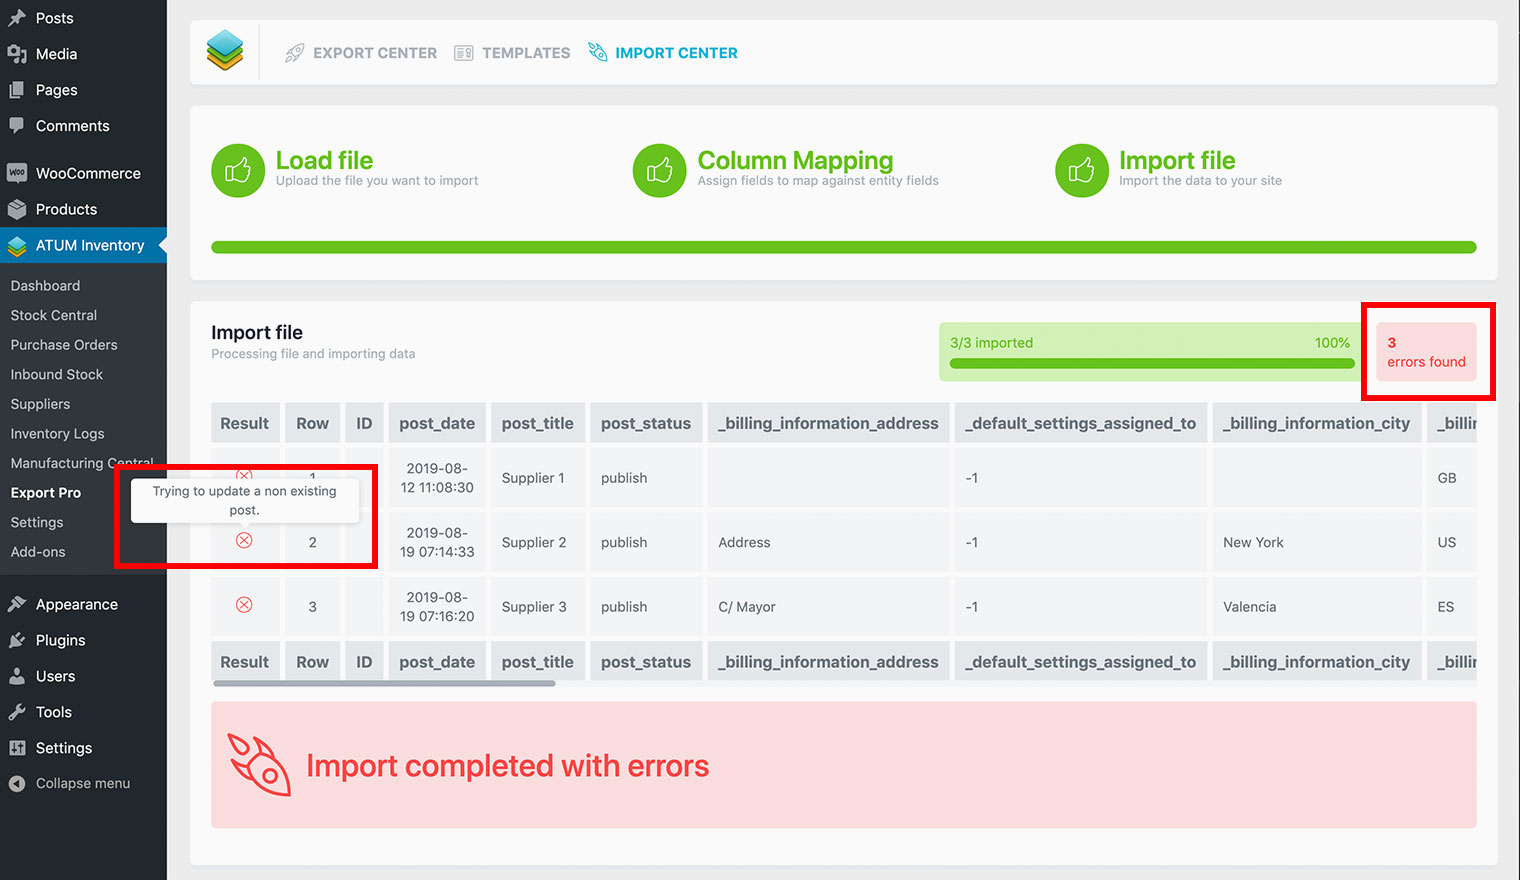
- When the import is completed and there are errors found, the system will show an alert message.
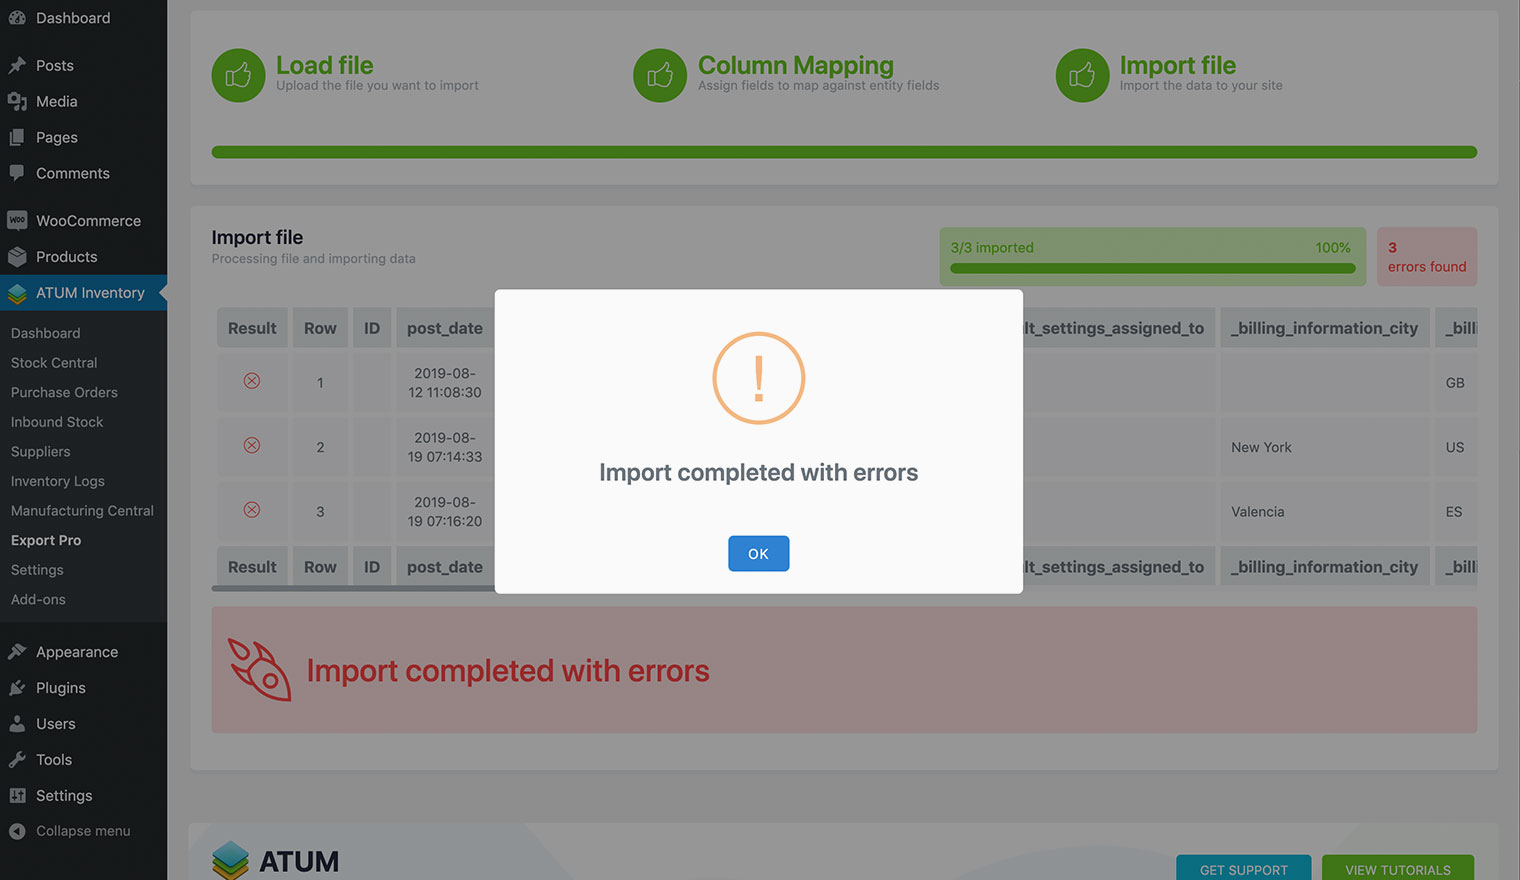
- In that case, the system will notify you of the total of errors found and you can read the error message in each line when hovering the cross icon.
