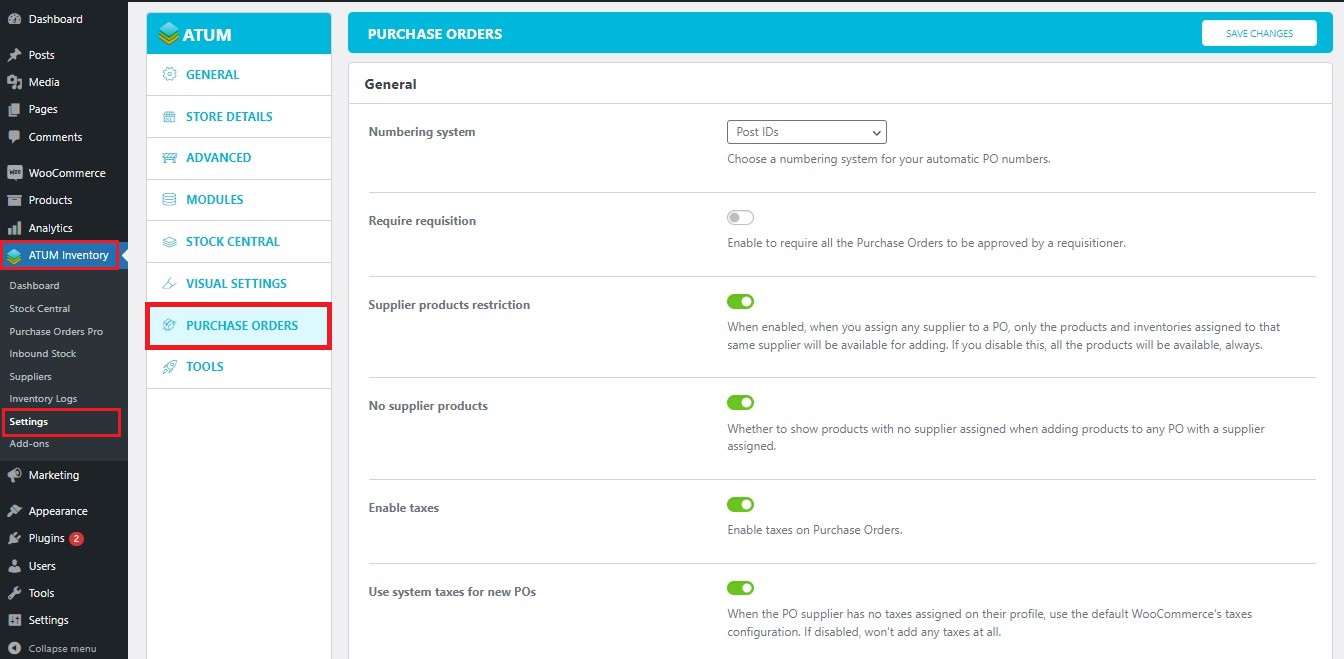
It’s easy to manage your ATUM Purchase Orders PRO settings. To access them go to ATUM Inventory > Settings > Purchase Orders:
ATUM Purchase Orders PRO settings are divided into 4 sections: General, PO PDF Template, Emails Template, and POs List Table. Let’s see each of them:
1. GENERAL
The General section contains the following options:
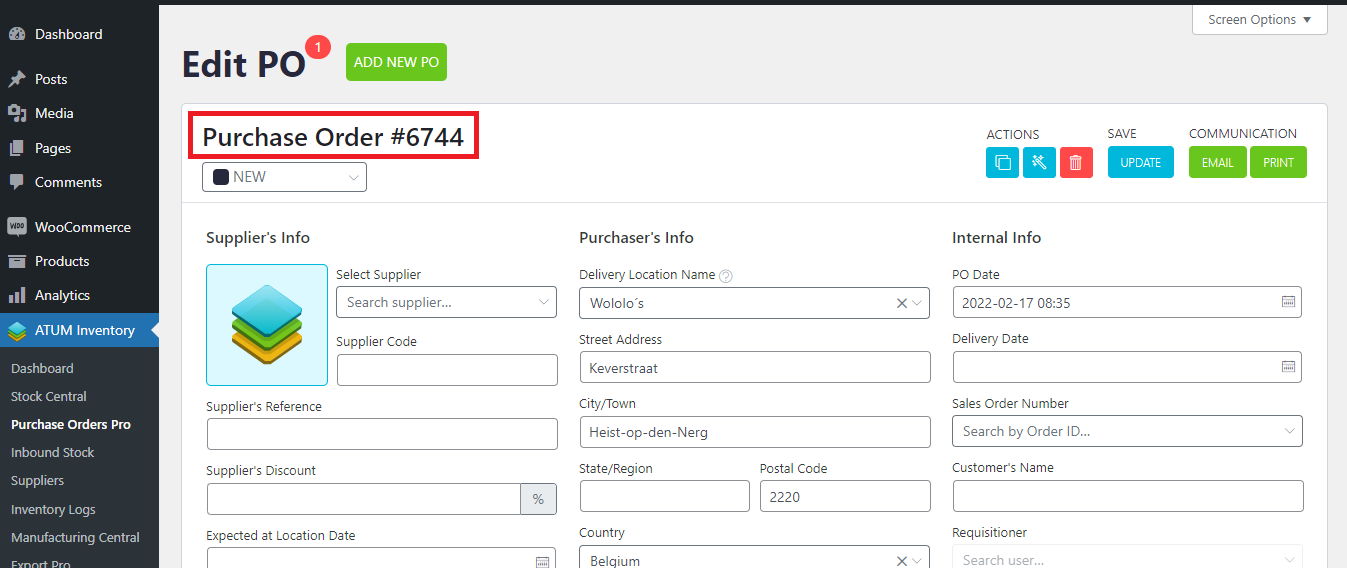
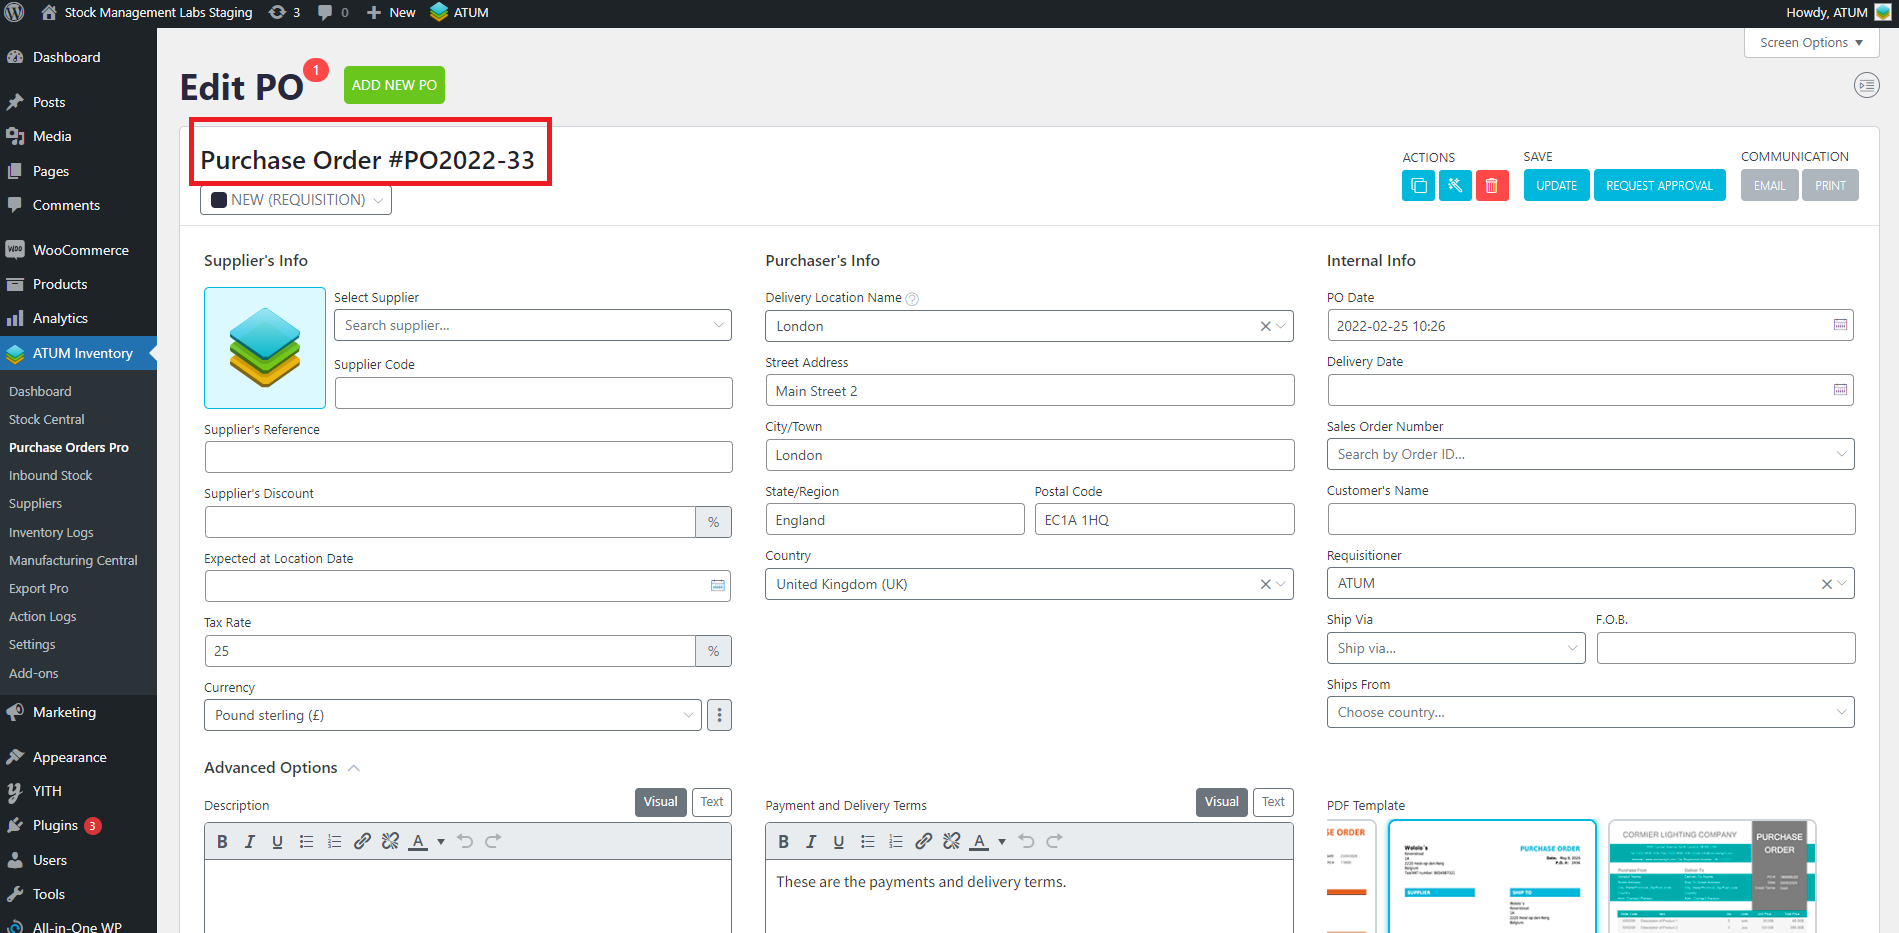
- Numbering system: Choose a numbering system for your automatic PO numbers. You can choose Post IDs (ID automatically assigned to the PO) or custom. The number of the Purchase Order will appear once you PLACE the Purchase Order at the top:
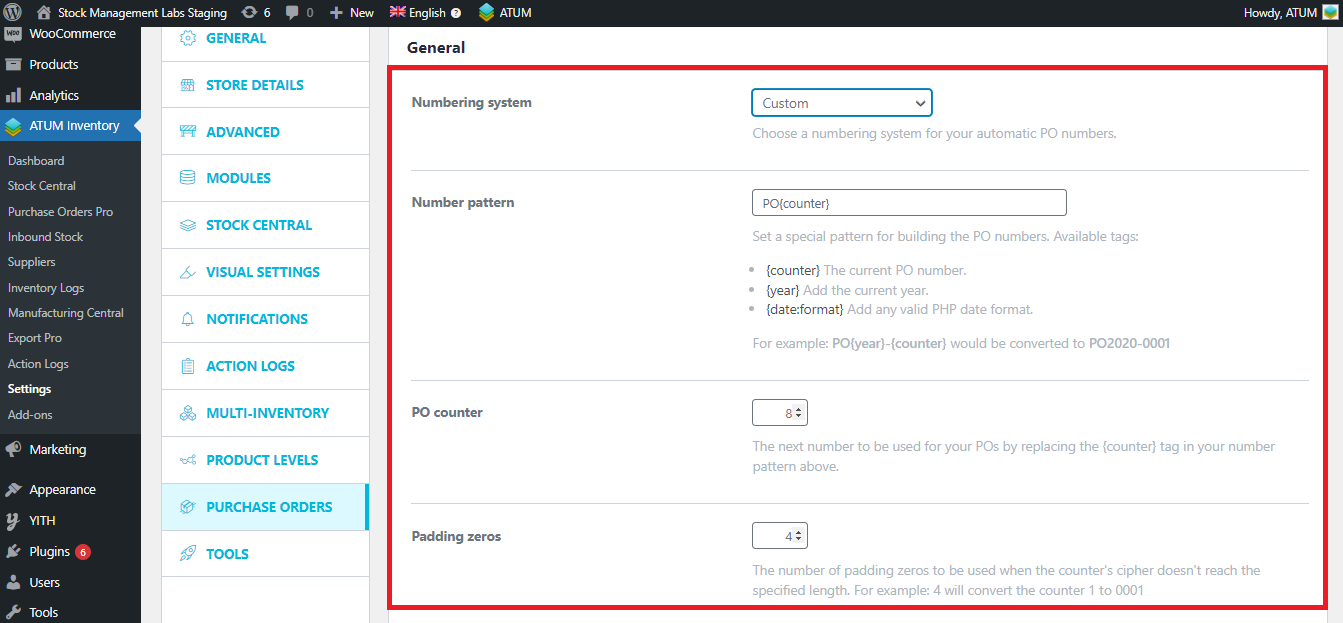
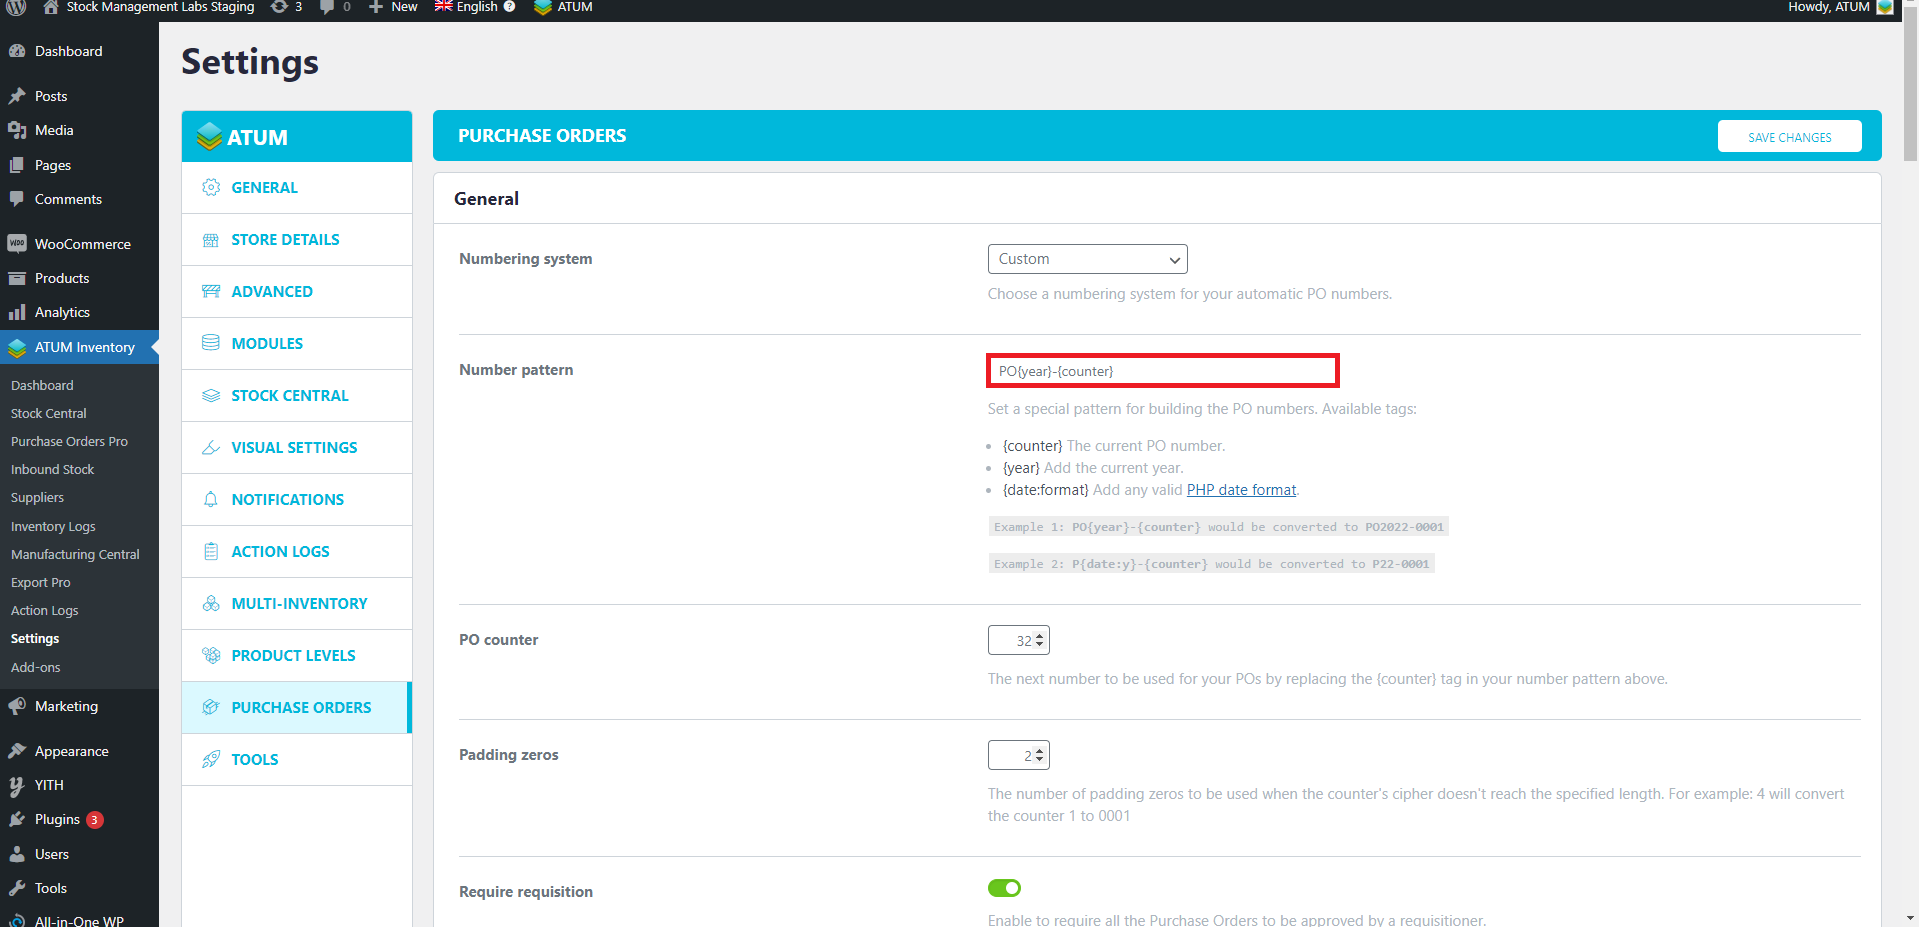
- Number pattern: Set a special pattern for building the PO numbers. Available tags:
- {counter} The current PO number.
- {year} Add the current year.
- {date:format} Add any valid PHP date format.
Example 1: PO{year}-{counter} would be converted TO PO2022-0001
Example 2: P{date:y}-{counter} would be converted to P22-0001
-
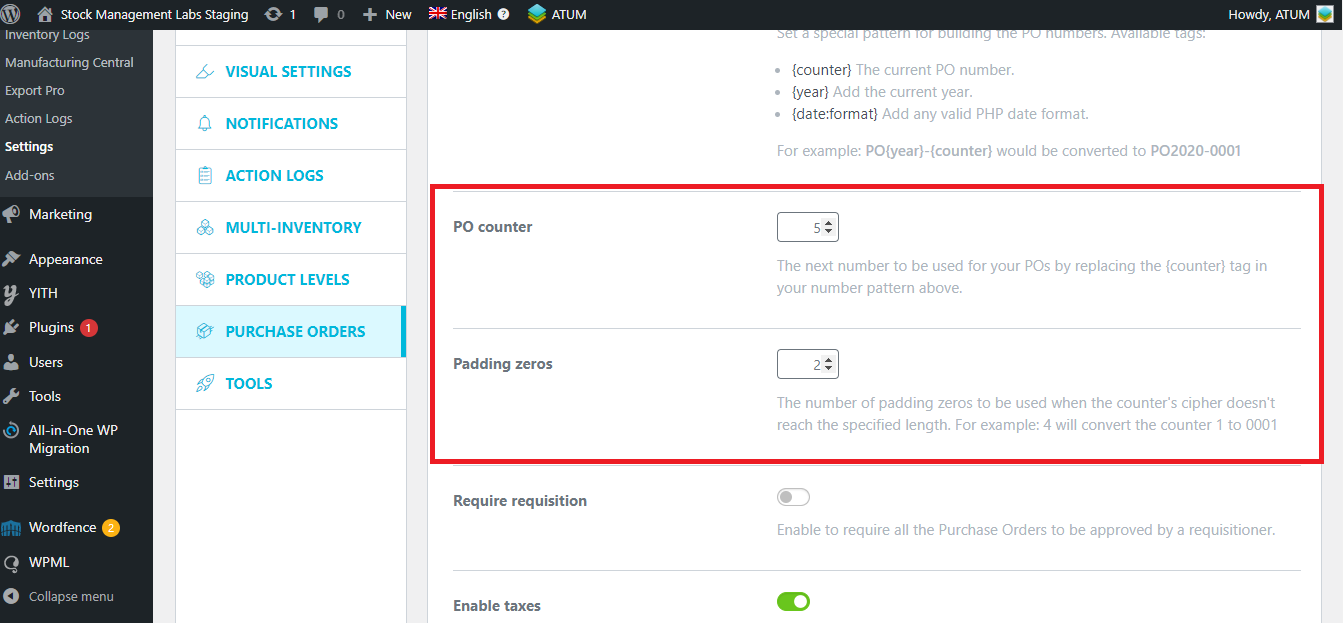
PO counter: The next number to be used for your POs by replacing the {counter} tag in your number pattern above.
-
Padding zeros: The number of padding zeros to be used when the counter's cipher doesn't reach the specified length. For example, 4 will convert the counter 1 to 0001
Check an example of how a custom number for your Purchase Orders PRO is displayed:

Now, we have changed the 'PO counter' (we set 5, so the next PO we create will start from 5 in the number pattern) and 'Padding zeros' (we set 2, so the PO counter will be 05) to show you how now the Purchase Order number is displayed:
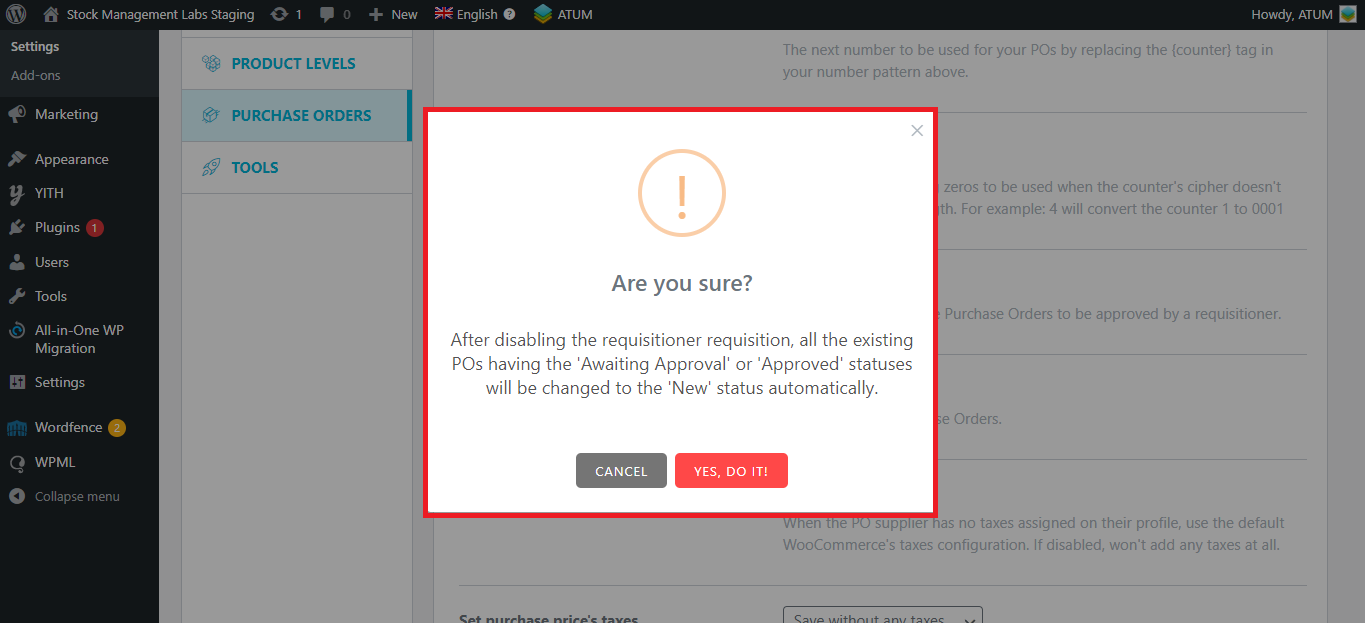
- Require requisition: Enable it to require all the Purchase Orders to be approved by a requisitioner. With this option enabled, the user set as a requisitioner in the purchase order is the only one who can approve it. If you disable this option, this pop up will be displayed:
- Supplier products restriction: When enabled, when you assign any supplier to a PO, only the products and inventories assigned to that same supplier will be available for adding. If you disable this, all the products will be available, always.
 No supplier products: Whether to show products with no supplier assigned when adding products to any PO with a supplier assigned.
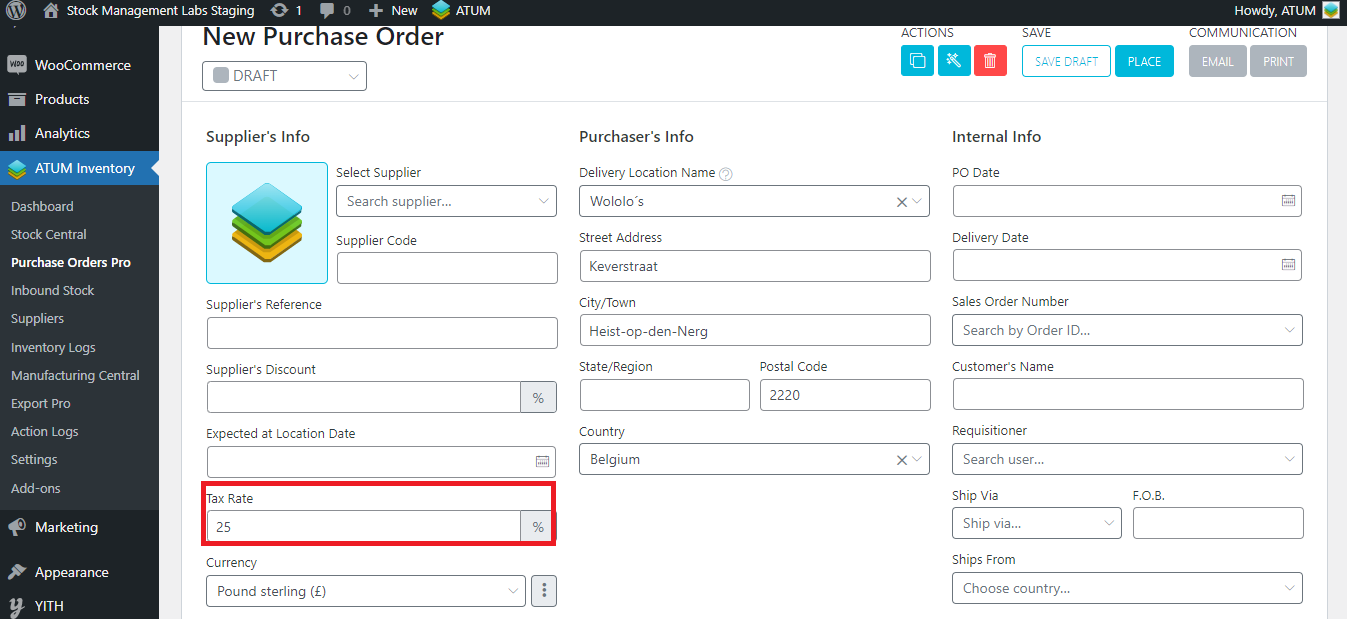
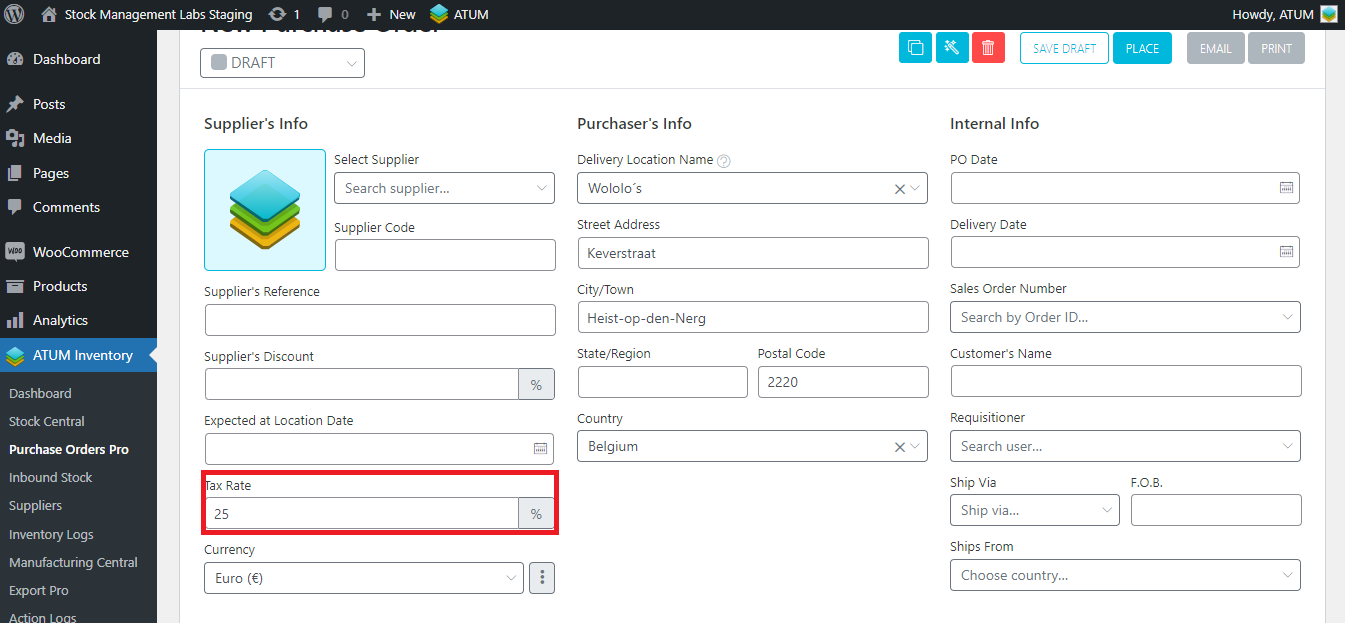
- Enable taxes: If this setting is enabled, the 'Tax Rate field' will be displayed in the Purchase Order, but it won't if it is disabled.
Purchase Order with taxes enabled:
Purchase Order with taxes disabled:

Use system taxes for new POs: Please, note that with ATUM Purchase Orders PRO it is possible to work with several taxes in your Purchase Orders, not only with the default Woocommerce taxes configuration. So, by enabling this setting, if you haven't set any supplier in the PO, it will use the Woocommerce taxes, if not, the field will be empty.
Purchase price including taxes: Set up how you've entered your purchase prices for all your products. If you've entered the purchase prices as 'taxes inclusive', when you add any product to a PO, the taxes will be deducted from the purchase price and added to the tax column. however, if you've entered the purchase prices as 'taxes exclusive', the taxes (if any) will be added apart and not deducted.
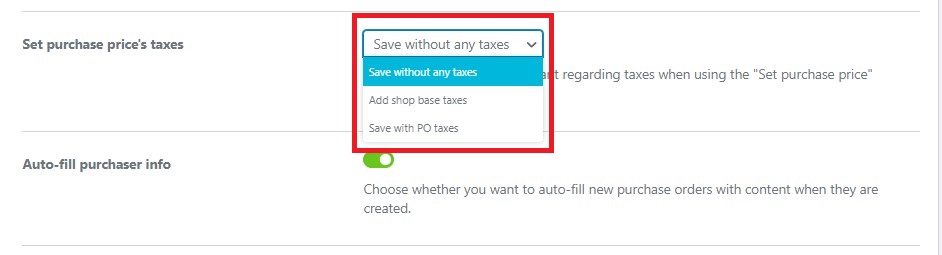
Set purchase price's taxes: Select which behavior you want regarding taxes when using the "Set purchase price" modal for any PO item. You can select: Save without any taxes, Add shop base taxes, or Save with PO taxes.
Let's see an example for each one:
Save without any taxes
This product has a Purchase Price of 3. Click on the Set Purchase Price button:
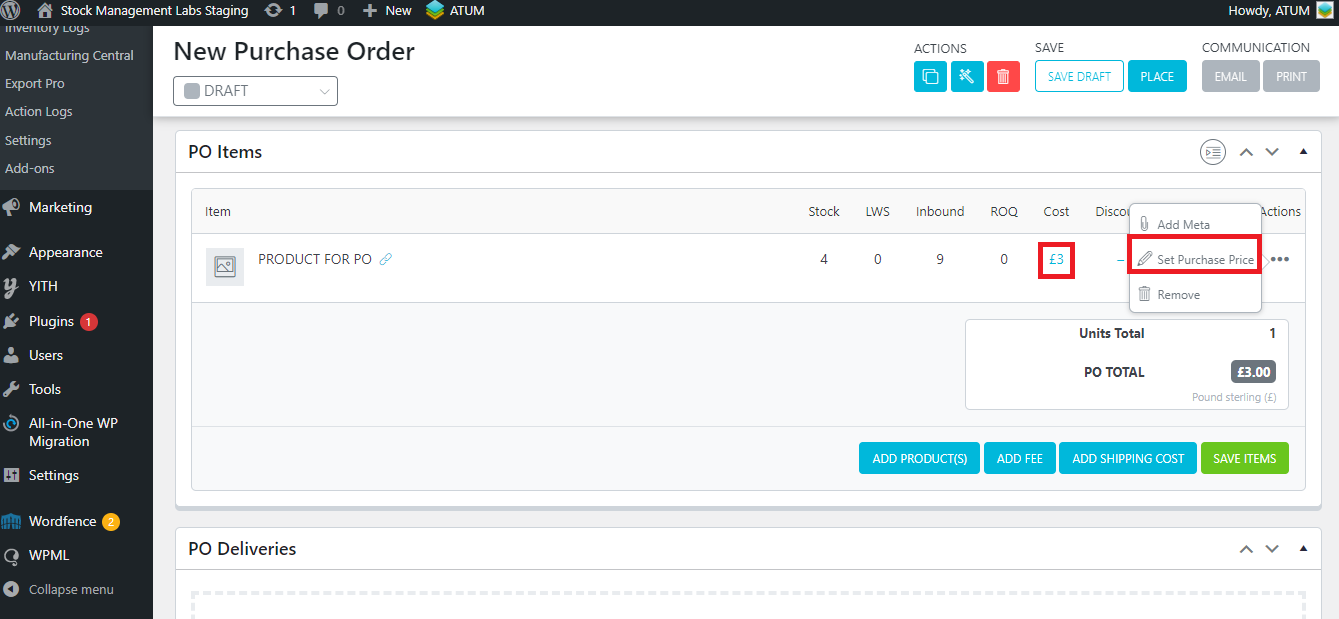
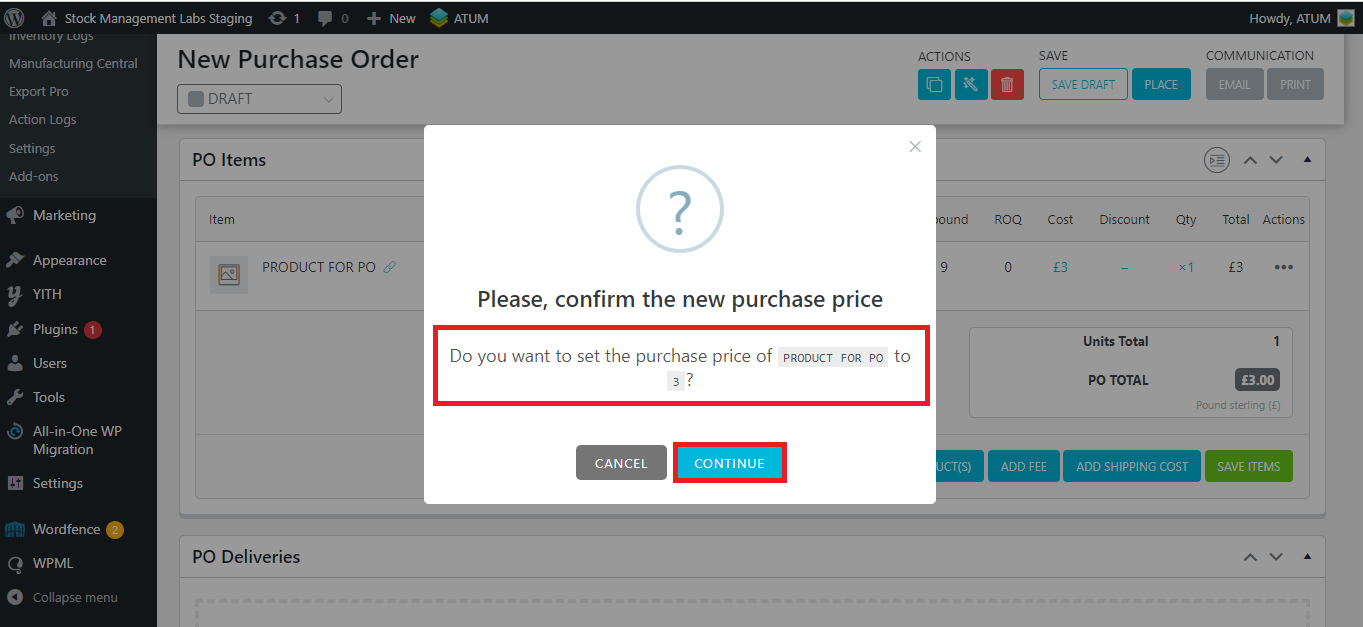

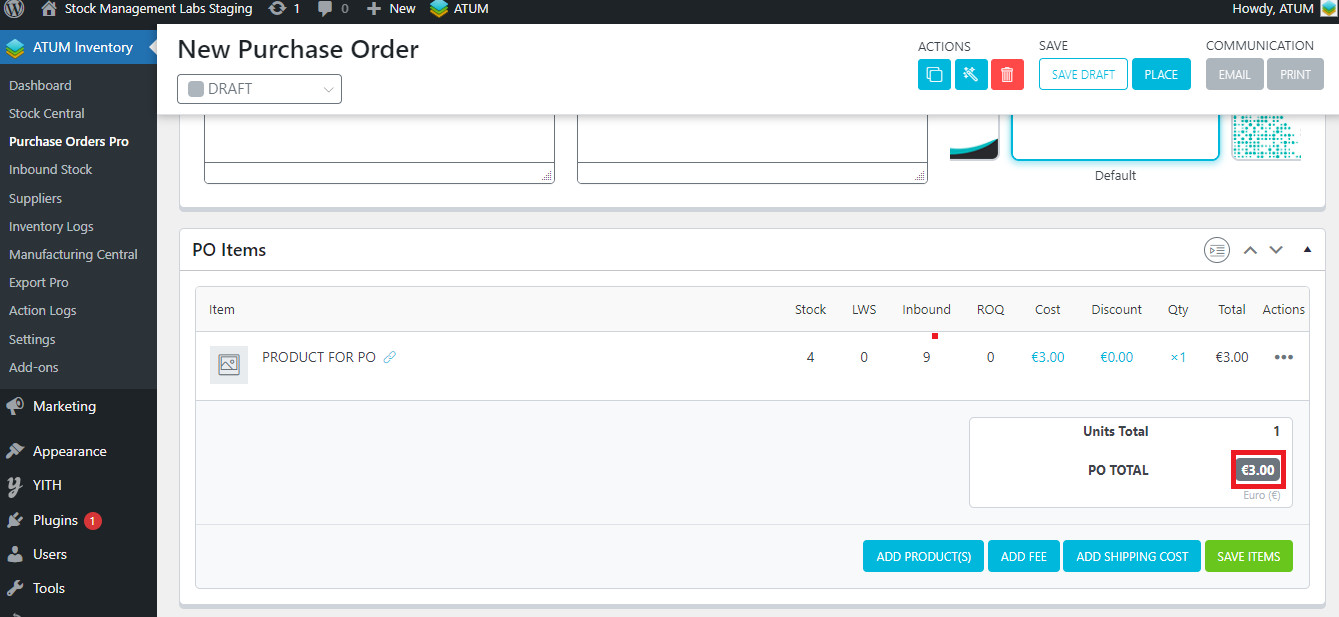
The Purchase Price is 3:
Add shop base taxes
As you see, a 25% tax rate is added by default in the Purchase Order, as is getting this value from the Woocommerce settings:
Now, let's set the Purchase Price for the same product used in the previous example:
The purchase price is 4:
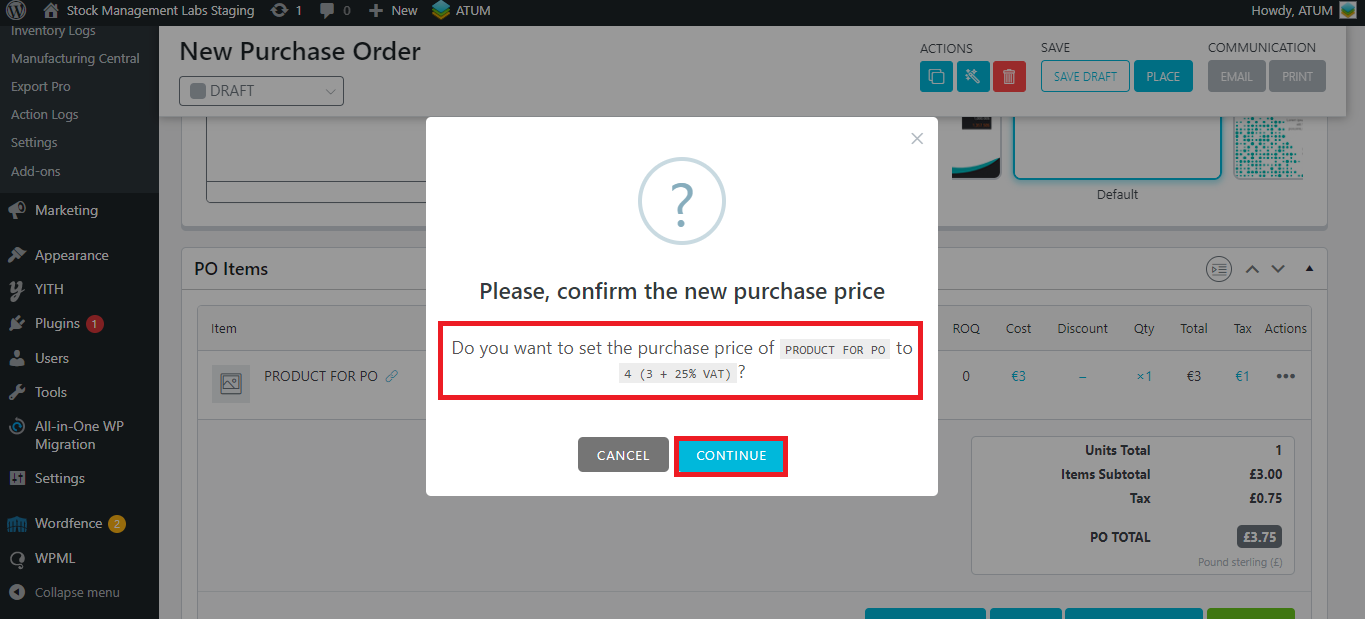
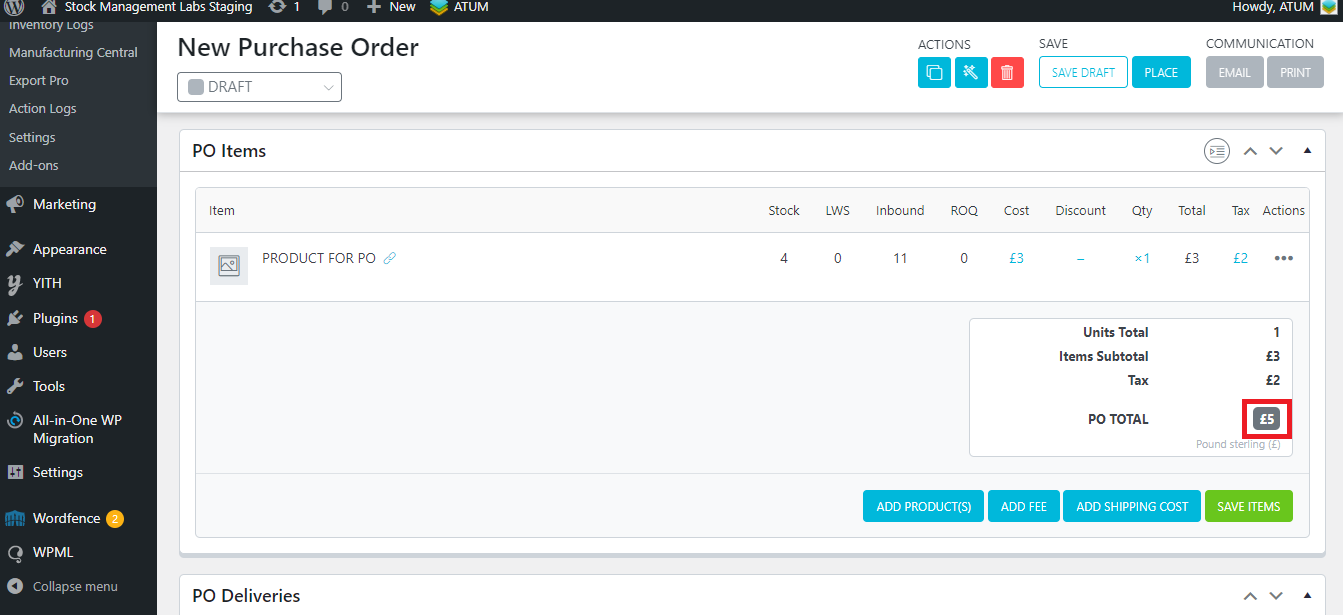
Save with PO taxes
With Purchase Orders PRO, you can set a tax for your suppliers and it will be added automatically to the Purchase Order, or also, you can add manually the tax. In this case, we set a 50%.
We will use the same product as in the previous examples, and Set the Purchase Price:
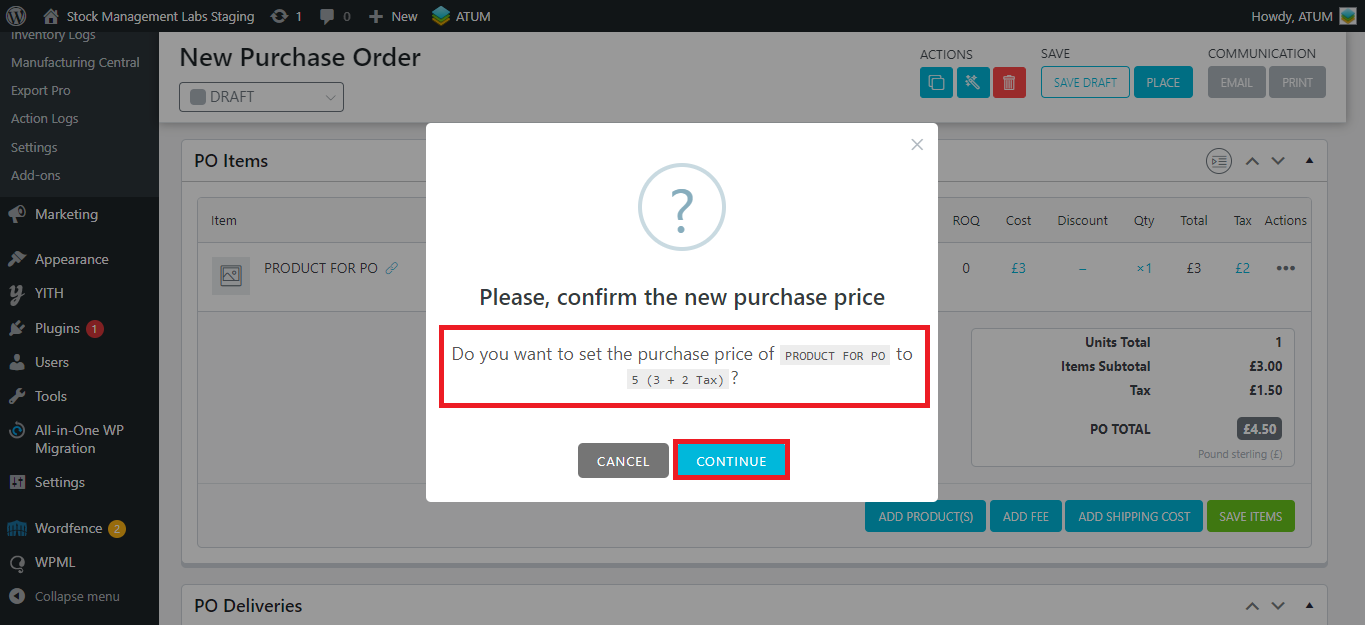
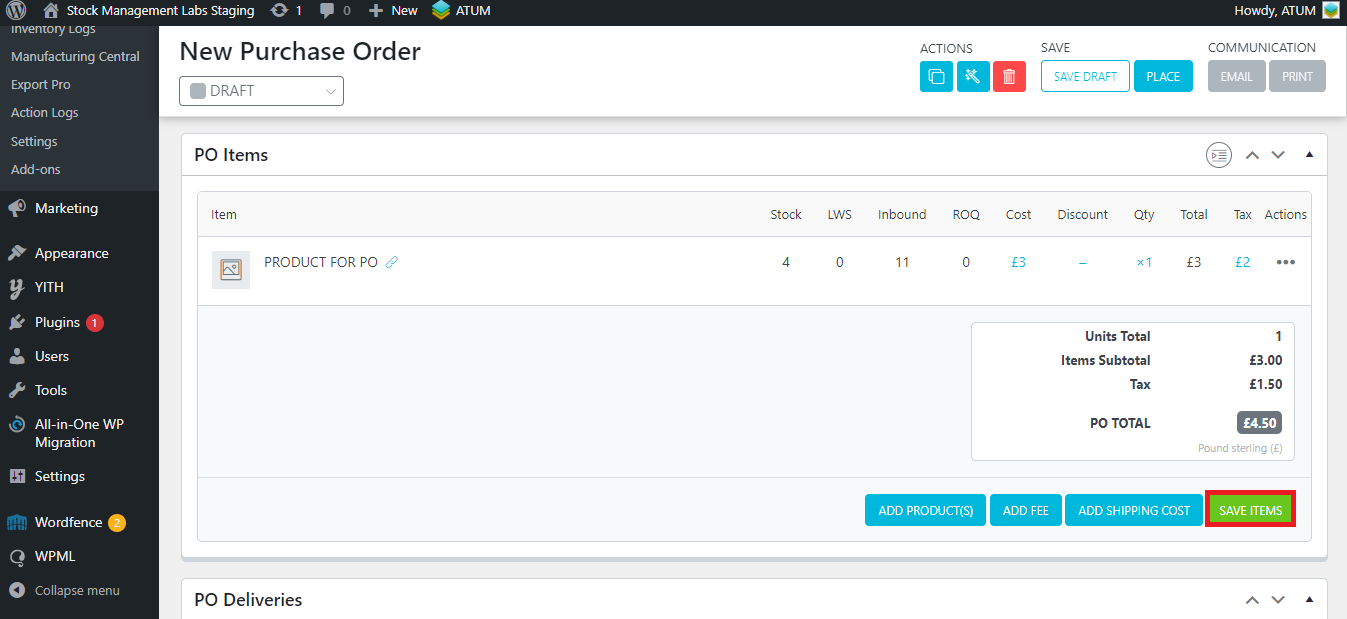
The Purchase price is 5:
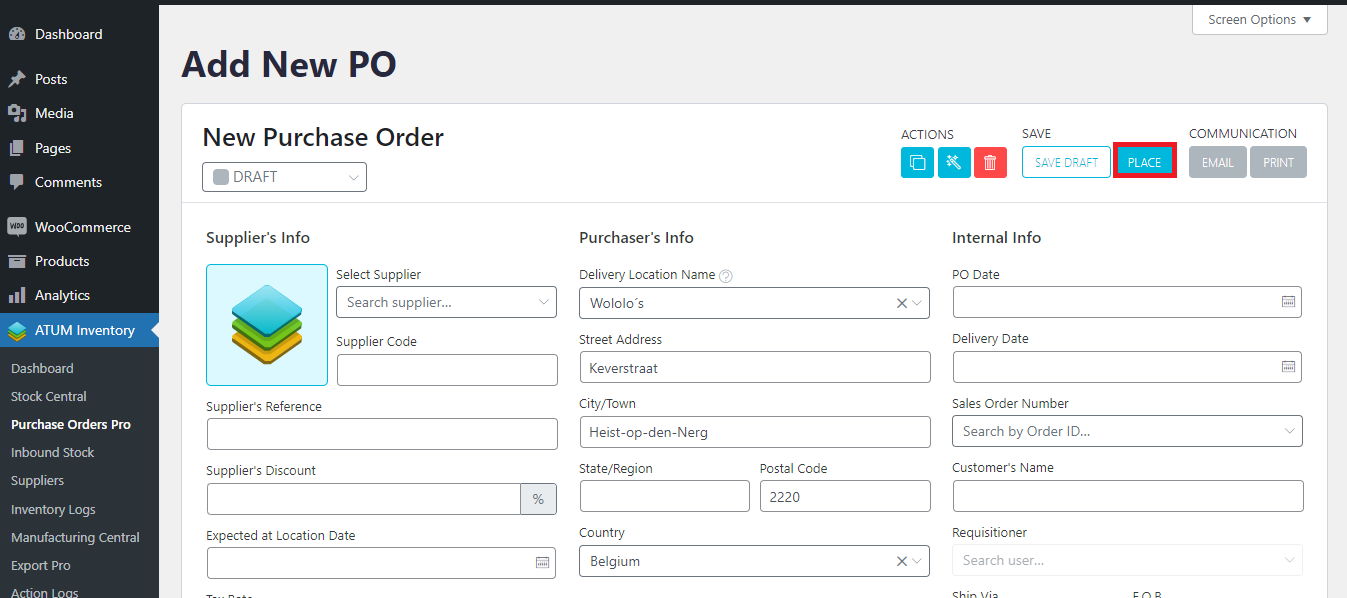
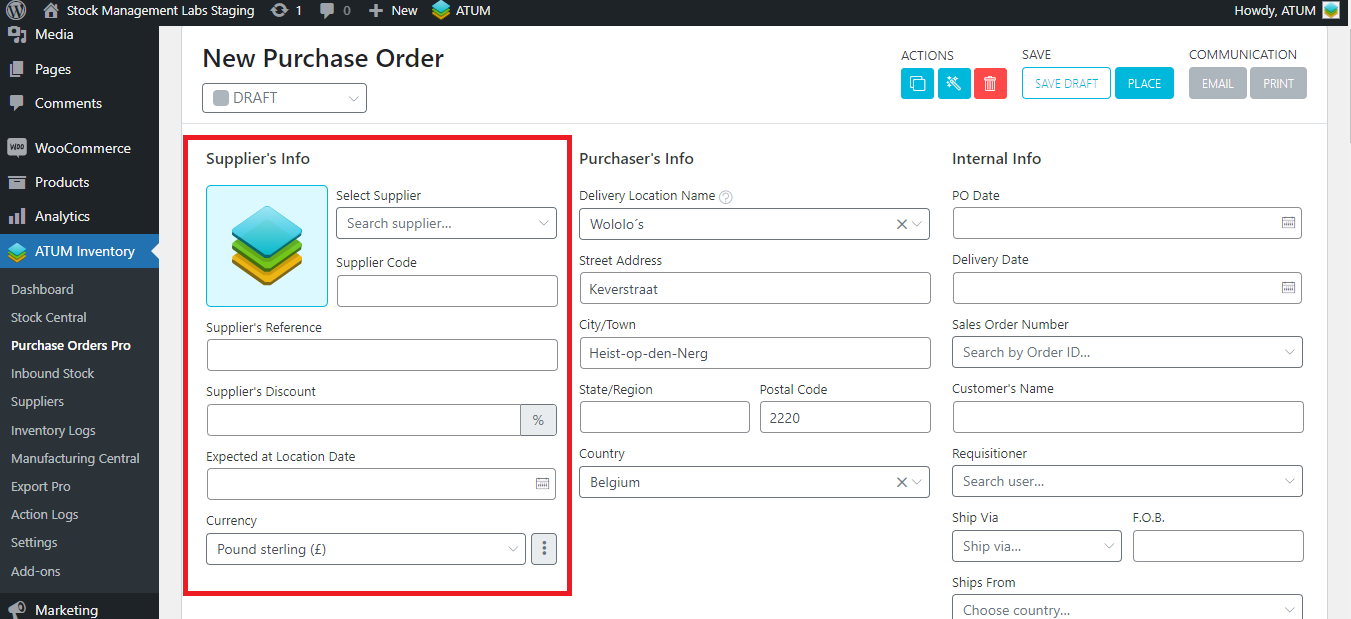
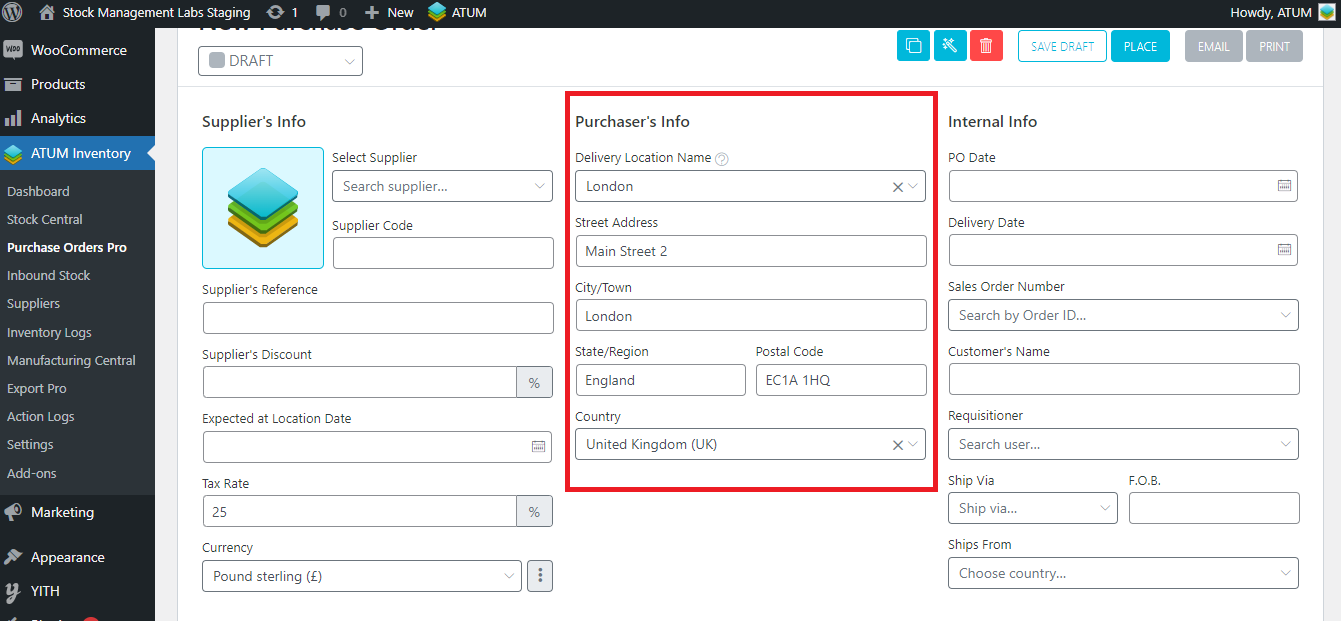
- Auto-fill purchaser info: Choose whether you want to auto-fill new purchase orders with content when they are created. So by enabling this setting, this area will be auto-completed by default:
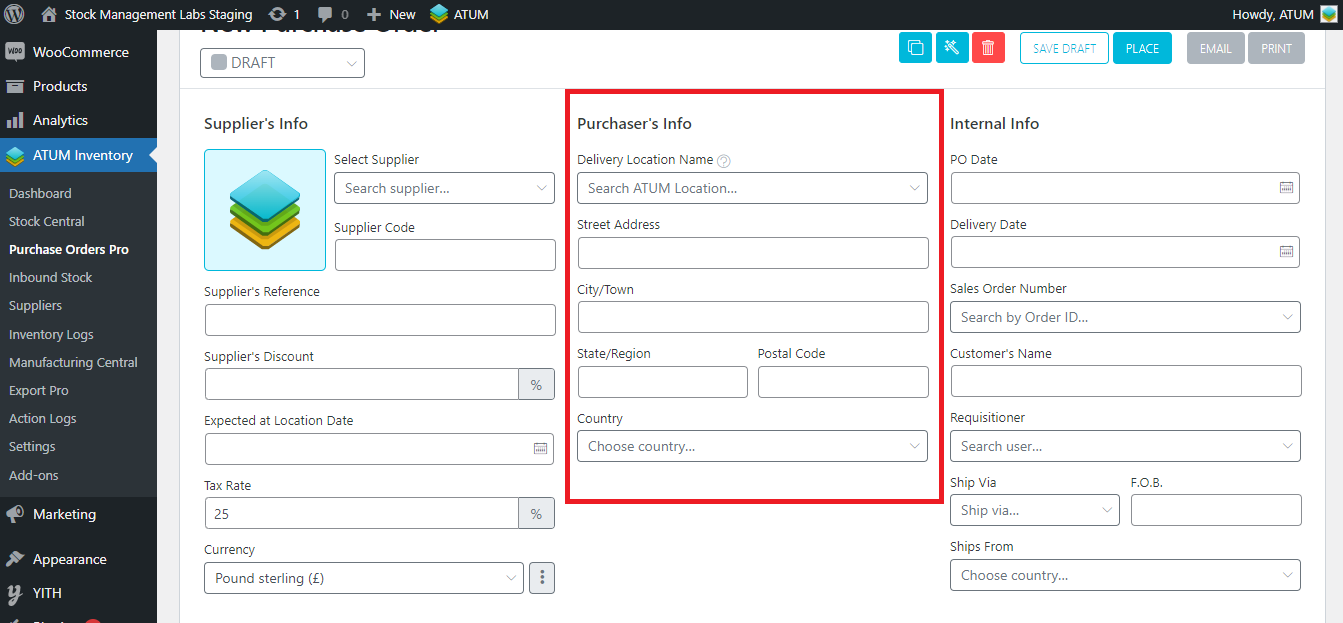
If you enable this setting, the option below will appear:
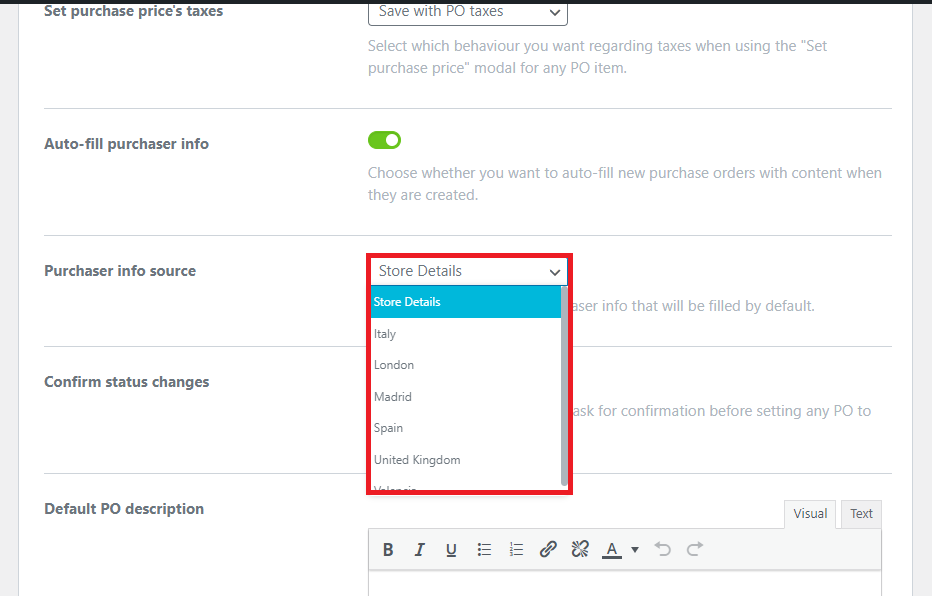
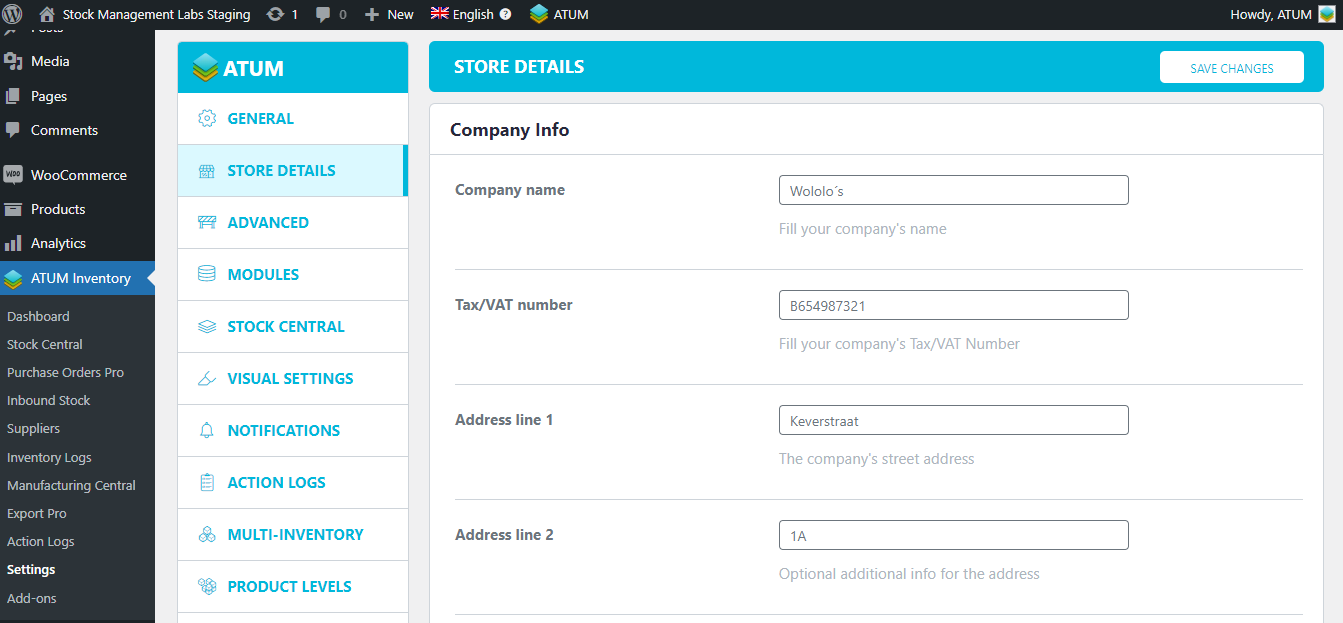
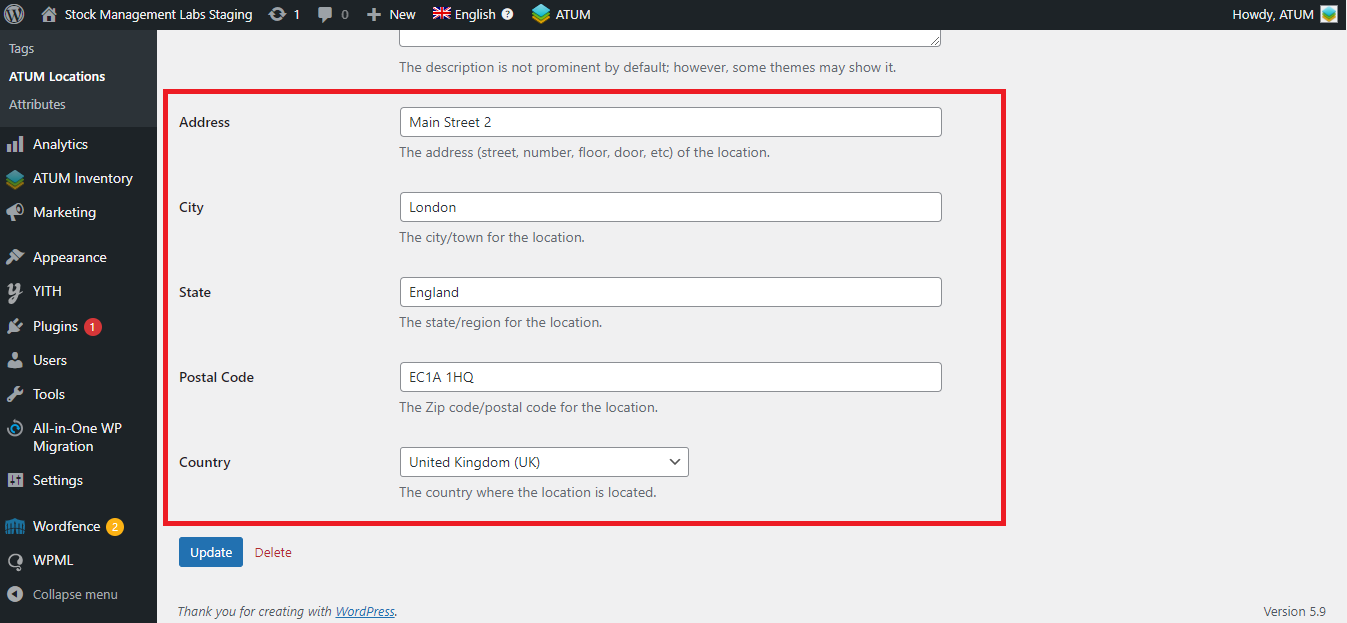
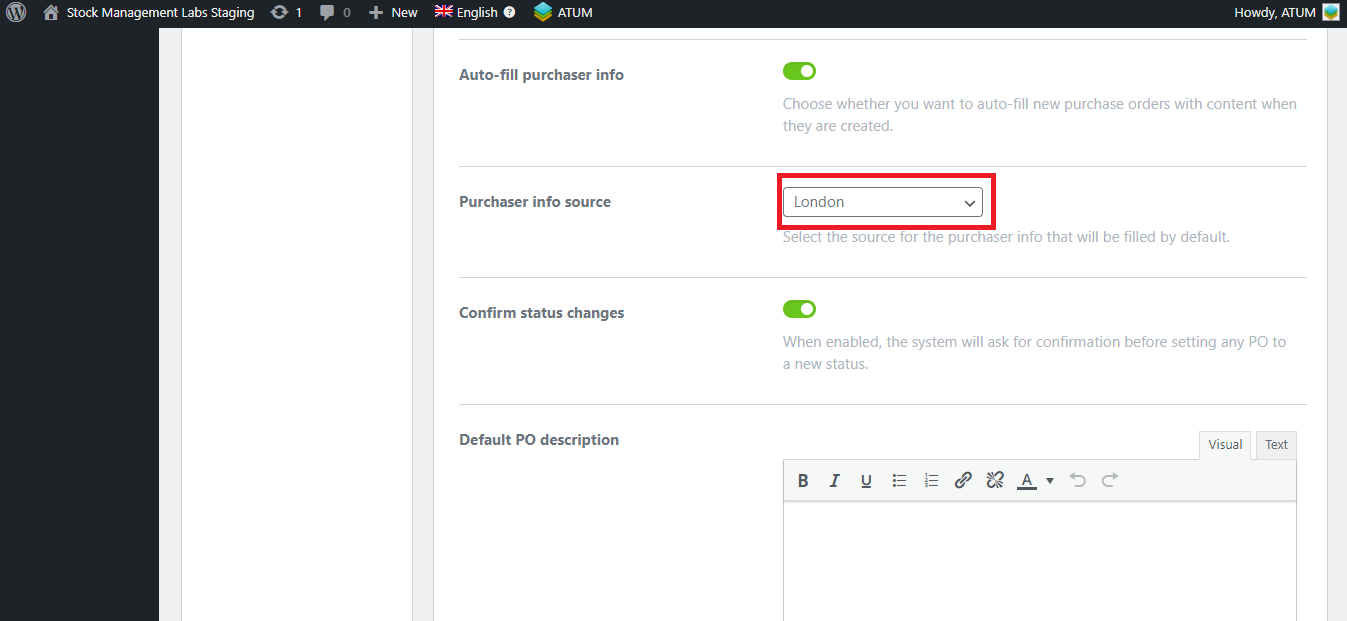
- Purchaser info source: Select the source for the purchaser info that will be filled by default. You can take it from the store details or select a location.
 In the dropdown, you will see all the locations created in ATUM Locations. If you select one of them, its info it will be set by default in the Purchase Orders (however, you can modify this information manually):
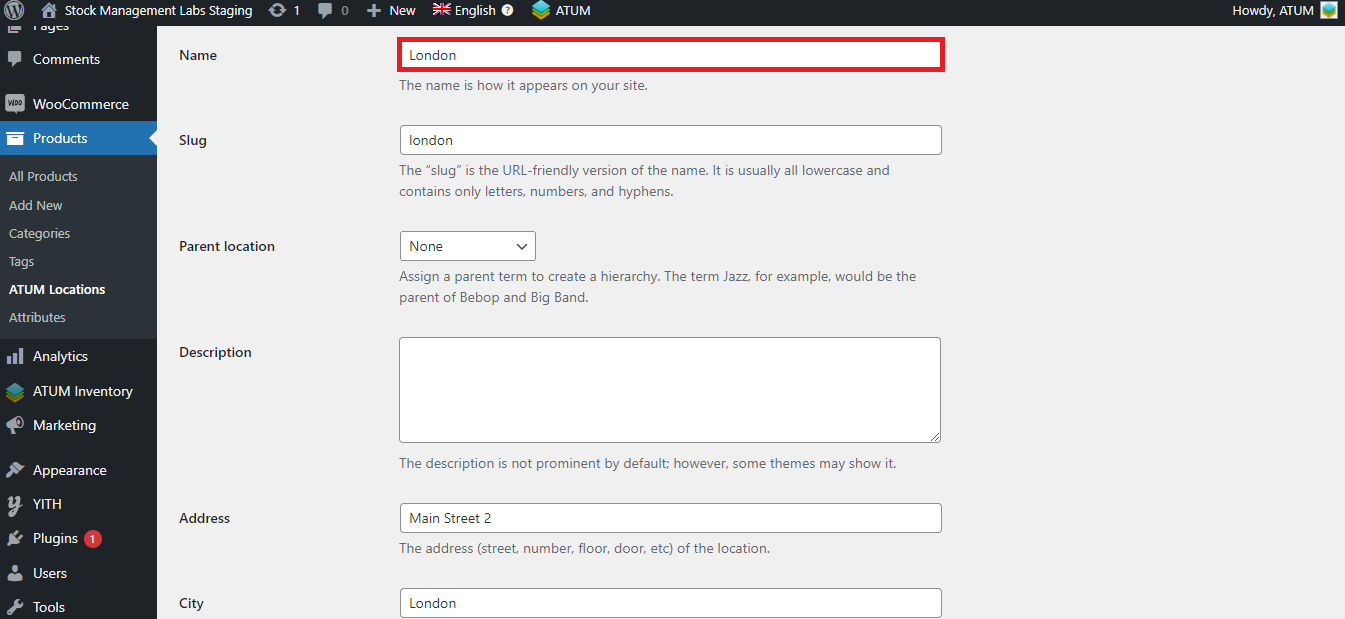
- Confirm status changes: When enabled, the system will ask for confirmation before setting any PO to a new status.


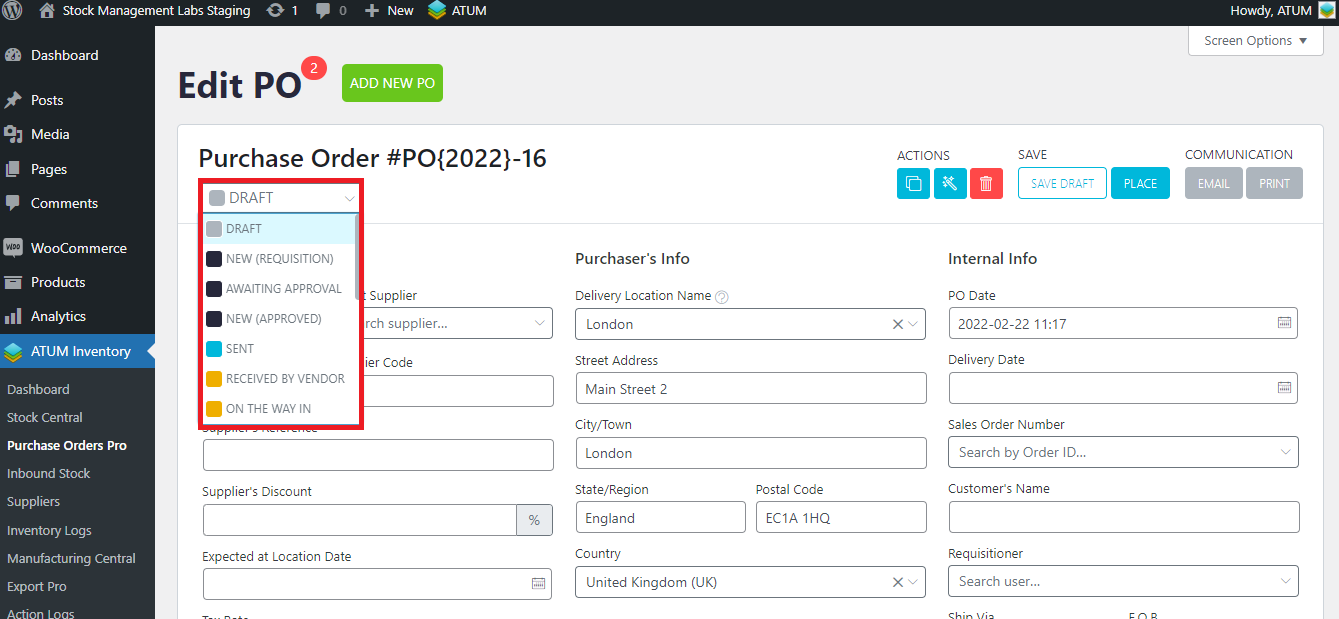
- PO status flow restriction: When enabled, the status flow restriction will be active, what means that the PO status changes can only be made by following the status flow logic as explained here. If you disable it, you will be able to go to one status from another without following the status flow logic. In the next screenshot, note that if this setting was disabled, some status will be blocked (in gray color).
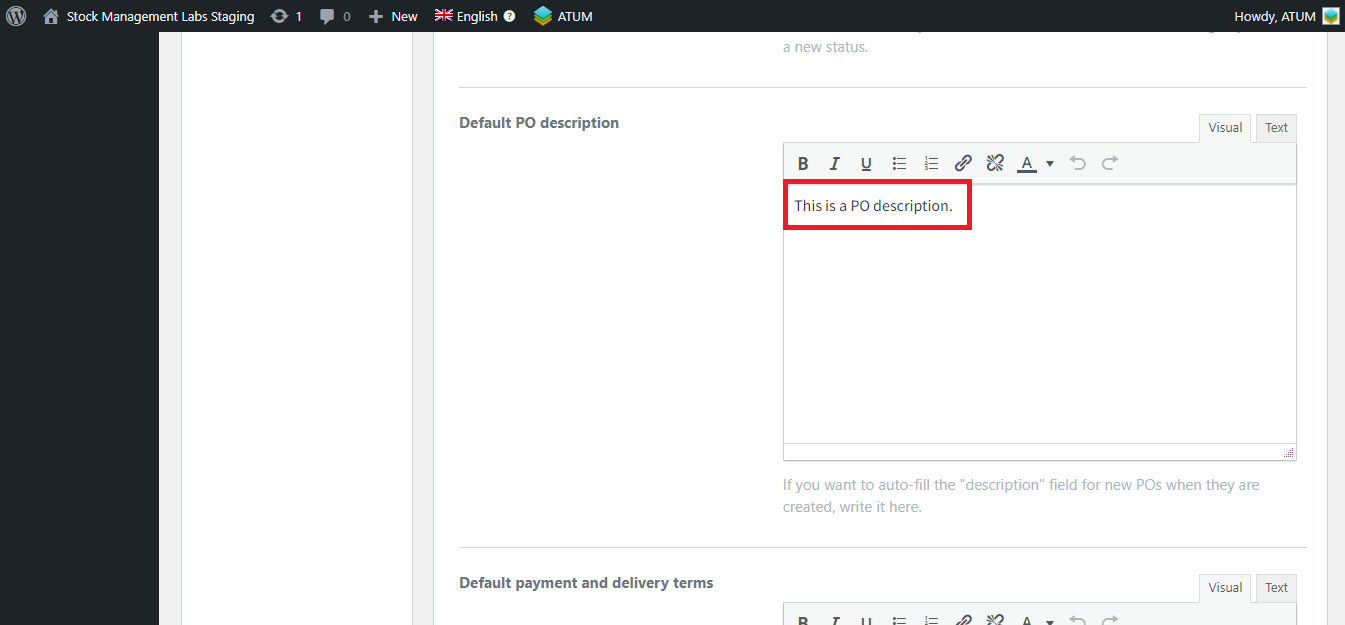
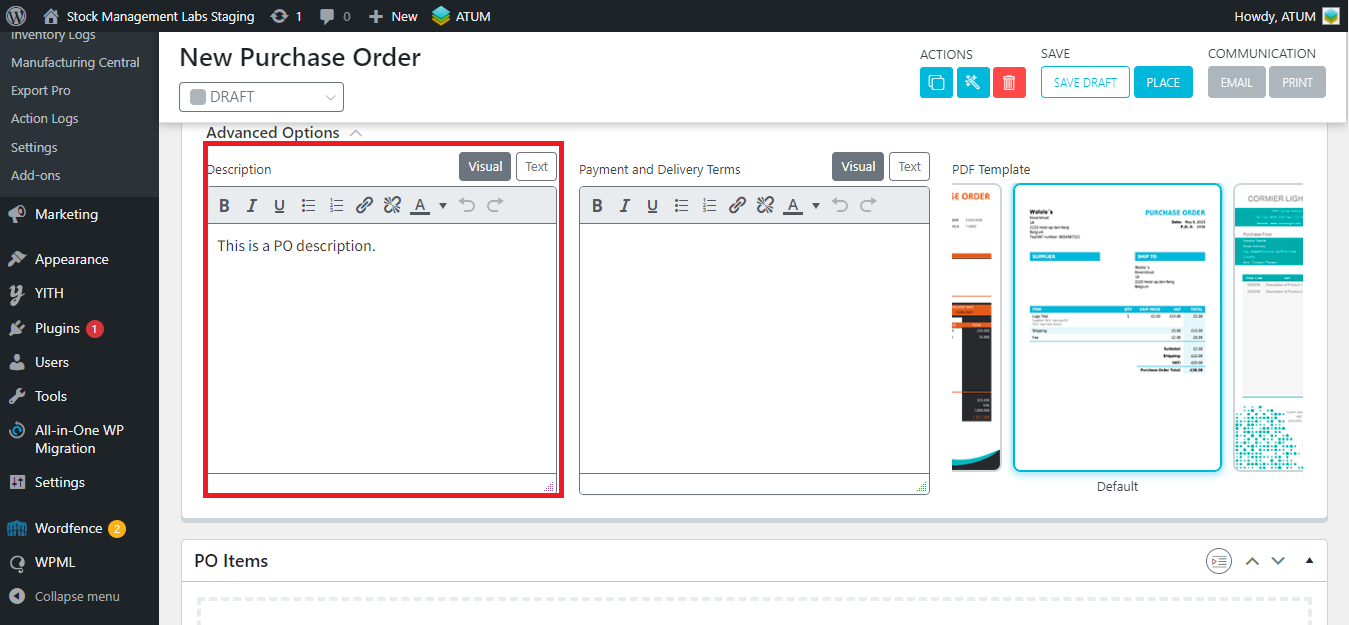
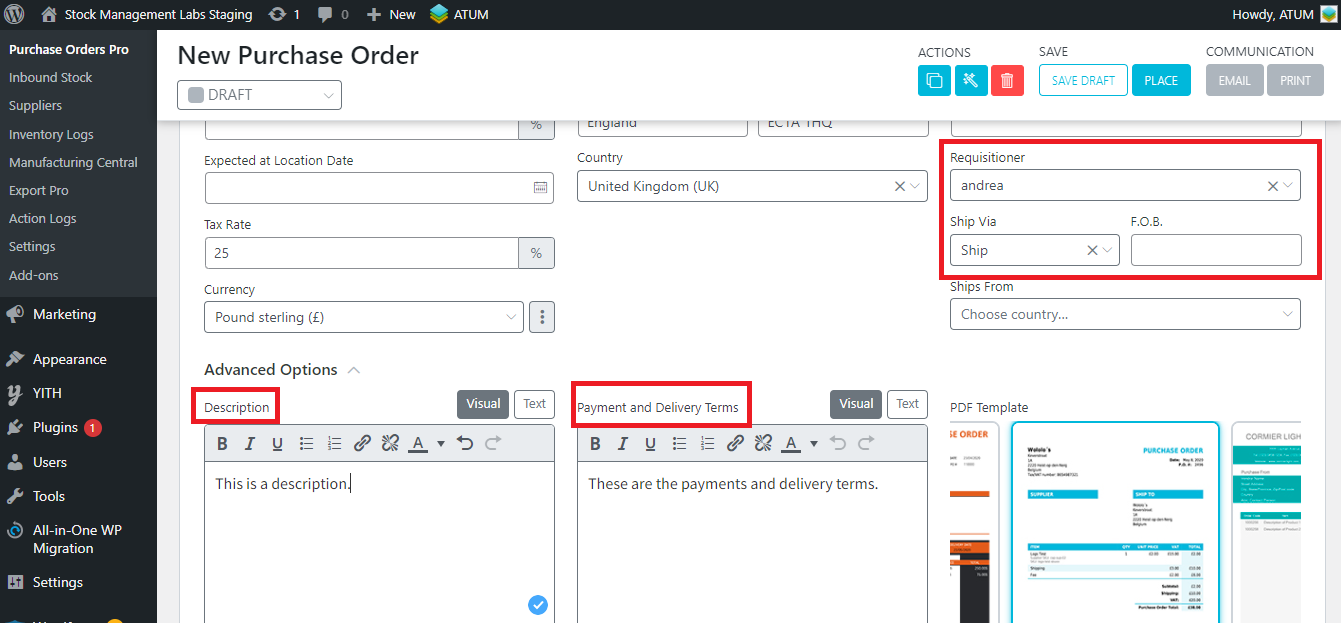
- Default PO description: Write in the WYSIWYG field if you want to auto-fill the "description" field for new POs when they are created. This info is displayed in the PDF.
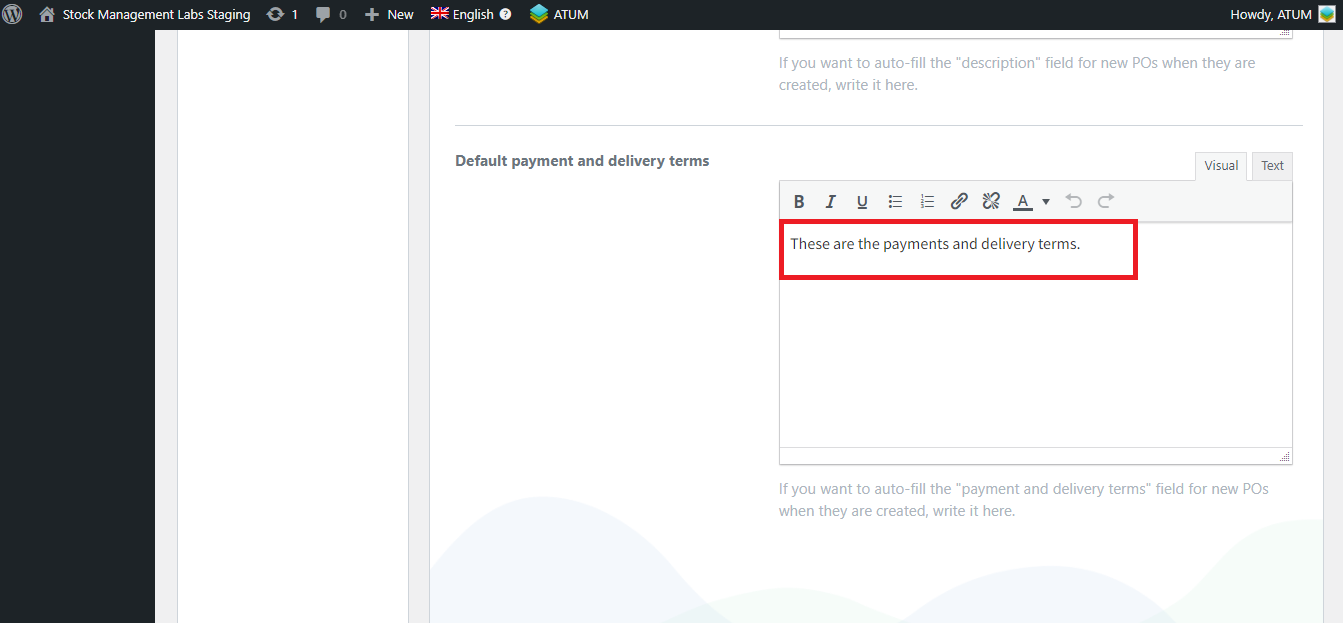
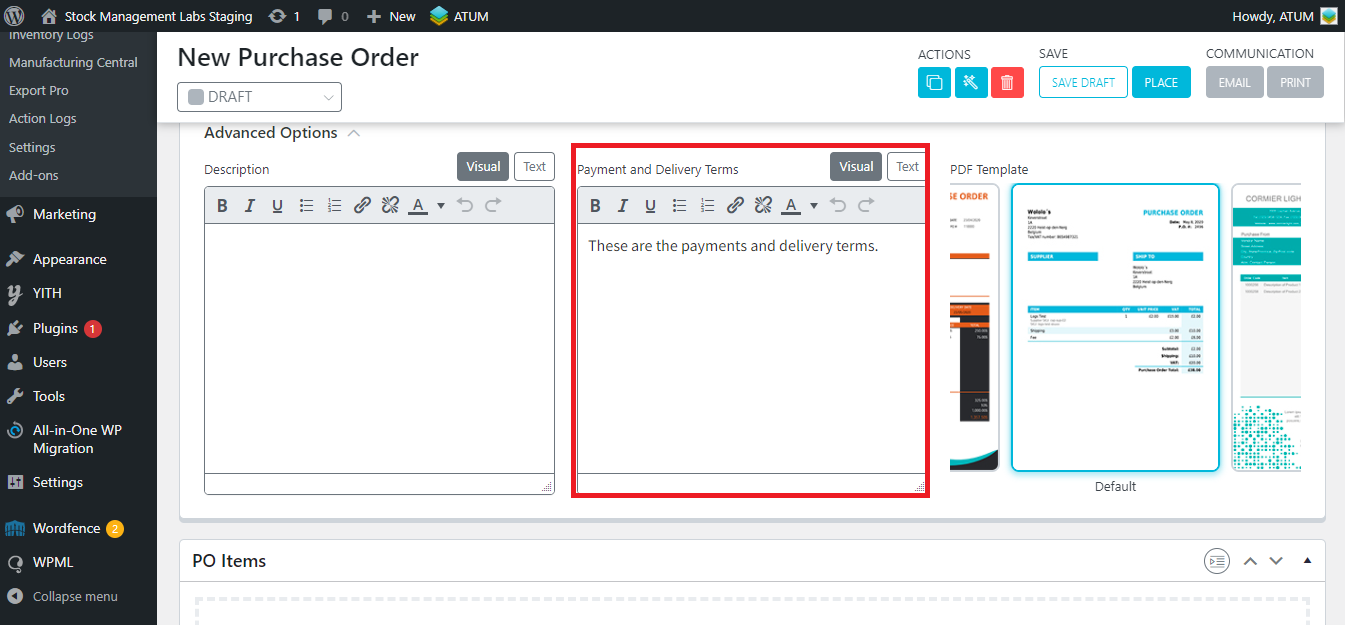
- Default Payment Delivery Terms: Write in the WYSIWYG field if you want to auto-fill the "payment and delivery terms" field for new POs when they are created. This info is displayed in the PDF.
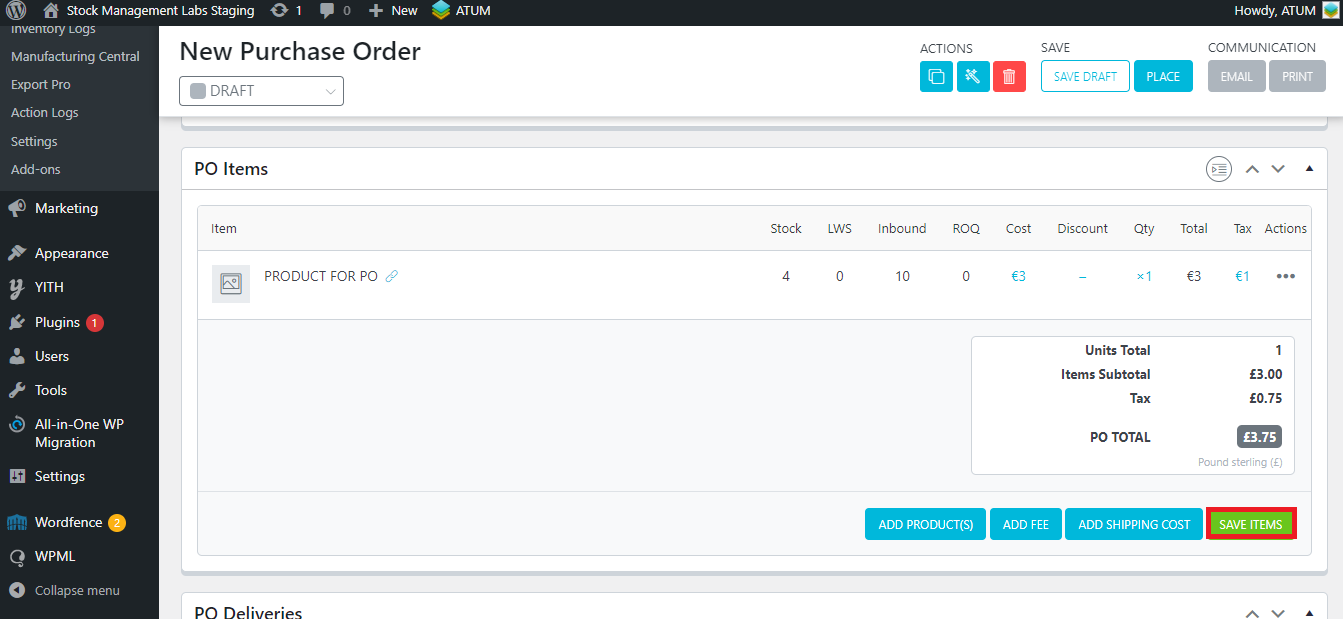
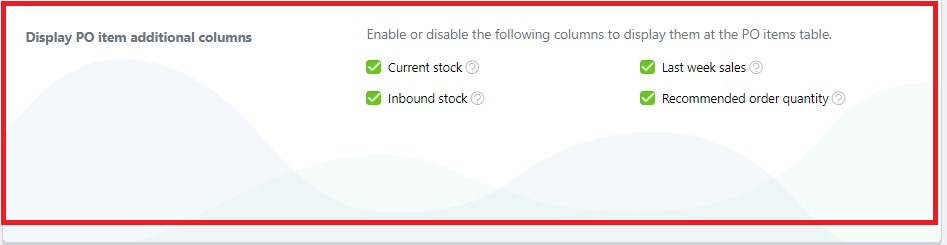
- Display PO item additional columns: Enable or disable the following columns to display them in the PO items table (Current stock, Inbound stock, Last week's sales, Recommended order quantity). In this case, we enabled all of them:
2. PO PDF TEMPLATE
The PO PDF Template section contains the following options:
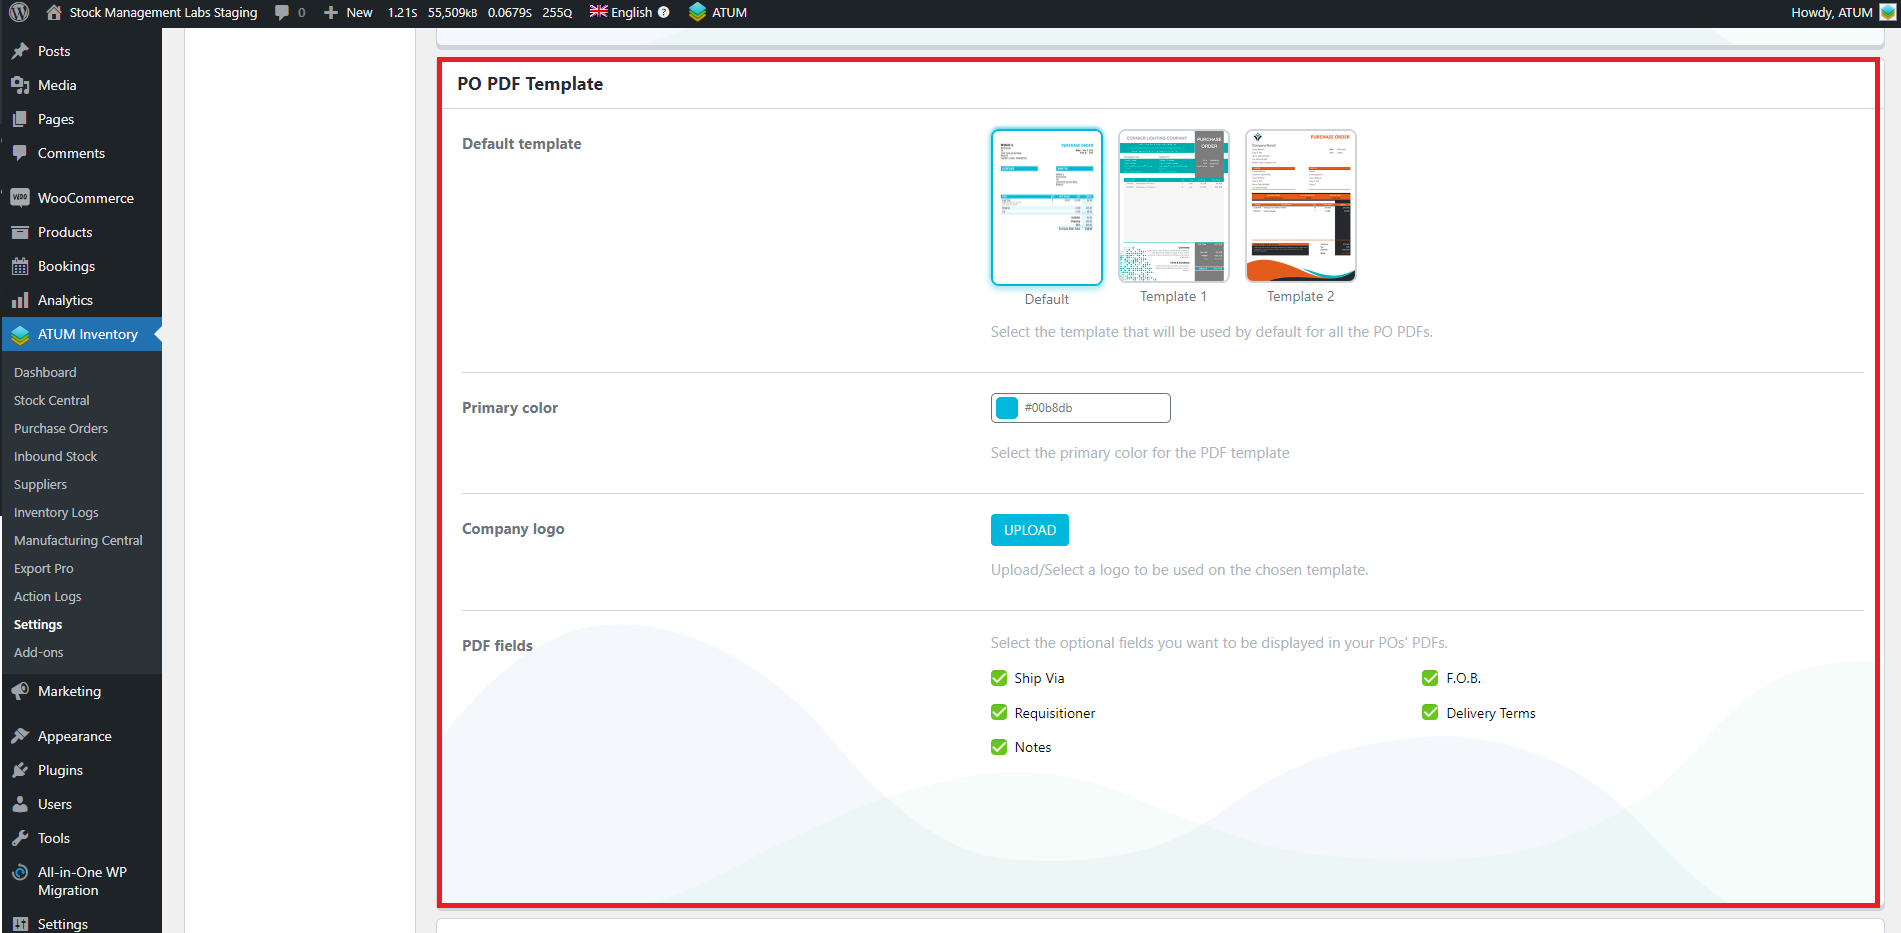
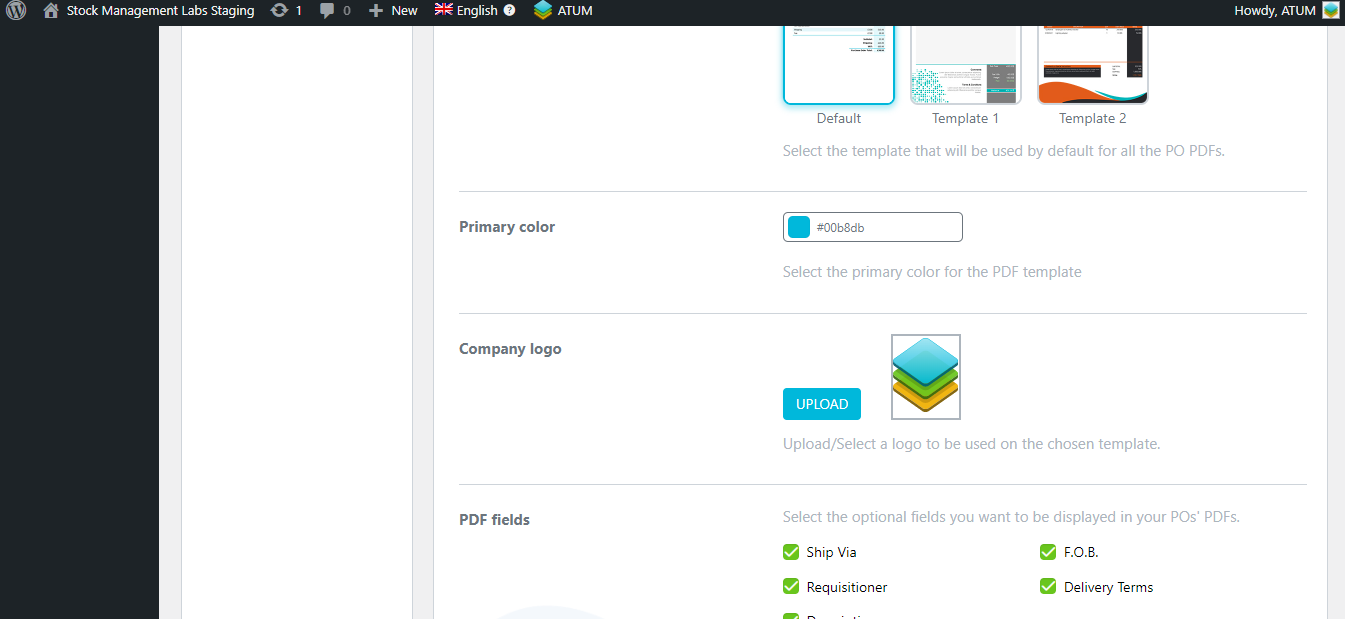
- Default template: Select the template that will be used by default for all the PO PDFs. You can choose between 3 designs.
-
Primary color: Select the primary color for the PDF template. You can add the color code or select it.
-
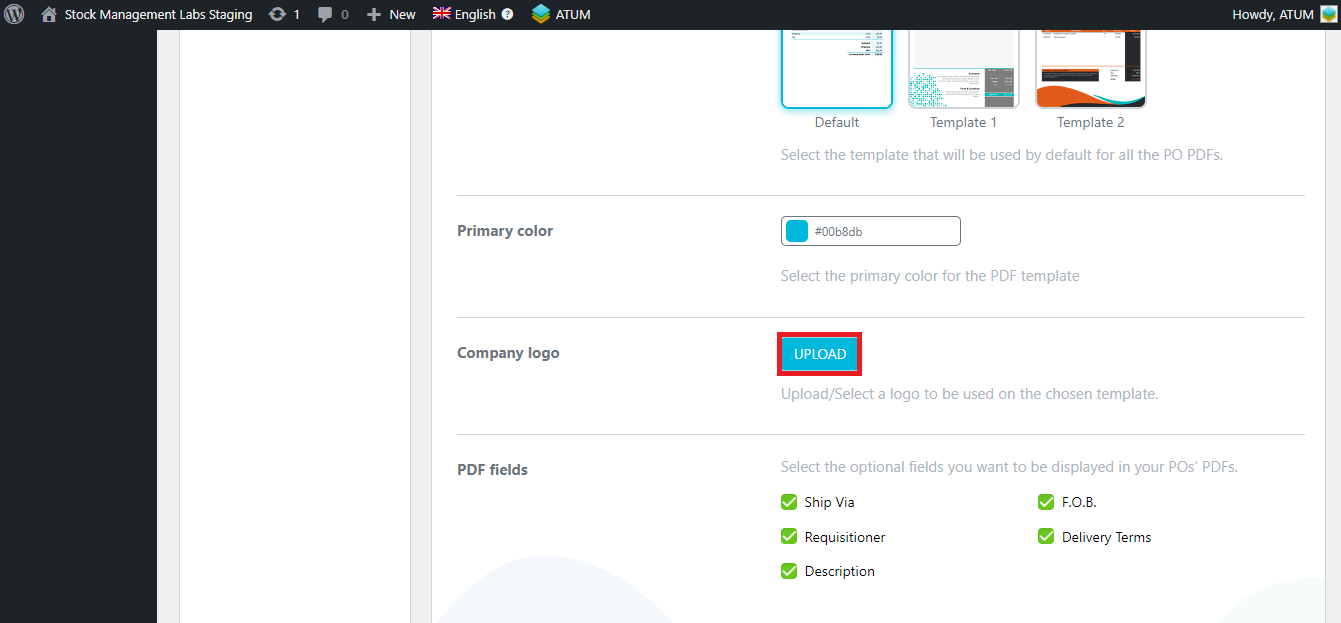
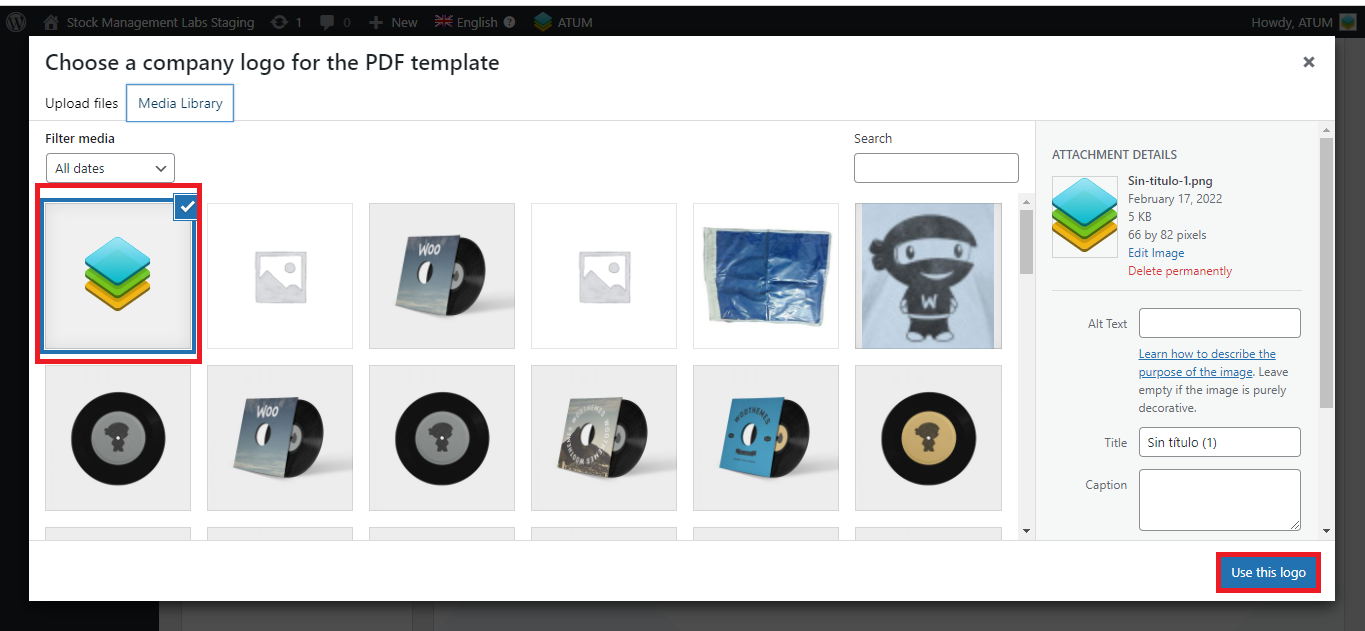
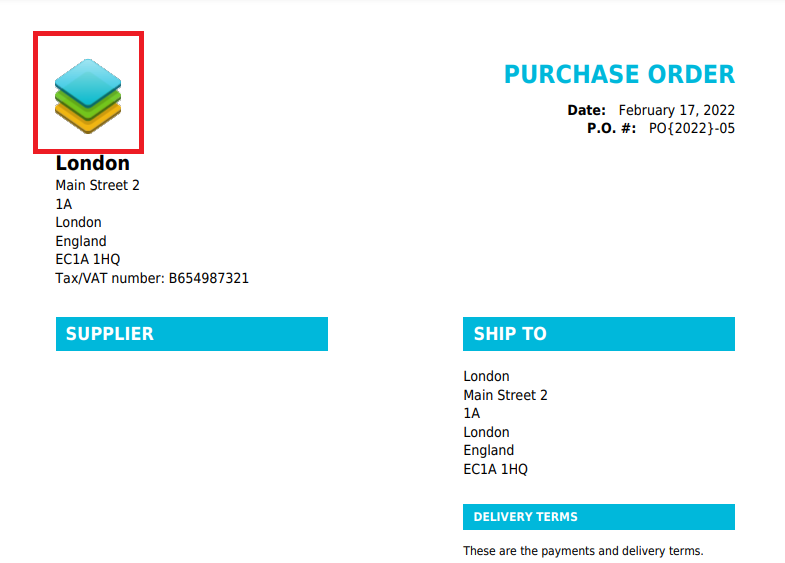
Company Logo: Upload/Select a logo to be used on the chosen template.
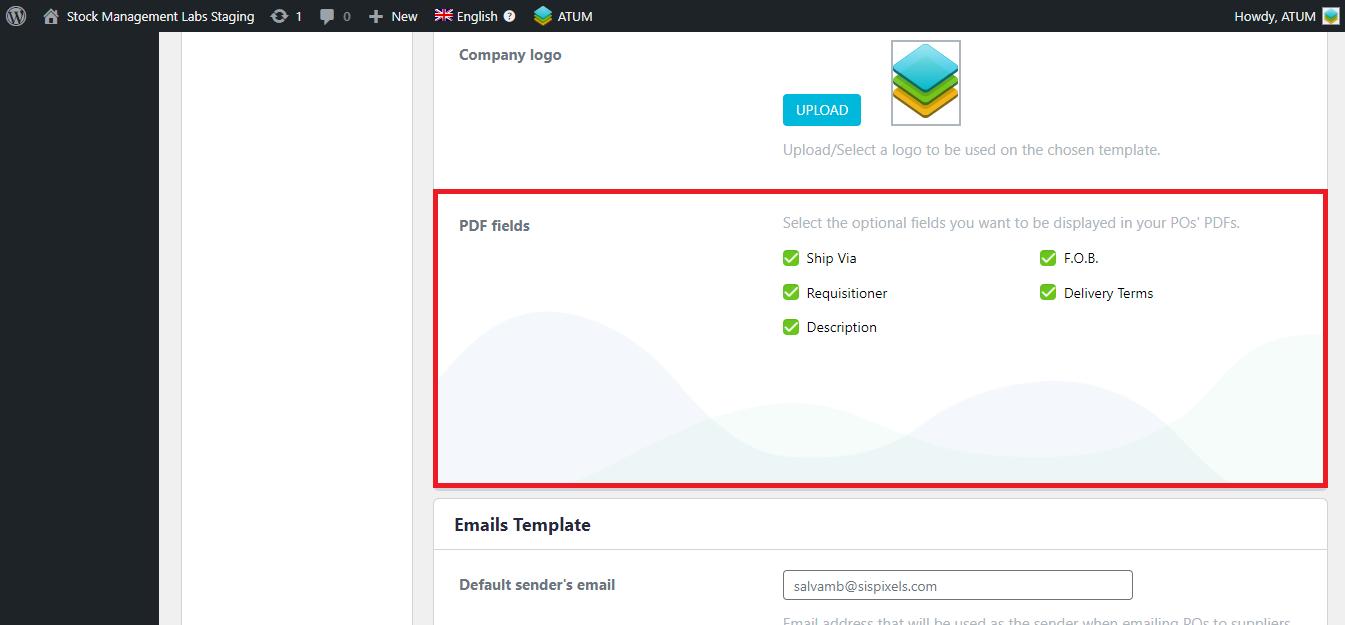
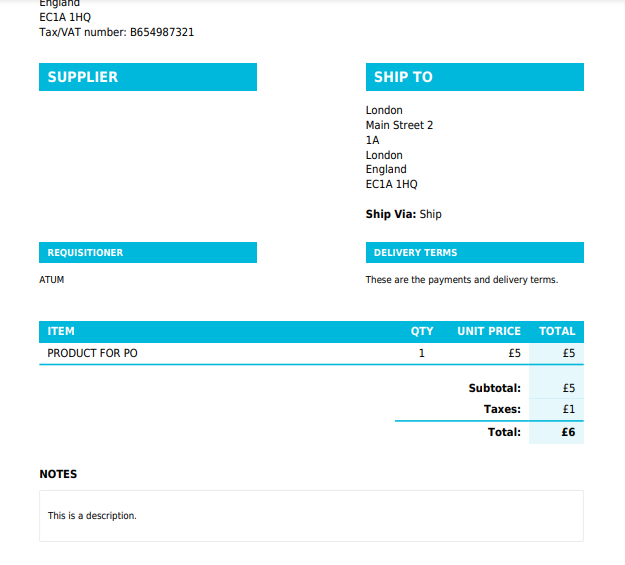
- PDF Fields: Select the optional fields you want to be displayed in your POs' PDFs. (Ship Via, F.O.B., Requisitioner, Delivery Terms and Notes). In this case, we have selected all of them:
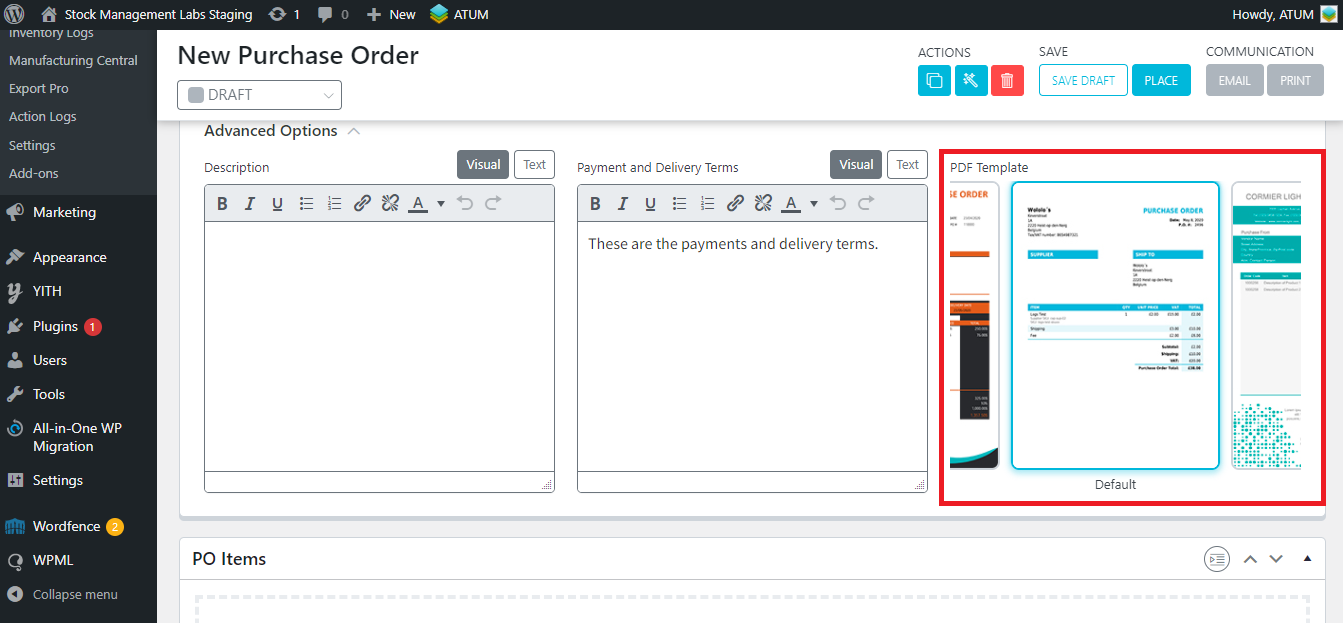
As you see, these fields are in the 'Internal Info' area of the Purchase Order and in 'Advanced Options'. Complete them and check how they are displayed in the PDF:
3. EMAILS TEMPLATE
In this section, you can set the settings for the email sent to the supplier:

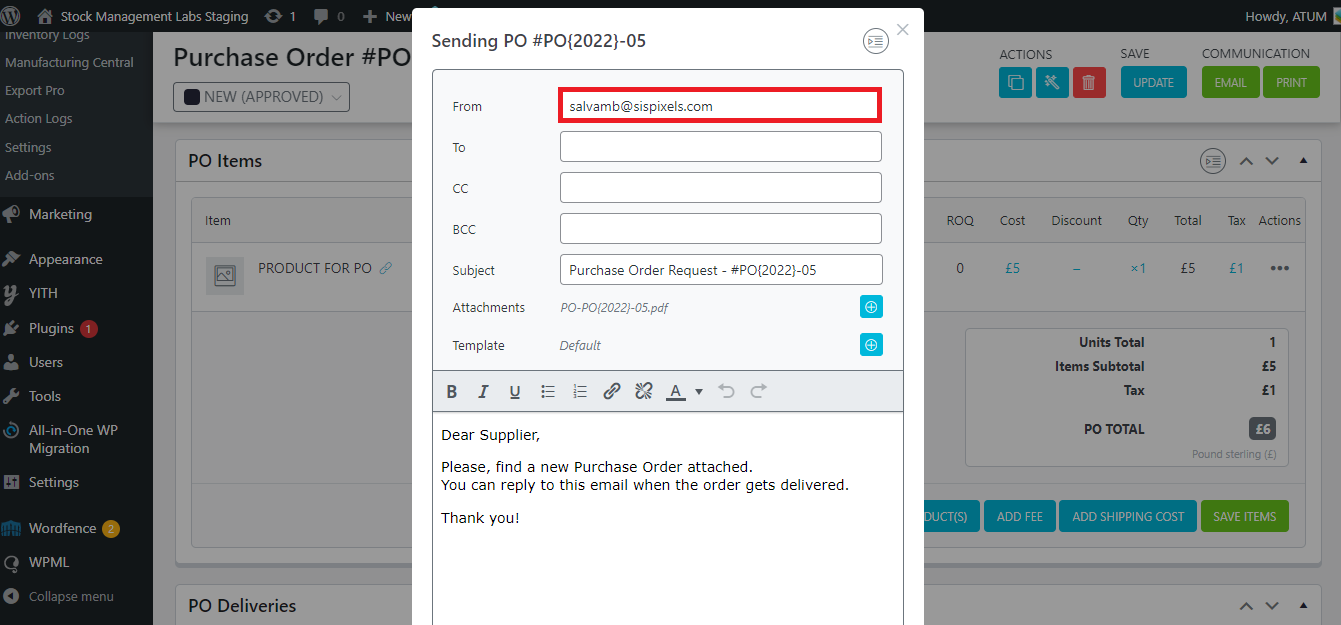
- Default sender’s email: The email address that will be used as the sender when emailing POs to suppliers. You can change it later in the PO:
-
Use an email template: Enable to use of a template on all the emails sent to suppliers.
-
Email template: Select the template that will be used by default for all the PO emails sent to suppliers. You can choose three designs:

-
Primary color: Select the primary color for the email template.
-
Company logo: Upload/Select a logo to be used on the chosen template.
-
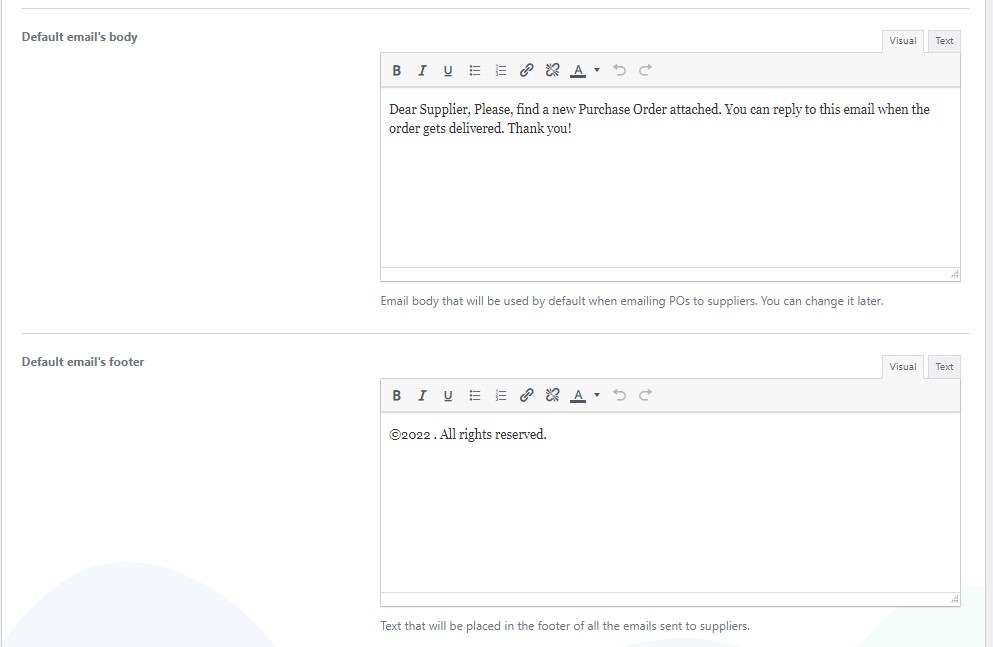
Default email's body: Email body that will be used by default when emailing POs to suppliers. You can change it later.
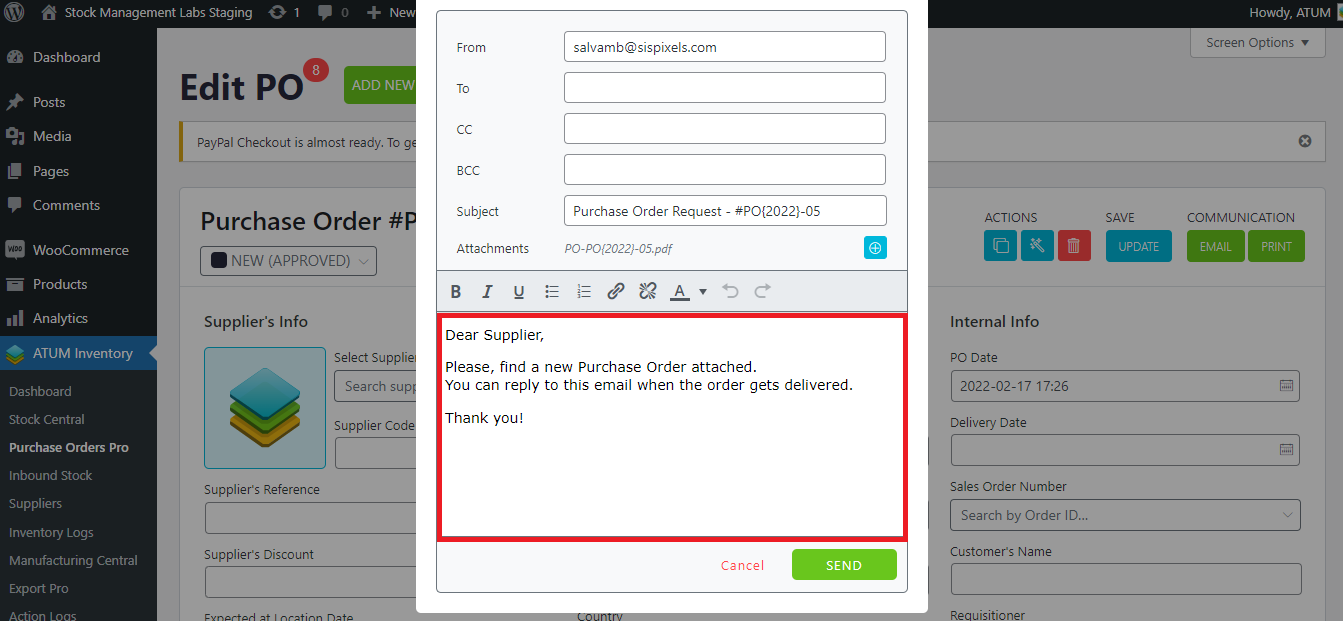
- Default email’s footer: Text that will be placed in the footer of all the emails sent to suppliers.

4. POs LIST TABLE
The POs List Table contains the following options:

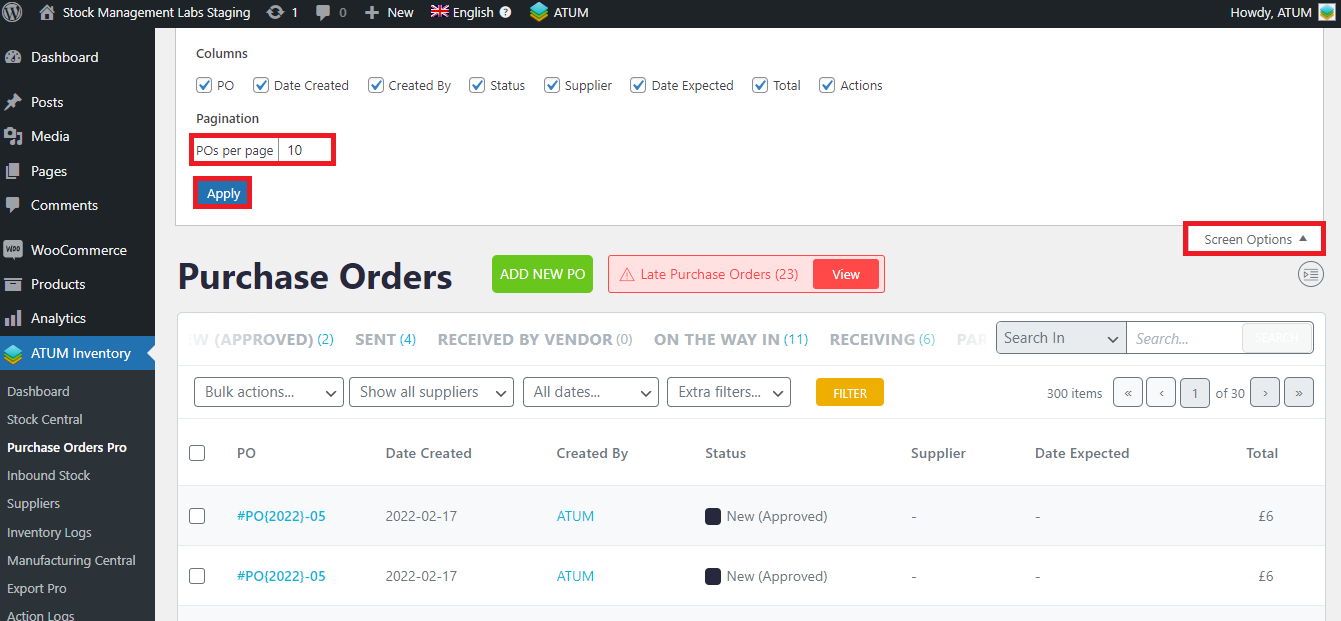
- POs per page: Controls the number of purchase orders displayed per page within the POs List Table screen. Please note, that you can set this value within the 'Screen Option' tab as well and this last value will have preference over this one as will be saved per user. Enter '-1' to remove the pagination and display all available POs on one page (not recommended if your store contains a large number of POs as it may affect the performance).
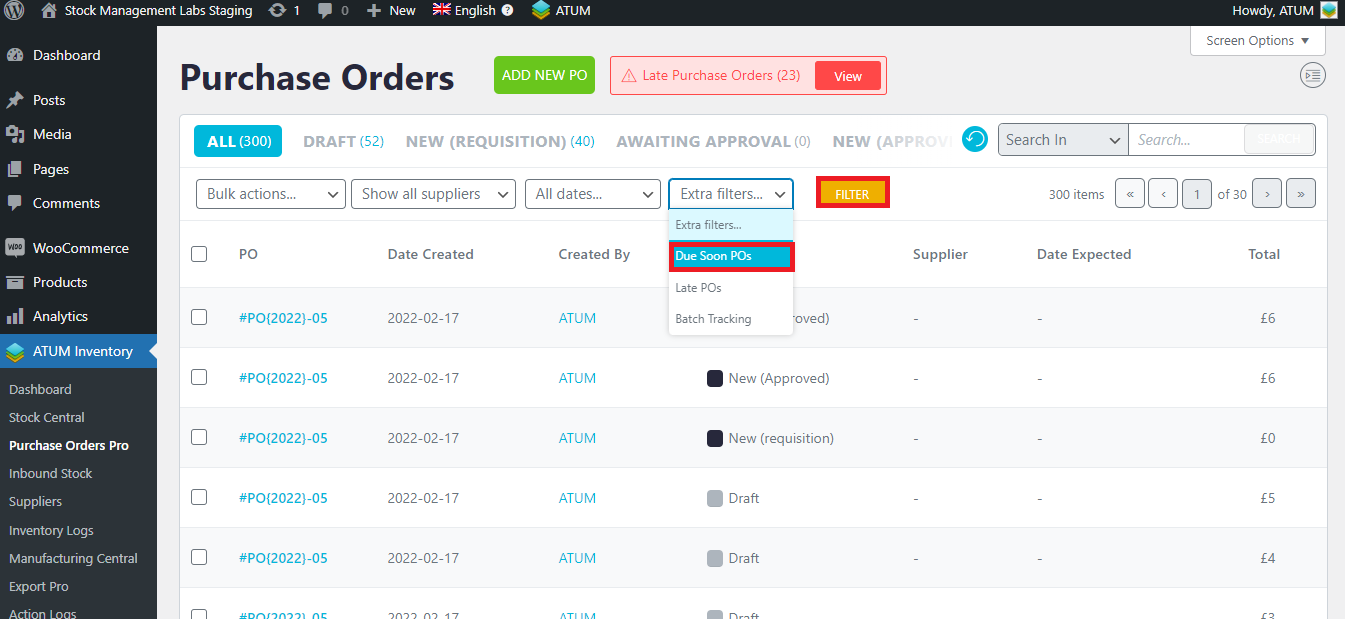
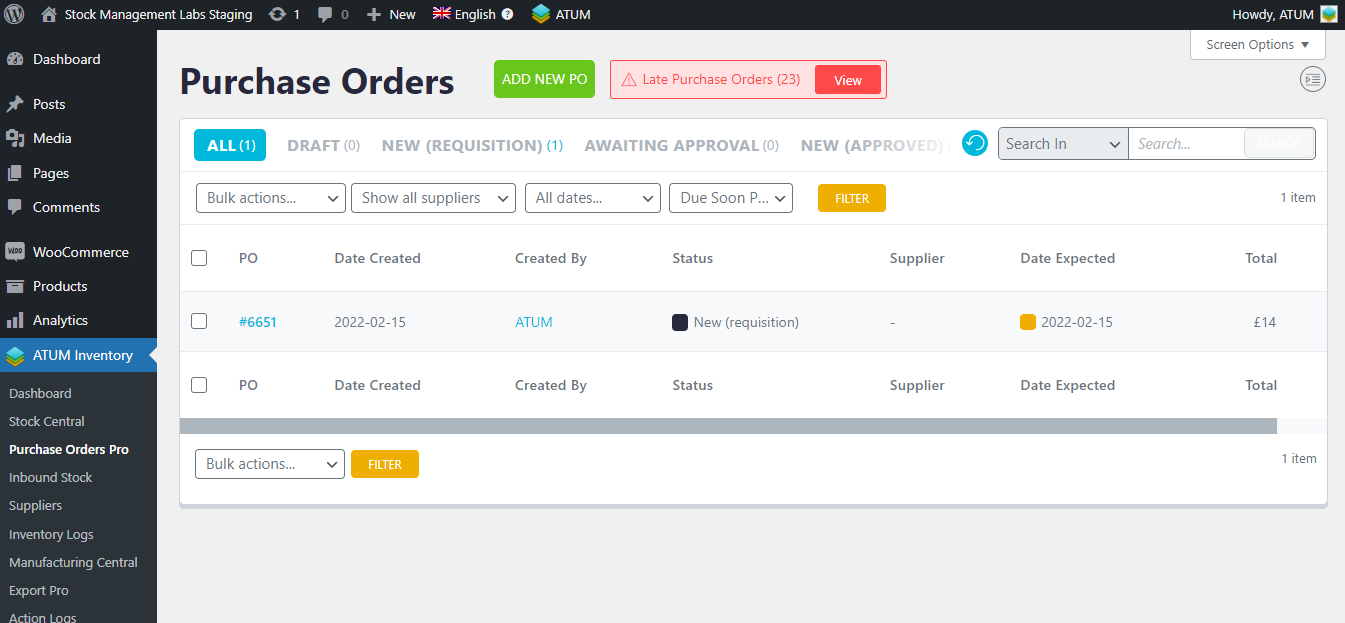
- Due soon days: The number of days before the expected date that ATUM will use to consider a PO as "Due Soon".